Setting Up a Raspberry Pi Cluster with ClusterHAT (Part 3: Kubernetes)
In Part 1, we built the Raspberry Pi ClusterHAT hardware and configured networking and SSH access.
In Part 2, we automated cluster management with Ansible and created a scalable management workflow.
Now it’s time for the fun part: deploying Kubernetes.
For this cluster, I chose:
- K3s for lightweight Kubernetes
- k3sup for simplified installation and node joining
- NFS shared storage hosted from the controller node
By the end of this guide, you’ll have:
- A functioning Kubernetes cluster
- Shared persistent storage
- Worker node labels
- The ability to deploy your own container workloads
Step 1: Configure Shared Storage with NFS
Before deploying Kubernetes, it’s useful to create shared storage accessible by all nodes.
This is especially useful for:
- Shared container images
- Persistent application data
- Logs
- Lightweight development workflows
Install the NFS Server on the Controller
On the controller node:
sudo apt-get install -y nfs-kernel-serverCreate the storage directory:
sudo mkdir -p /media/Storage
sudo chown nobody:nogroup /media/Storage
sudo chmod -R 777 /media/Storage
Configure Exports
Edit /etc/exports:
sudo nano /etc/exportsAdd:
/media/Storage 172.19.181.0/24(rw,sync,no_root_squash,no_subtree_check)Apply the export configuration:
sudo exportfs -aStep 2: Mount NFS Storage on Worker Nodes
On every worker node (p1 - p4), install the NFS client:
sudo apt-get install -y nfs-commonCreate the mount directory:
sudo mkdir -p /media/Storage
sudo chown nobody:nogroup /media/Storage
sudo chmod -R 777 /media/Storage
Configure Automatic Mounting
Edit /etc/fstab:
sudo nano /etc/fstabAdd:
172.19.181.254:/media/Storage /media/Storage nfs defaults 0 0Mount everything:
sudo mount -aVerify the mount works by creating a test file and ensuring it appears across all nodes.
If you hit errors:
- Double-check
/etc/fstab - Verify
/etc/exports - Confirm the controller firewall allows NFS traffic
Alternatively: Setup NFS Setup via Ansible
Once manual testing succeeds, automate it.
Here’s a simplified Ansible approach.
Controller Play
- name: Configure NFS server
  hosts: controllers
  become: yes

  tasks:
    - name: Install NFS server
      apt:
        name: nfs-kernel-server
        state: present

    - name: Create storage directory
      file:
        path: /media/Storage
        state: directory
        mode: '0777'

    - name: Configure exports
      lineinfile:
        path: /etc/exports
        line: '/media/Storage 172.19.181.0/24(rw,sync,no_root_squash,no_subtree_check)'

    - name: Reload exports
      command: exportfs -a
Worker Play
- name: Configure NFS clients
  hosts: workers
  become: yes

  tasks:
    - name: Install NFS client
      apt:
        name: nfs-common
        state: present

    - name: Create mount directory
      file:
        path: /media/Storage
        state: directory
        mode: '0777'

    - name: Configure fstab
      lineinfile:
        path: /etc/fstab
        line: '172.19.181.254:/media/Storage /media/Storage nfs defaults 0 0'

    - name: Mount storage
      command: mount -a
At this point, your cluster has shared persistent storage available everywhere.
Misstep: Installing K3s with k3sup
I initially attempted to automate K3s installation using the existing Ansible role.
Install the collection:
ansible-galaxy collection install vandot.k3supI also had to modify the Python interpreter inside:
~/.ansible/collections/ansible_collections/vandot/k3sup/plugins/modules/k3sup.pyThe module was trying to use:
/usr/bin/env pythonRunning manually worked fine, but the role itself continued to cause issues during installation.
In the end, using k3sup directly was significantly simpler.
Step 3: Install the Kubernetes Controller
On the controller node, run:
k3sup install --localOnce complete:
export KUBECONFIG=`pwd`/kubeconfig
kubectl get node
You should now see the controller node in the cluster.
Step 4: Join the Worker Nodes
Join each worker node:
for i in $(seq 1 1 4); do
  k3sup join \
    --ip 172.19.181.$i \
    --server-ip 172.19.181.254 \
    --user pi
done
Verify the cluster again:
export KUBECONFIG=`pwd`/kubeconfig
kubectl get node
You should now see:
- Controller node
p1p2p3p4
All reporting as Ready.
Step 5: Label GPIO-Capable Nodes
Because these nodes interact with physical GPIO hardware, adding labels makes workload scheduling easier.
Example:
kubectl label nodes p1 gpio=true
kubectl label nodes p2 gpio=true
kubectl label nodes p3 gpio=true
kubectl label nodes p4 gpio=true
You can later target workloads using node selectors.
Step 6: Deploy a Custom Workload
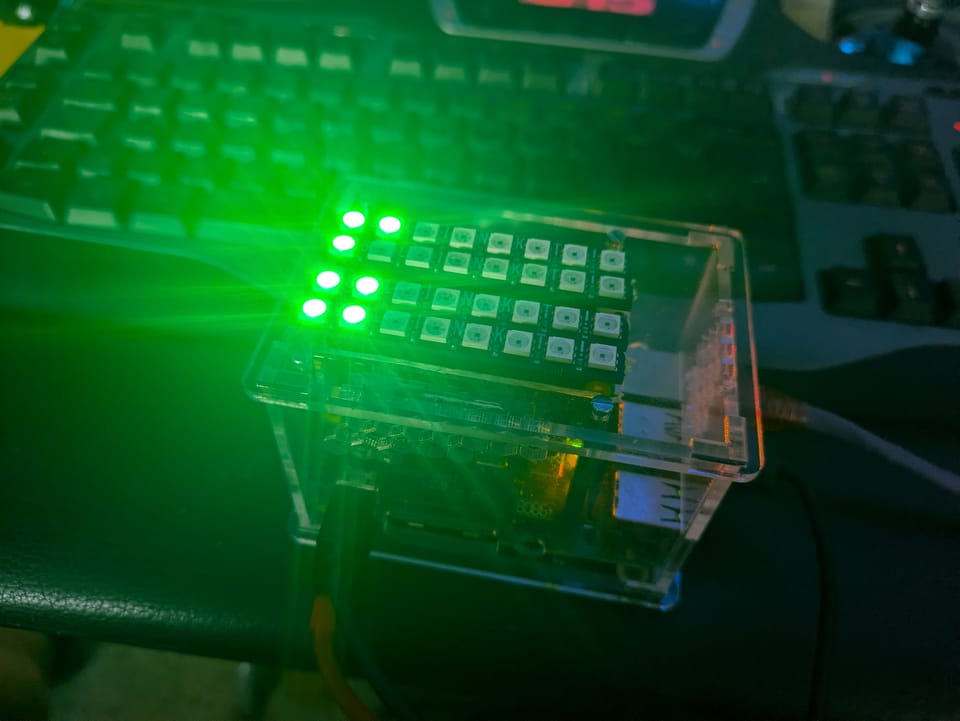
One of the first workloads I deployed was a custom blinkt container for Raspberry Pi LEDs. The entire project can be found here: blinkt-cpu.zip
Build the Image
Build your container image locally:
docker build -t blinkt-cpu .Export the image:
docker save blinkt-cpu > blinkt-cpu.tarIf you don't have docker installed, you will need to build the image on a device with the same architecture and copy it over to the control node. Alternatively, if you trust me, the image can be found here: blinkt-cpu.tar
Copy the image to the shared NFS mount:
cp blinkt-cpu.tar /media/Storage/Import the Image into K3s
On each node:
sudo k3s ctr images import /media/Storage/blinkt-cpu.tarOnce imported, your Kubernetes deployments can reference the image directly.
Example GPIO Node Selector
Example deployment snippet:
nodeSelector:
  gpio: "true"
This ensures GPIO-dependent workloads only run on appropriate hardware.
Final Thoughts
At this point, you now have:
- A Raspberry Pi Kubernetes cluster
- Shared NFS-backed storage
- Automated configuration with Ansible
- Worker node scheduling labels
- A platform for experimenting with distributed systems
This setup is surprisingly capable for:
- Home labs
- CI/CD experimentation
- Edge computing
- IoT orchestration
- Learning Kubernetes safely and cheaply
And perhaps most importantly—it’s fun.
Additional Resources
- k3sup GitHub Repository
https://github.com/alexellis/k3sup
That wraps up this three-part Raspberry Pi ClusterHAT Kubernetes series. From bare SD cards to a functioning Kubernetes cluster, you now have a powerful miniature platform ready for experimentation.
About the author
Tim Wilkes is a UK-based security architect with over 15 years of experience in electronics, Linux, and Unix systems administration. Since 2021, he's been designing secure systems for a telecom company while indulging his passions for programming, automation, and 3D printing. Tim shares his projects, tinkering adventures, and tech insights here - partly as a personal log, and partly in the hopes that others will find them useful.
Want to connect or follow along?
LinkedIn: [phpsytems]
Twitter / X: [@timmehwimmy]
Mastodon: [@timmehwimmy@infosec.exchange]
If you've found a post helpful, consider supporting the blog - it's a part-time passion that your support helps keep alive.
⚠️ Disclaimer
This post may contain affiliate links. If you choose to purchase through them, I may earn a small commission at no extra cost to you. I only recommend items and services I’ve personally read or used and found valuable.
As an Amazon Associate I earn from qualifying purchases.