Setting Up a Raspberry Pi Cluster with ClusterHAT (Part 1: OS Installation & SSH Setup)
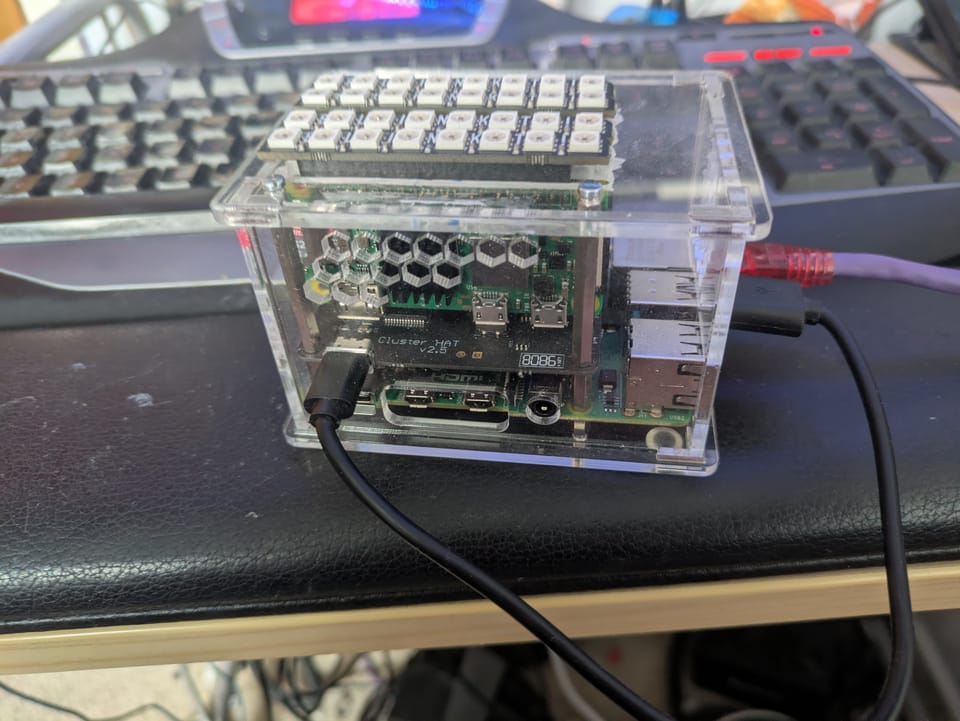
Building a Raspberry Pi cluster with a ClusterHAT is a fantastic way to experiment with distributed systems, automation, and Kubernetes at a low cost. While installing the hardware is straightforward, the software setup can feel under-documented. This guide fills that gap.
In this first part, we’ll focus on:
- Installing operating systems on all nodes
- Preparing access credentials
- Setting up SSH for seamless cluster management
Later, we’ll build on this foundation with Ansible automation and Kubernetes deployment.
Step 1: Prepare Boot Configuration Files
Start by creating a working directory (e.g., dir) containing the following files:
ssh(empty file to enable SSH)userconfig.txt
Edit userconfig.txt with your desired username and password using this format:
<username>:<encrypted_password>To generate the encrypted password, run:
echo 'mypassword' | openssl passwd -6 -stdinIf you're scripting this step, double-check the generated hash before copying it—mistakes here can lock you out later.
Step 2: Download and Flash the OS
Download the ClusterHAT-compatible OS images from:
https://clusterctrl.com/setup-software
For this setup, the CNAT Lite versions are a good lightweight choice.
Flash each SD card with the appropriate image. After flashing:
- Reinsert the SD card
- Mount the boot partition (
bootfs) - Copy your prepared files:
cp /dir/* /path/to/bootfs/Step 3: Boot the Controller Node
Insert the controller’s SD card and power it on.
- Allow time for initial setup to complete
- Log in and verify everything is working
- If something fails, recheck the boot partition files
Patience matters here—first boot can take a minute.
Step 4: Boot and Assign Worker Nodes
Insert the correct SD cards into each Raspberry Pi Zero connected via ClusterHAT.
Power on each node individually using:
clusterctrl on p1If the wrong node powers on:
clusterctrl off p1Correct the issue and retry.
Repeat this process until all nodes (p1–p4) are powered and correctly mapped.
Step 5: Set Up SSH Key-Based Access
SSH keys make cluster management dramatically easier.
Generate Your SSH Key
Run:
ssh-keygen -t rsa -b 4096Configure SSH Client
Edit your SSH config:
nano ~/.ssh/configAdd:
Host controller <controller_ip>
  HostName <controller_ip>
  User <username>
  IdentityFile ~/.ssh/id_rsa

Host p1 <p1_ip>
  HostName <p1_ip>
  User <username>
  ProxyCommand ssh <username>@<controller_ip> -W %h:%p
  IdentityFile ~/.ssh/id_rsa

Host p2 <p2_ip>
  HostName <p2_ip>
  User <username>
  ProxyCommand ssh <username>@<controller_ip> -W %h:%p
  IdentityFile ~/.ssh/id_rsa

Host p3 <p3_ip>
  HostName <p3_ip>
  User <username>
  ProxyCommand ssh <username>@<controller_ip> -W %h:%p
  IdentityFile ~/.ssh/id_rsa

Host p4 <p4_ip>
  HostName <p4_ip>
  User <username>
  ProxyCommand ssh <username>@<controller_ip> -W %h:%p
  IdentityFile ~/.ssh/id_rsa
Copy SSH Keys to Controller
Run:
ssh-copy-id -i <identity file> <username>@<controller_ip>Update Controller Hosts File
On the controller, edit:
sudo nano /etc/hostsAdd:
172.19.181.1 p1
172.19.181.2 p2
172.19.181.3 p3
172.19.181.4 p4
Copy Keys to Worker Nodes
From your local machine:
ssh-copy-id -i ~/.ssh/id_rsa p1
ssh-copy-id -i ~/.ssh/id_rsa p2
ssh-copy-id -i ~/.ssh/id_rsa p3
ssh-copy-id -i ~/.ssh/id_rsa p4
Once complete, verify you can SSH into each node without a password.
What’s Next?
Your Raspberry Pi cluster is now:
- Fully imaged
- Networked
- Accessible via SSH
In Part 2, we’ll use Ansible to automate configuration and provisioning across the cluster.
In Part 3, we’ll deploy Kubernetes and turn this into a fully functional container orchestration platform.
Additional Resources
If you’re looking for more background on ClusterHAT setups, this guide is worth a read:
- The Missing ClusterHAT Tutorial
https://medium.com/@dhuck/the-missing-clusterhat-tutorial-45ad2241d738
Stay tuned for the next part—this is where things start to scale.
About the author
Tim Wilkes is a UK-based security architect with over 15 years of experience in electronics, Linux, and Unix systems administration. Since 2021, he's been designing secure systems for a telecom company while indulging his passions for programming, automation, and 3D printing. Tim shares his projects, tinkering adventures, and tech insights here - partly as a personal log, and partly in the hopes that others will find them useful.
Want to connect or follow along?
LinkedIn: [phpsytems]
Twitter / X: [@timmehwimmy]
Mastodon: [@timmehwimmy@infosec.exchange]
If you've found a post helpful, consider supporting the blog - it's a part-time passion that your support helps keep alive.
⚠️ Disclaimer
This post may contain affiliate links. If you choose to purchase through them, I may earn a small commission at no extra cost to you. I only recommend items and services I’ve personally read or used and found valuable.
As an Amazon Associate I earn from qualifying purchases.