Resin printer setup
Whether you're brand new to resin printing or looking to refine your setup, this guide will walk you through every essential step - from safety and hardware to cleanup and troubleshooting.
1. What You’ll Need
A. Hardware Essentials
- Resin Printer: I use an Anycubic Mono X2 - a reliable, high-resolution LED-based resin printer.
- Wash & Cure Station: I use the Wash and Cure Plus. It cleans and cures your prints in one unit.
Tools & Mats:
- Trays or Ikea drip trays to catch resin drips.
- Easy-clean silicone mats - protect your surfaces.
- Scraper tools for build plate cleanup.
Something to print - For this post, that something is mostly this: https://www.thingiverse.com/thing:5354686
B. Consumables
- Resin: I’ve had good results with standard grey and ABS-like resins.
- Gloves: I prefer reusable nitrile gloves during resin handling - better grip and avoids the single-use shortage issue. I actually use these, as the disposable ones can be difficult to get hold of in a pandemic.
- Isopropyl Alcohol (IPA): 90%+ IPA is needed for cleaning. The wash and cure station uses ~5 liters, athough it can do multiple cycles before you need to change the IPA. How long it lasts varies based on usage and models.
C. Nice-to-Haves (Optional but Handy)
- Enclosure with an air extraction system: Great if you're in a less-ventilated area.
- Remote Camera (e.g., beagle v2): Capture timelapses without crowding your workspace.
- Air purifiers: Helps reduce resin odors.
- Flexible Build Plate: Makes part removal a breeze.
- Heater: Warmer resin often prints more reliably.
- UV torch: Handy for spot-cleaning cured resin spills.
2. Choose Your Software
- Slicing Software: Currently using Lychee slicer for preparing .pm2 files.
- Exploring PrusaSlicer for cross-platform consistency.
- For 3D model creation/editing, I use Blender.
3. Step-by-Step Setup
- Secure the Vat
Make sure the resin vat is firmly anchored and the FEP film is clean - scratches can ruin prints. - Level the Build Plate
Gently loosen screws, place paper on the screen, lower the plate, tighten screws - then carefully remove the paper. - Load Your Model
Verify supports, slice it, and save to USB (.pm2 format for Mono X2). - Start the Print
Connect via USB, start the job, and monitor first layers to ensure proper adhesion.
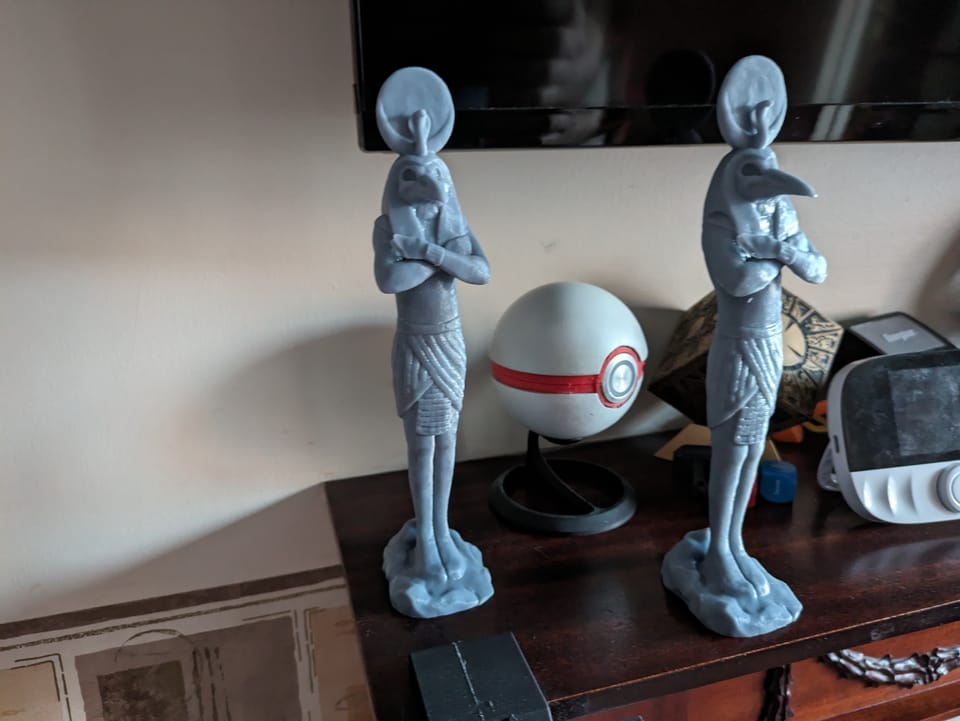
3D Resin print timelapse of Khonshu.
4. Washing & Curing Workflow
- Drain the Resin: Allow excess resin to drip back into the vat.
- Wash: Transfer build plate into wash station with fresh IPA; run for 2-3 minutes.
- Dry & Support Removal: Let parts air-dry briefly (around 30 minutes), then remove supports.
- UV Cure: Cure the print for 2 minutes, assess, then extend cure time if needed. Rotate for uniform exposure.
5. Resin Disposal & Cleanup
- Never pour uncured resin down the drain, even if water-washable - unsafe for plumbing and environment.
- For used IPA:
- Let it settle in a container for a few days.
- Siphon clear top layer.
- Cure residual resin with UV light.
- Evaporate leftovers outdoors and dispose of hardened resin in general waste.
6. Troubleshooting & Tips
| Issue | Solution |
|---|---|
| First layer fails | Recheck leveling, increase exposure time, clean build plate |
| Resin puddling | Slow down peel/lift settings or clean vat edges |
| Cloudy IPA | Replace or filter IPA, clean FEP film |
| Failed support removal | Decrease support distance, adjust retraction on slicer |
| Print remains tacky | Increase cure time, use brighter/close UV source |
7. Final Thoughts
Resin printing demands attention to detail, but once dialed in, the quality and precision are exceptional. Stick to safe handling, follow a consistent workflow, and don’t rush any step - your prints will reward the effort.
“My results keep getting better as I tweak the slicer and setups, but the Mono X2 has made the learning curve feel approachable.”
About the author
Tim Wilkes is a UK-based security architect with over 15 years of experience in electronics, Linux, and Unix systems administration. Since 2021, he's been designing secure systems for a telecom company while indulging his passions for programming, automation, and 3D printing. Tim shares his projects, tinkering adventures, and tech insights here - partly as a personal log, and partly in the hopes that others will find them useful.
Want to connect or follow along?
LinkedIn: [phpsytems]
Twitter / X: [@timmehwimmy]
Mastodon: [@timmehwimmy@infosec.exchange]
If you've found a post helpful, consider supporting the blog - it's a part-time passion that your support helps keep alive.
⚠️ Disclaimer
This post may contain affiliate links. If you choose to purchase through them, I may earn a small commission at no extra cost to you. I only recommend items and services I’ve personally read or used and found valuable.
As an Amazon Associate I earn from qualifying purchases.