New Printer, Who Dis?
I bought myself an older CR-10 MAX printer to do some larger prints from ebay. It came with one known fault - an issue with the BL Touch. Spending £150 on a printer with £50 P&P - what could go wrong?
The printer arrived on a pallet. I was expecting this, and the pallet is quite large taking up space currently in my conservatory until I can dispose of it. It transpires that pallets are actually worth about a fiver. My local allotment people apparently are usually on the look out for them.
Despite the known issue, the printer came covered in dust. It was obvious from the ebay picture that it needed a clean and the bed was a bit of a state. As the bed is a sheet of metal with a sticker on it, I looked for alternatives.
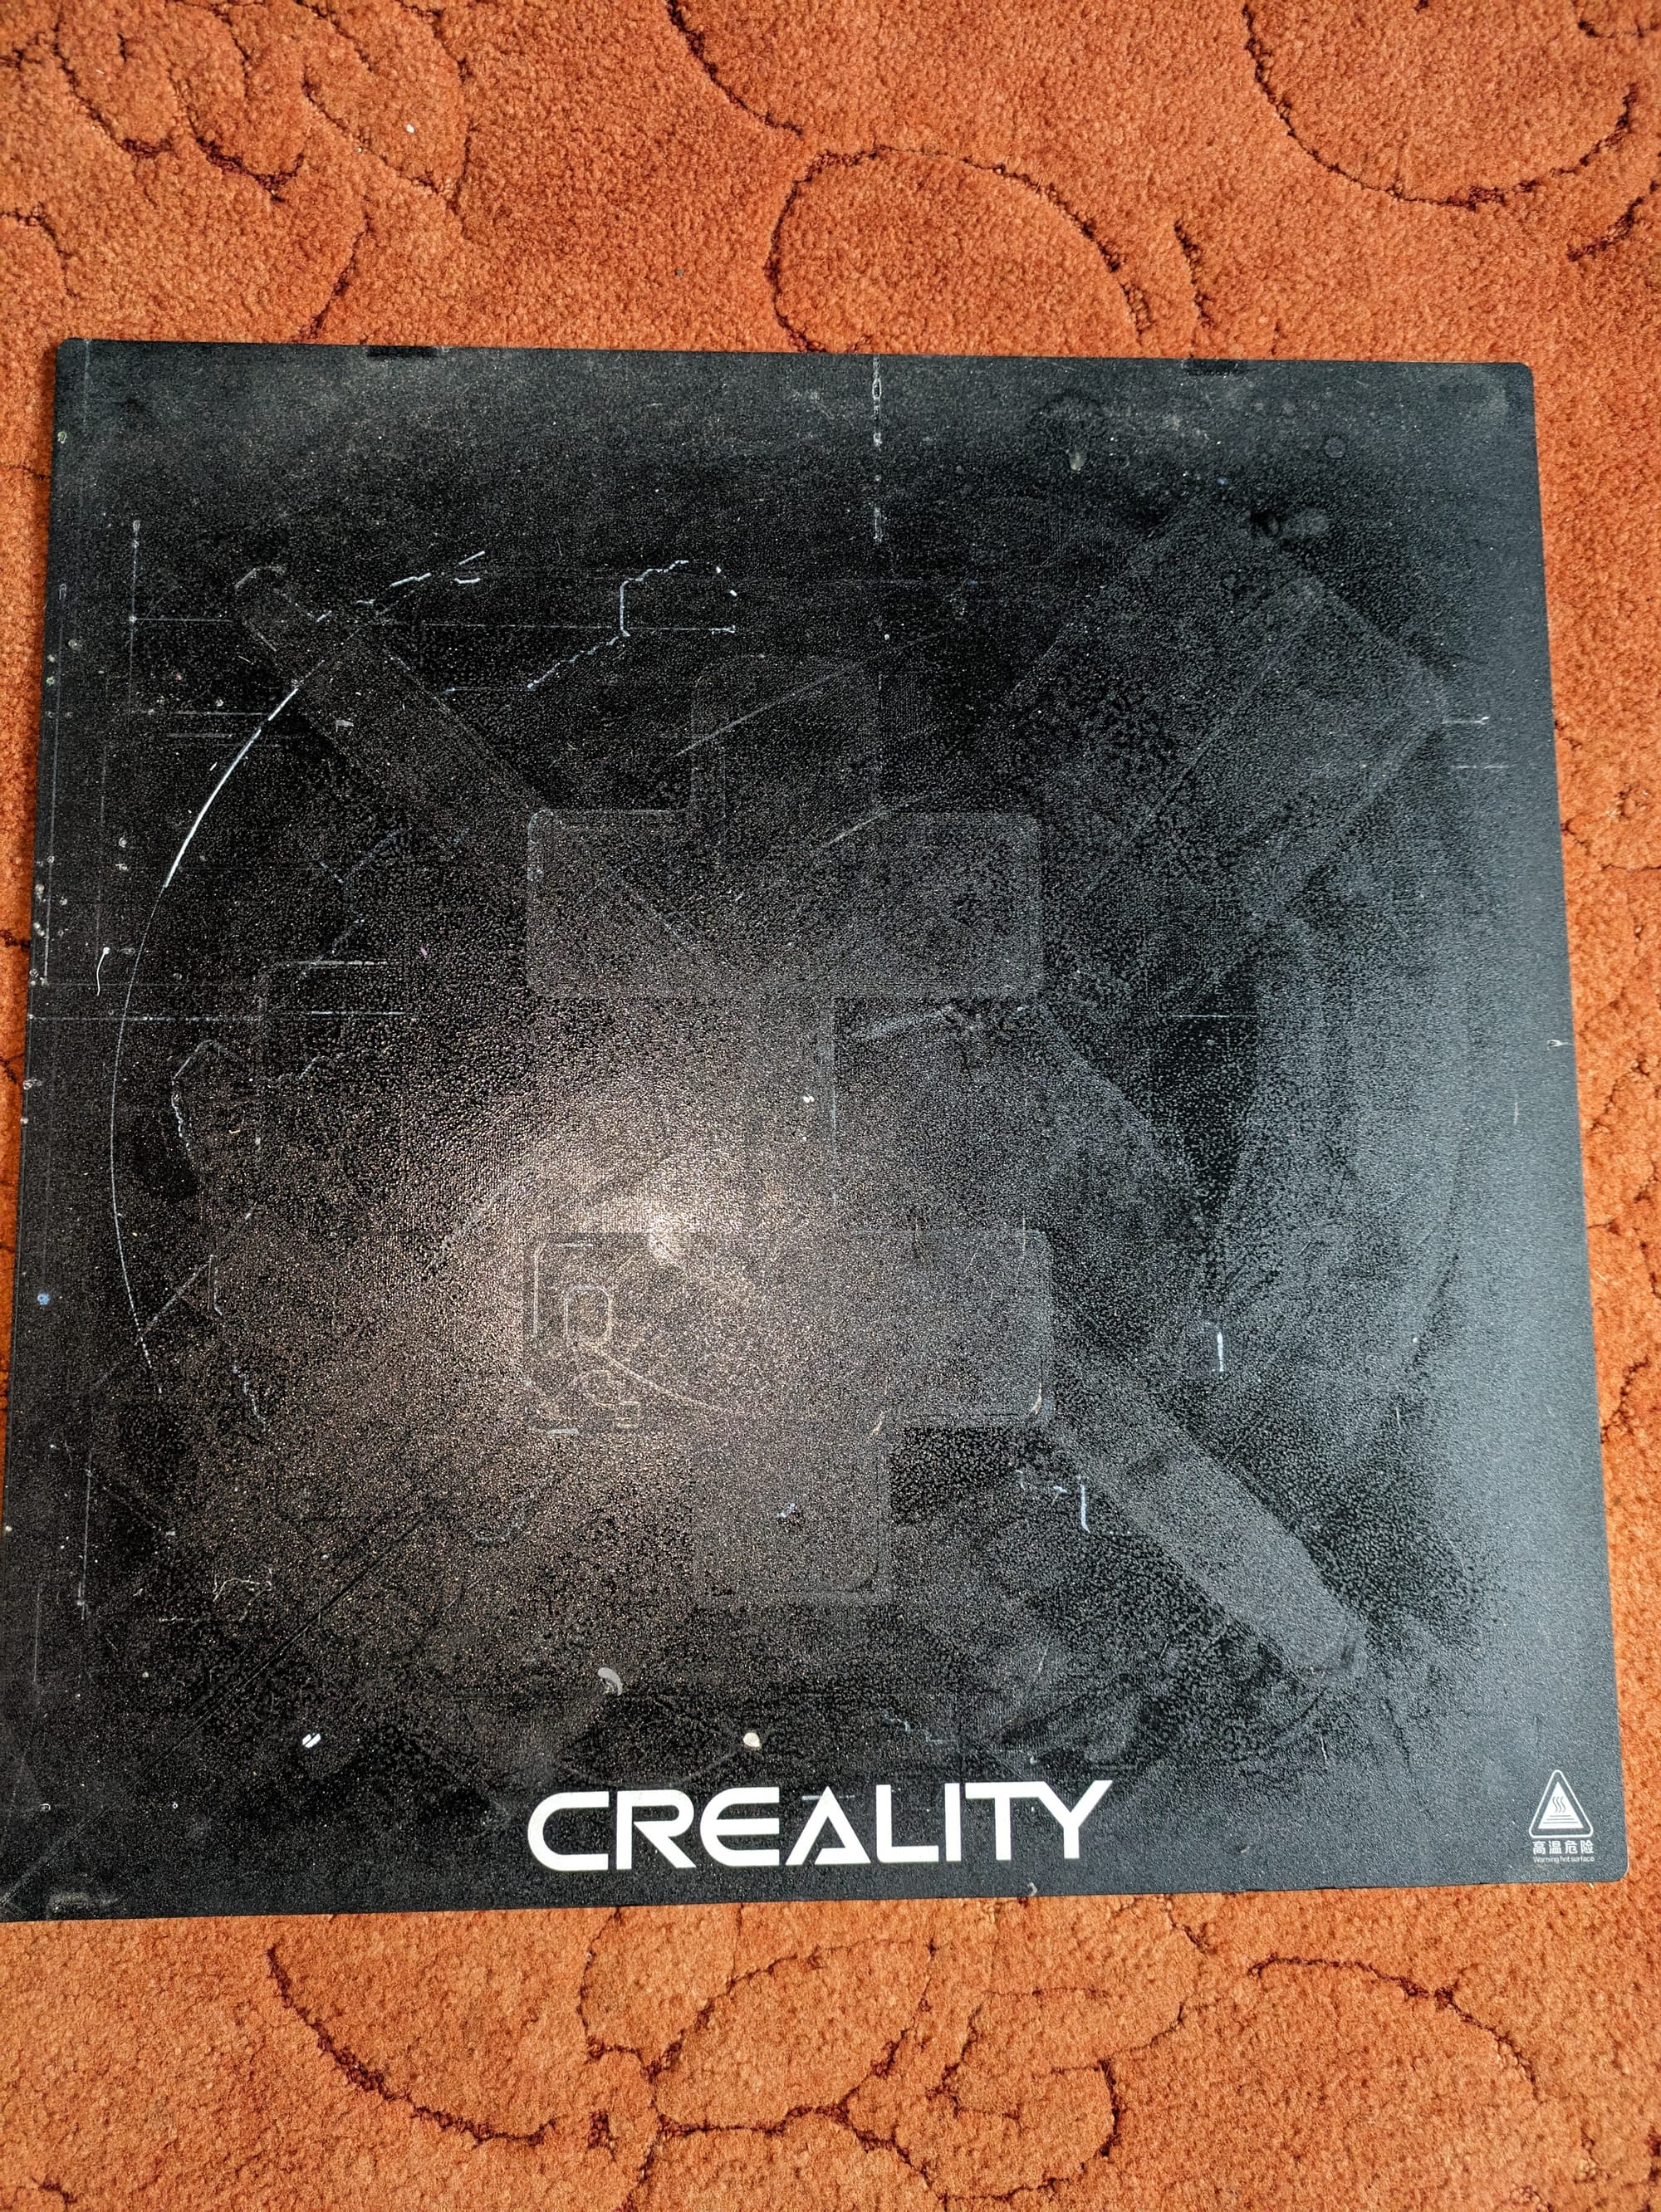
At this point in time, it seems I can't get a carborundum glass bed, but I can replace the sticker that is attached to it. I ordered 1 from Aliexpress for about £20. The bed plate was held in place by 4 clips. The back 2 don't seem to move, but the front 2 do. Since this is going to take a while to arrive from China, I looked at what else I can do.
The sticker arrived, and I have yet to fix it. This is partly because I did a test print and it marked the bed, and partly because I ordered a flexible build plate from Ali-express as well. Once they arrive, I'll also be ordering a glass bed to ensure the build plate will be level, then glue the flexible plate's magent on to the glass bed.
Fixing the BL Touch
The known fault with the printer is with the BLTouch. Specifically, it was deploying and retracting, a few too many times, ultimately meaning it wasn't deployed when the bed needed to be probed.
In order to diagnose this issue, I used a spare BLTouch spare set I have from my X-Change setup (which I haven't got around to installing on my Ender 5 yet..). I used the probe to rule out any issues. Nothing seemed to changed, so I by-passed the cable in the wiring loom. This seemed to fix the issue, so I reverted back to the BLTouch on the printer. This now seemed to work as expected.
I removed the old cable and threaded the new one. Handy to do both at the same time, as you can use the old cable to pull the new one through the wiring sleeve.
Cleaning the hotend
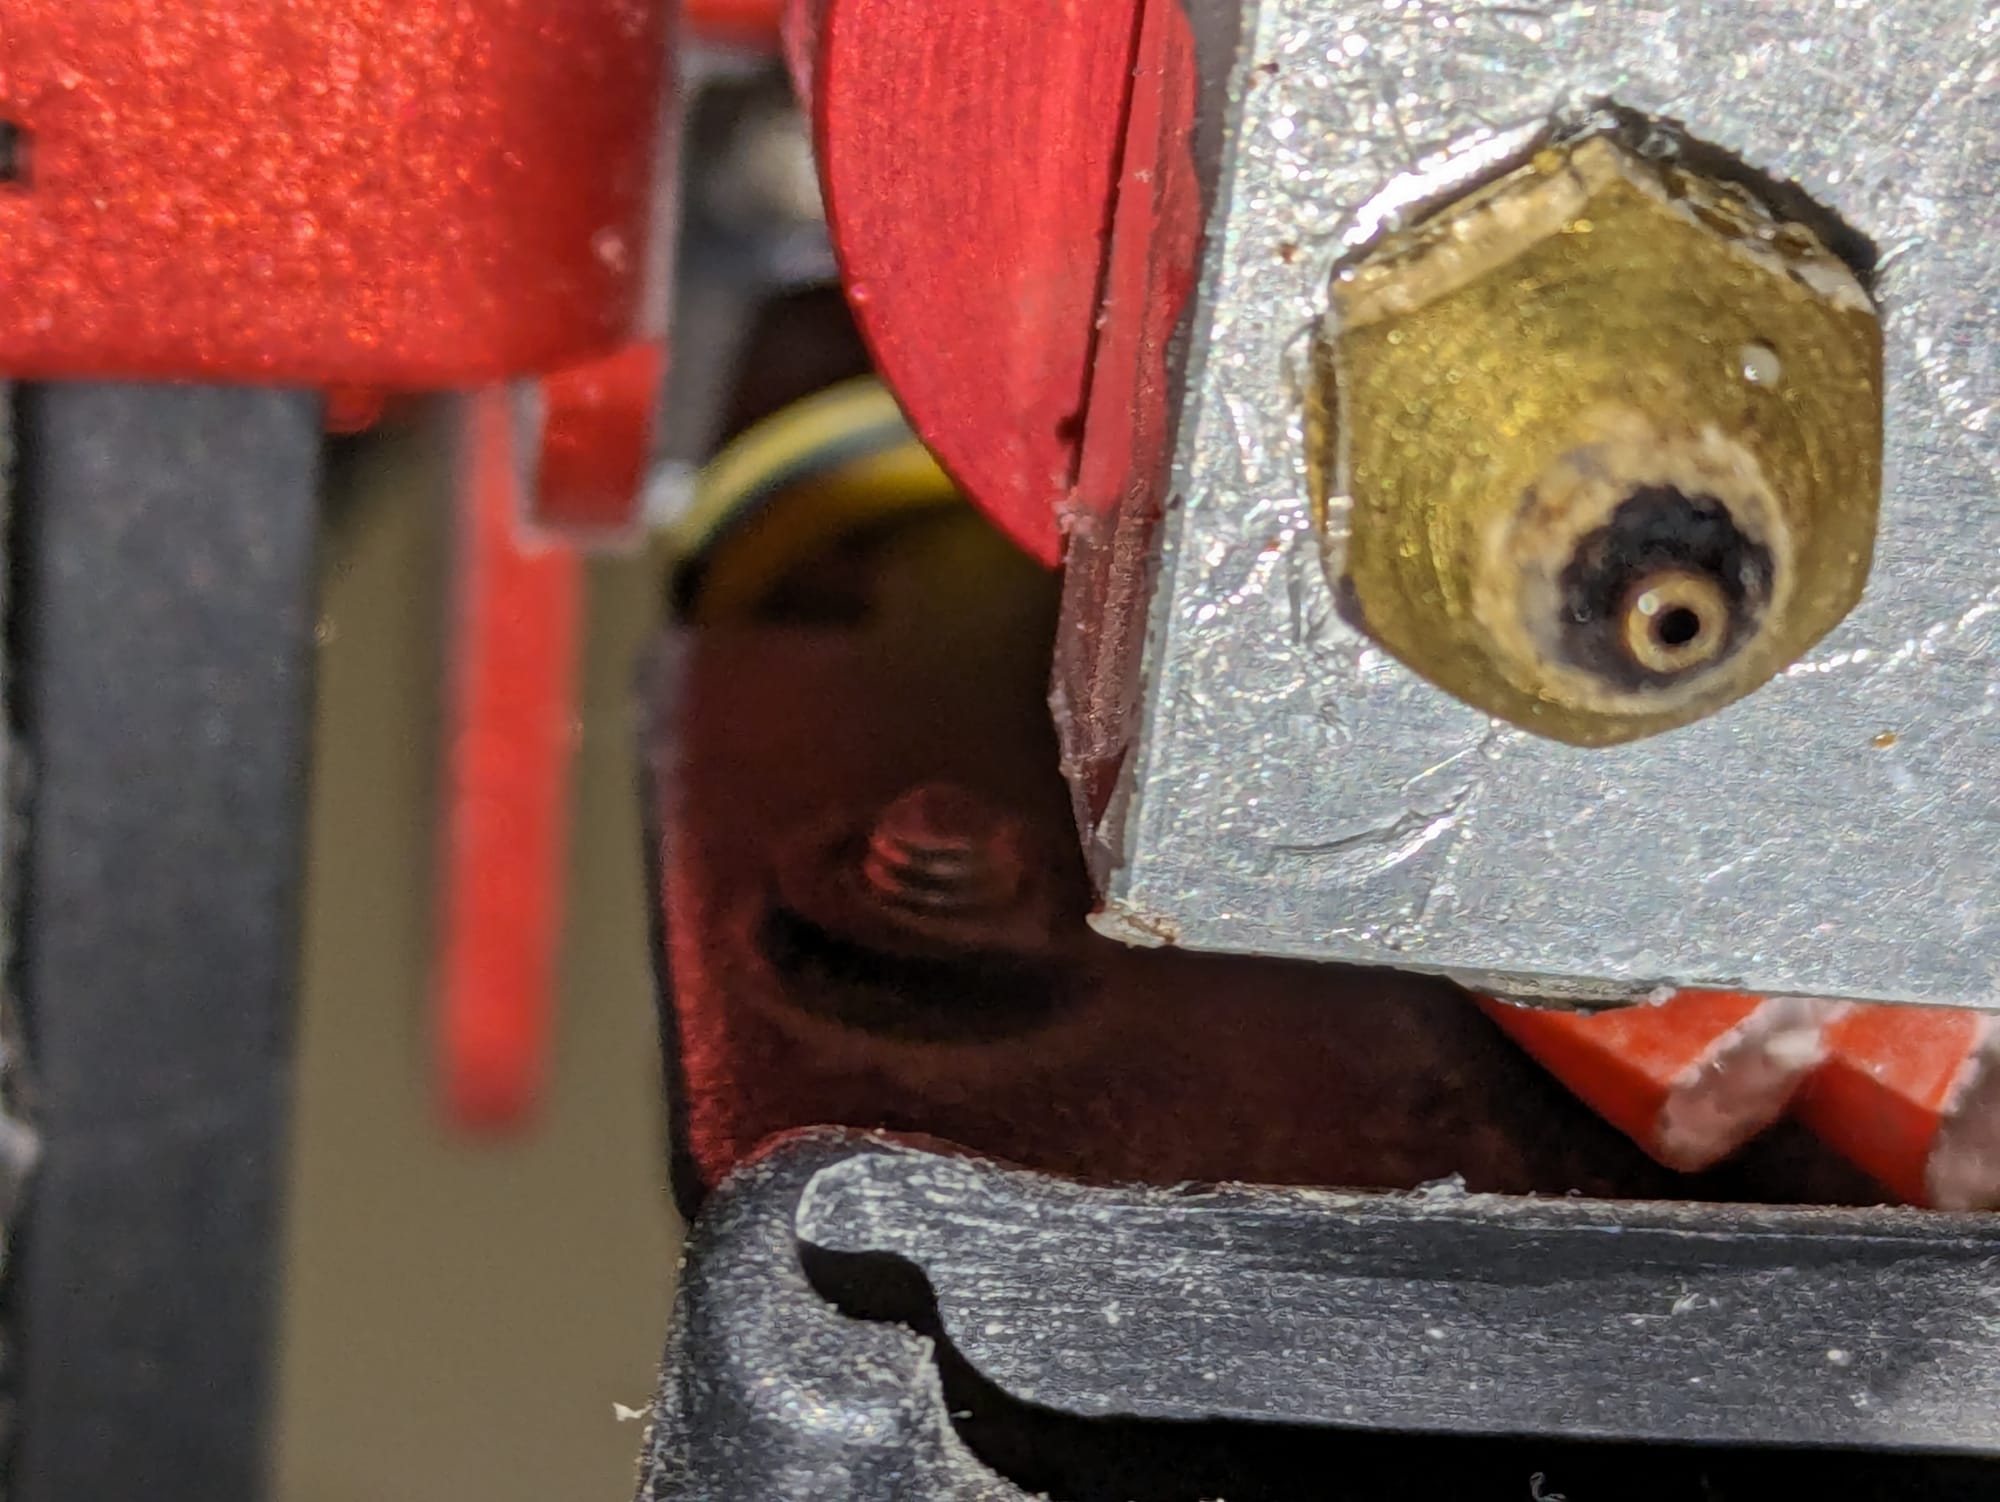
While doing all the maintenance tasks on the printer, I was able to clean up the nozzle on the hotend. This was done by using sunlu cleaning filament and pushing it through the hotend, while headed. I also used a wire brush to remove any excess filament. If you are heading up a hotend for the first time, assume that it was used for a nasty filament beforehand and ventilate your room well. Also, you may need to heat things up to around 240 degrees.
At this point I decided to take a closer look at the nozzle. I first tried to remove the silicon sock, but found that it had become brittle. I ended up peeling the sock off.
I did slacken off the nozzle with a view to replacing it. This would enable me to have a known wear state and a known nozzle size. Stock on the CR-10 max is 0.4mm and 0.8mm. I have lots of nozzles for the ender 5, in different factors for the X-Change and hotend setups, so my plan was to use one of those. Then I noticed the threads. It seems that the CR-10 max uses a smaller thread than the Ender-5.
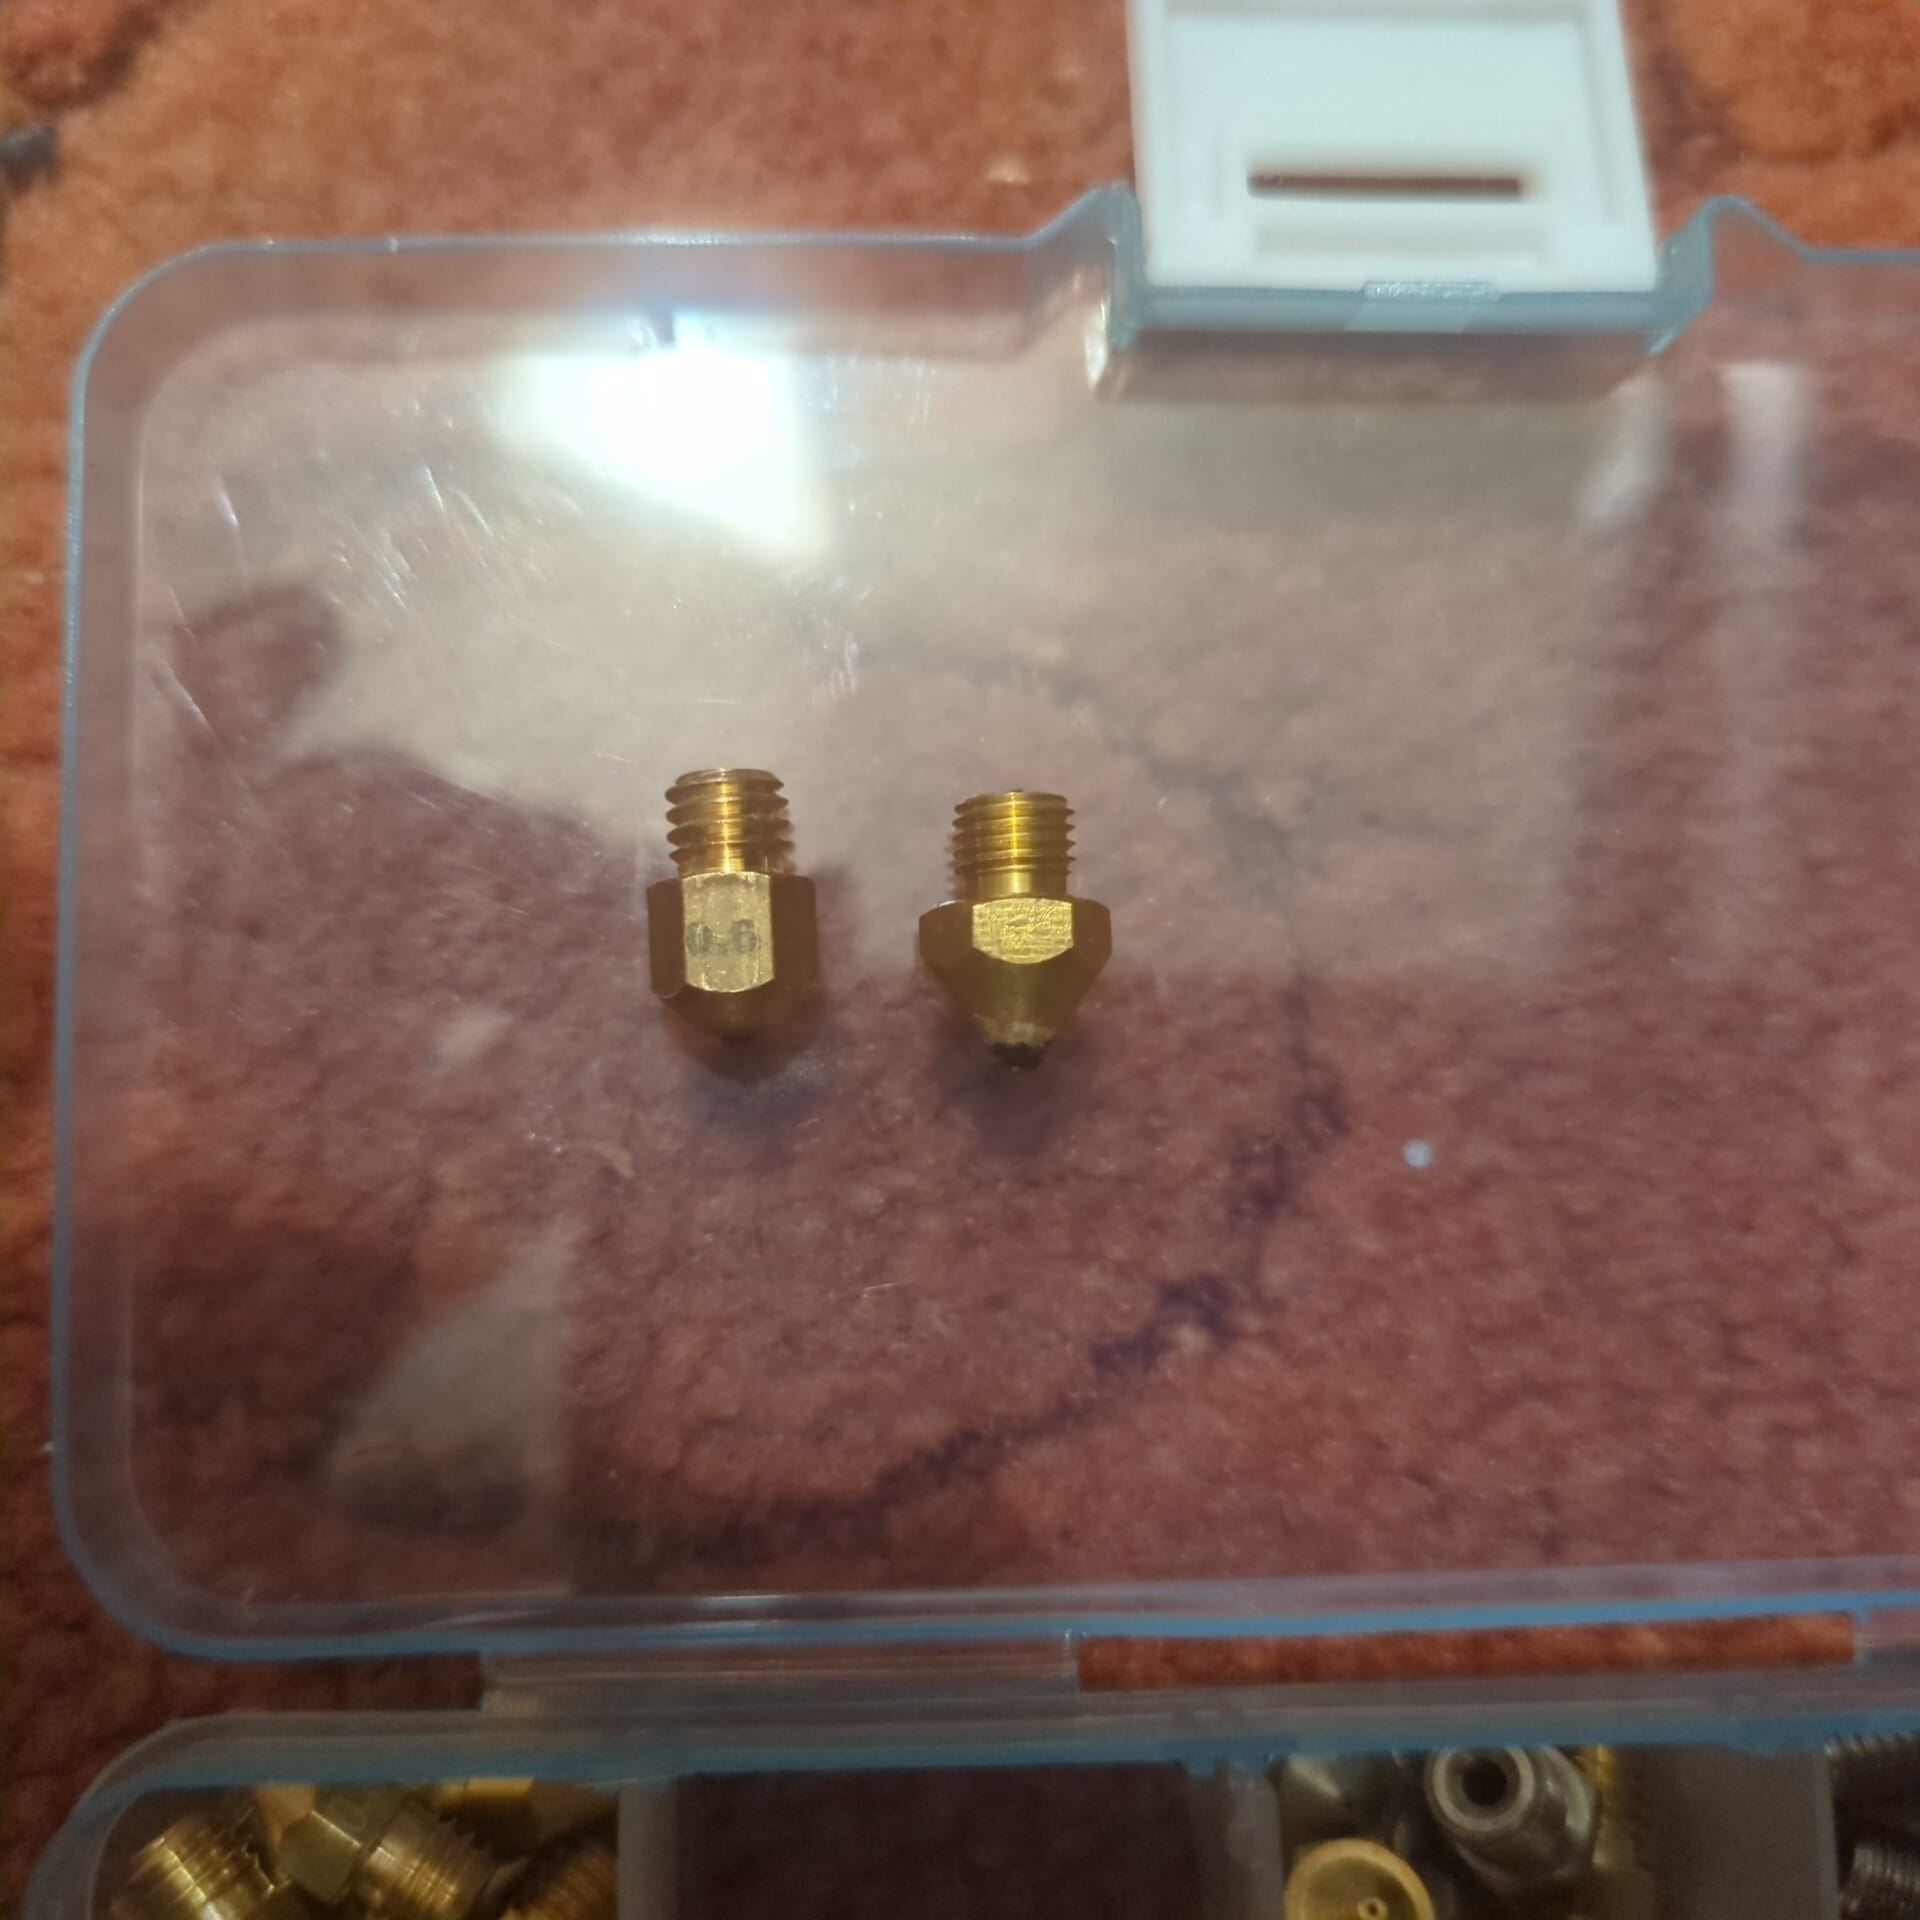
I have ordered some Brozzl Nozzles for the CR-10 Max, but as of writing they have not arrived yet. Once they do, I will place the 0.8mm nozzle on it, and look at printing with the glow in the dark filament, to see if I can get that working.
In the meantime, I put the hotend back together and replaced the silicone sock with a fresh one.
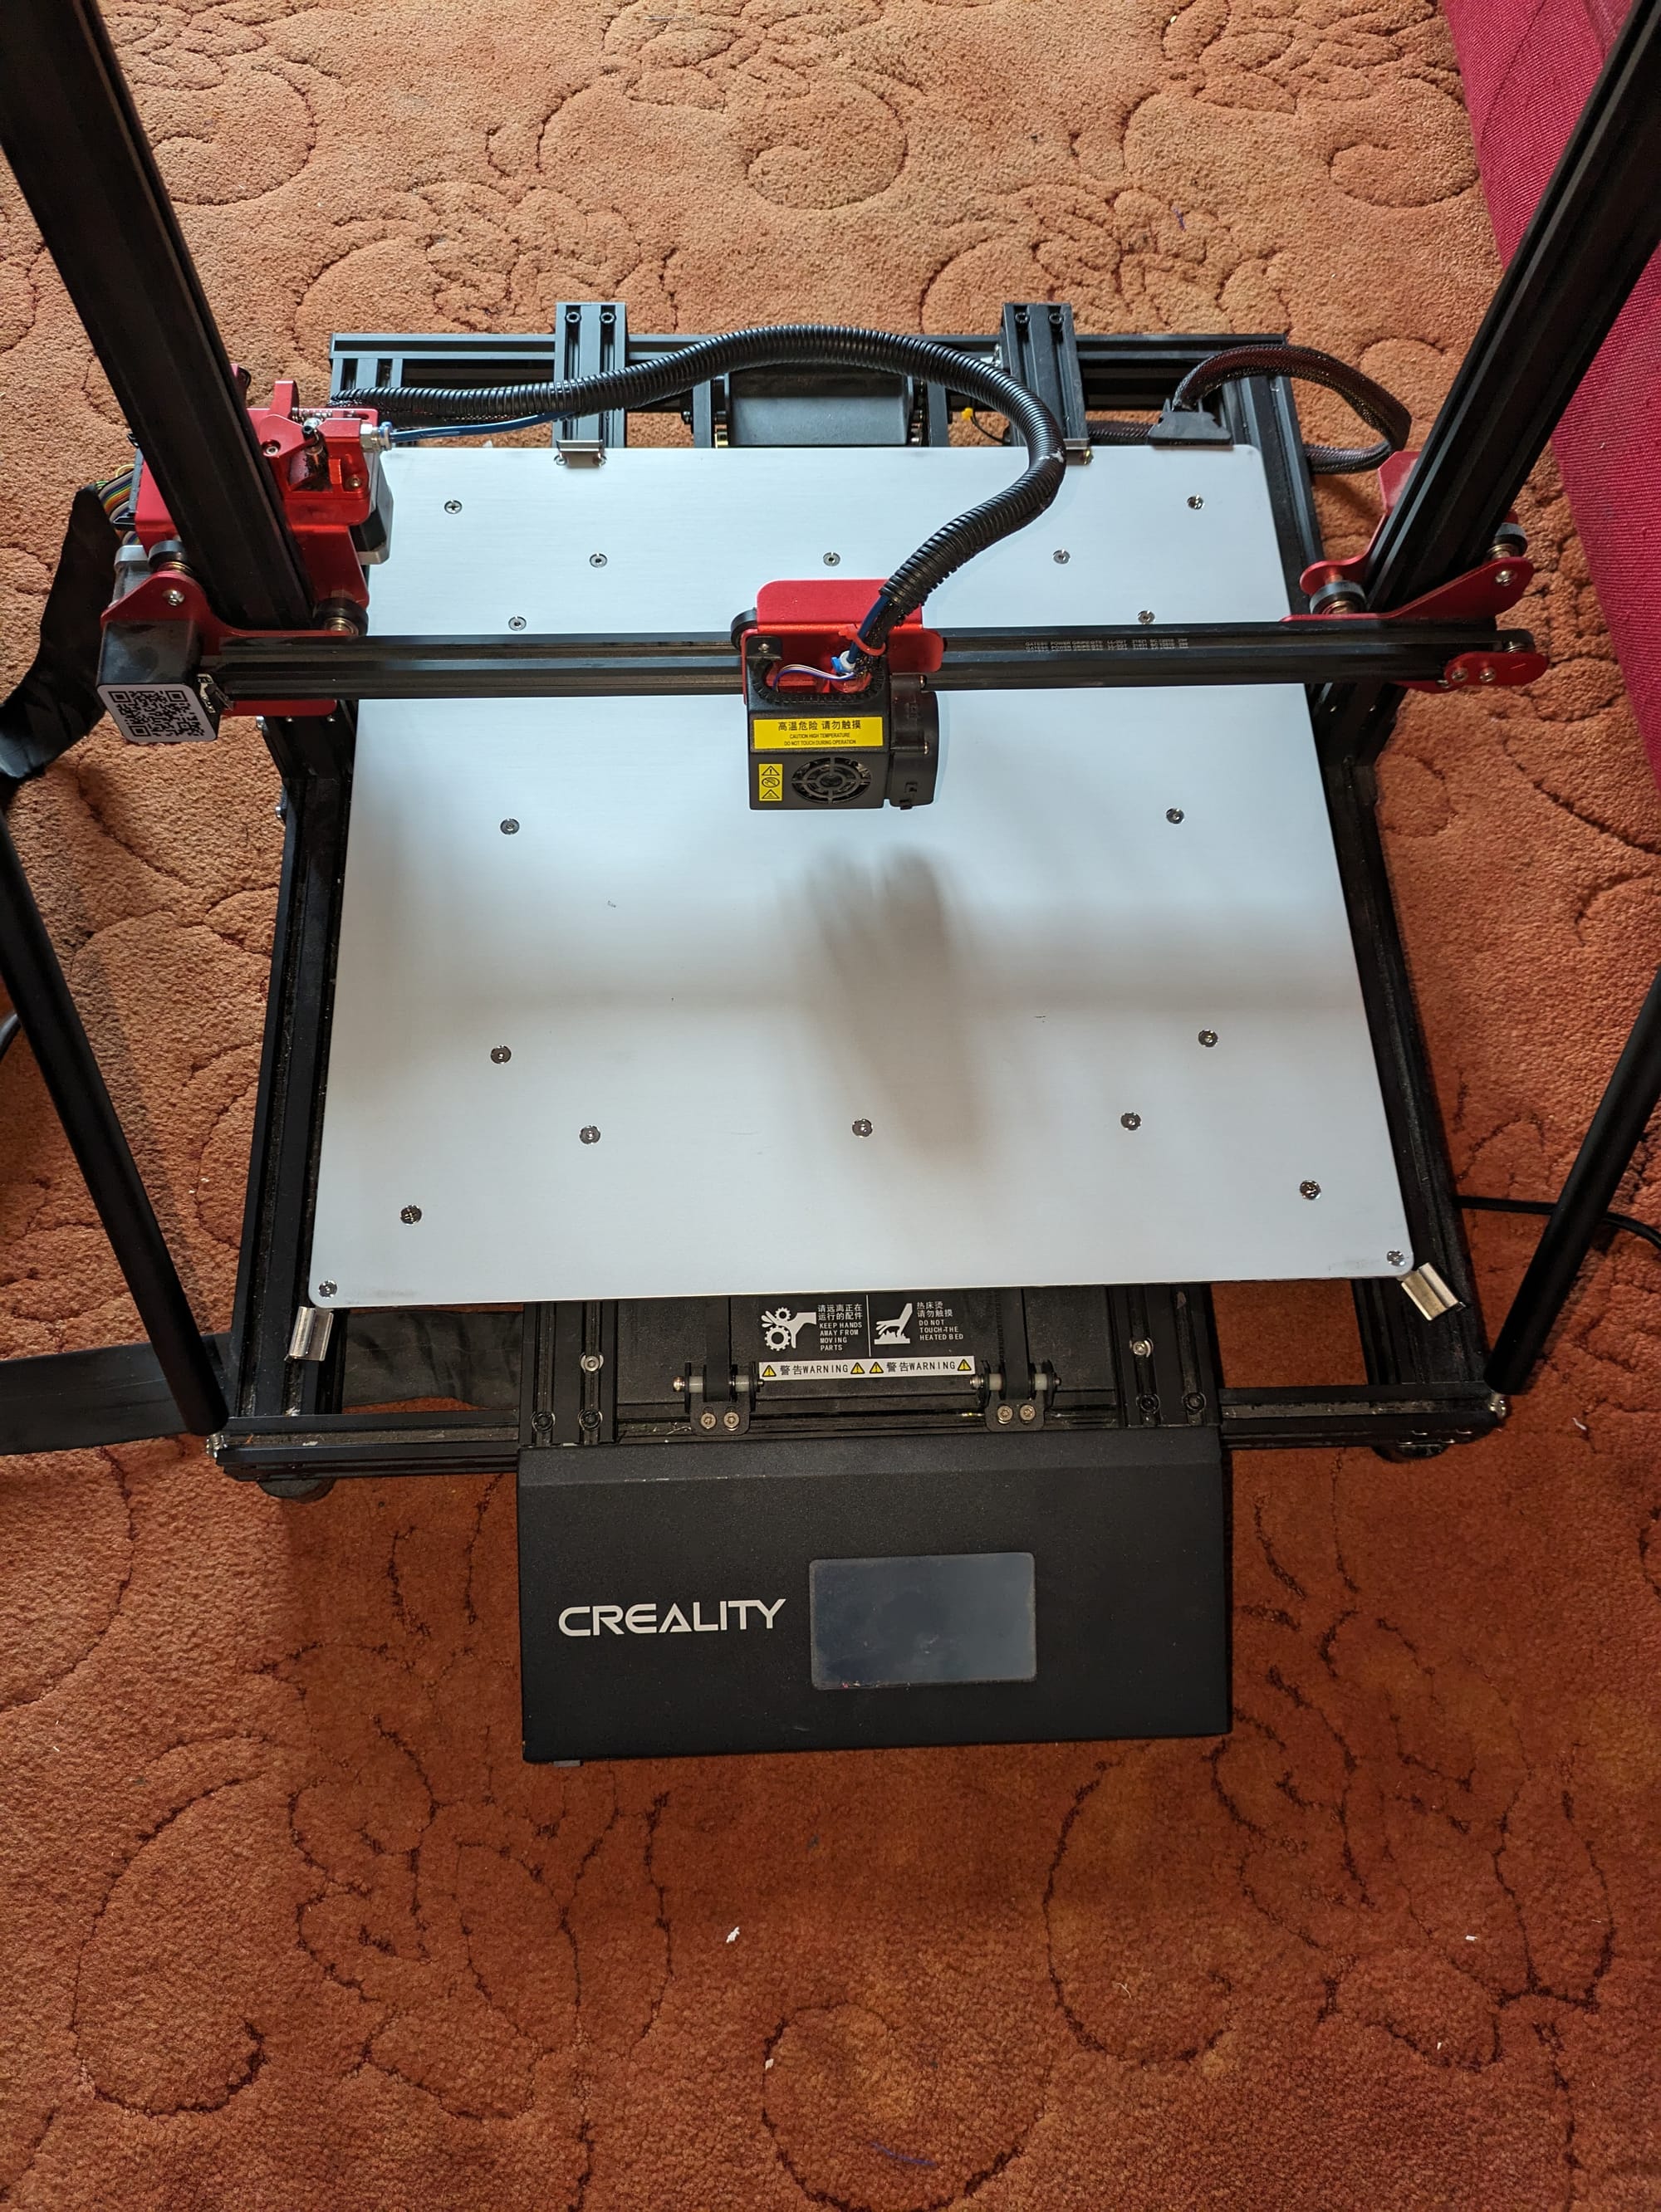
The IKEA Lack table
The CR-10 Max needed somewhere to site, and I don't like them sitting on the floor. While my Ender-5 is small enough to sit on a normal lack table, the CR-10 MAX fits (just about) on a Lack coffee table. This was a quick trip to IKEA, a parting of 10 whole english pounds and a bit of me time with my electric screwdriver.
The Squeak
The last annoying part of the CR-10 max is that the Y-Axis appears to squeak when it moves. As yet, I have not found out how to fix this, but I will update this article when I do.
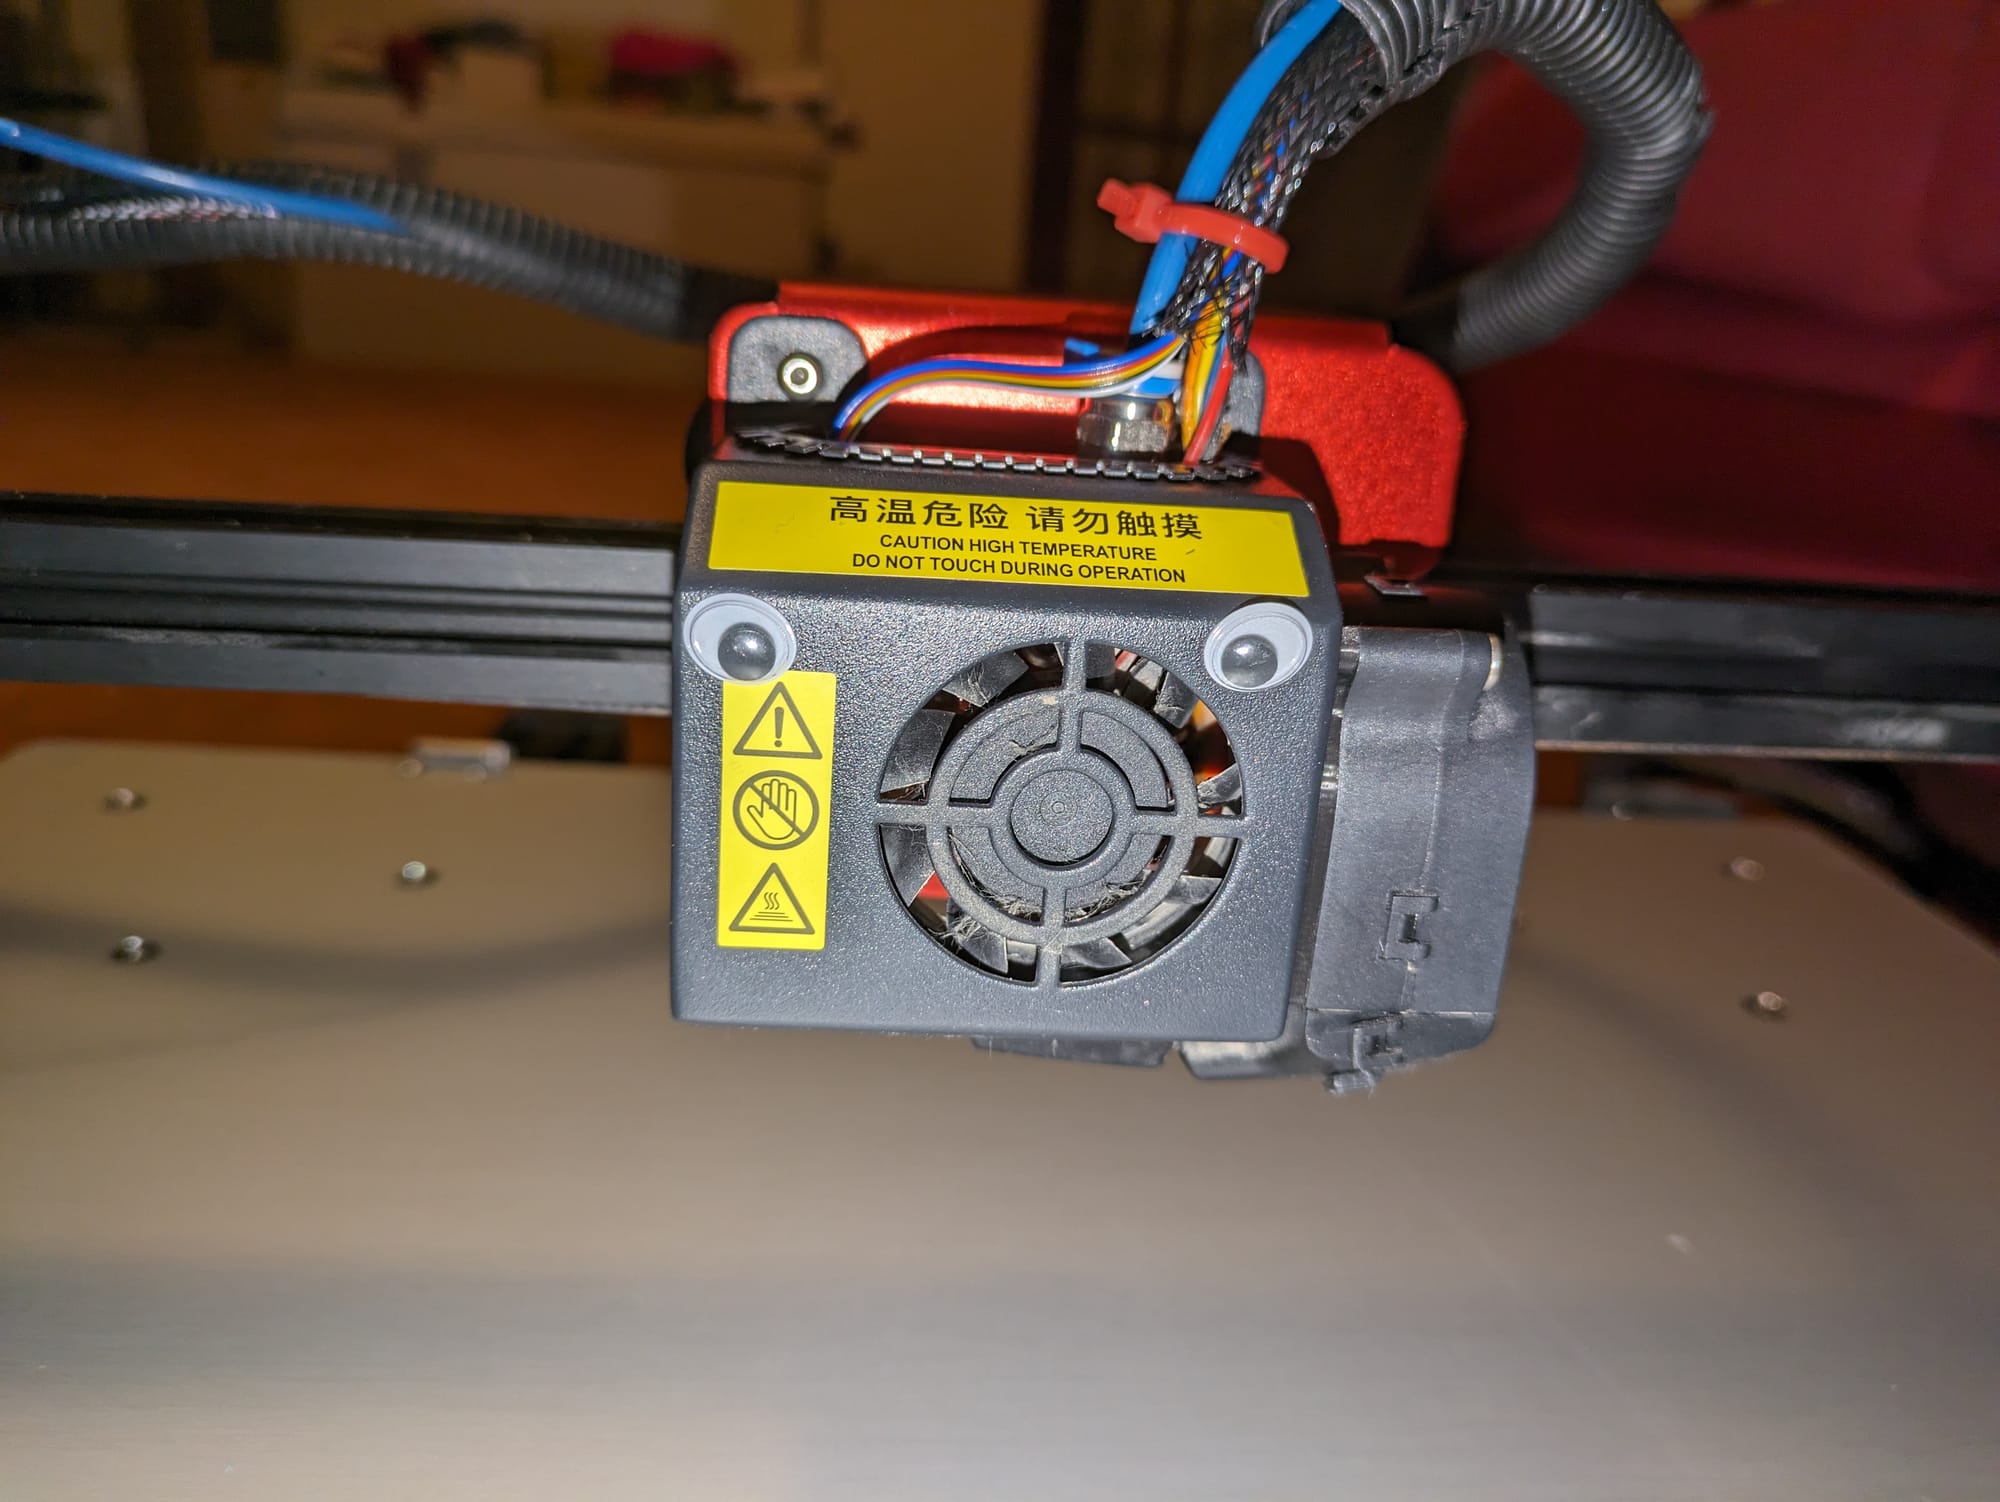
Googly eyes
The last of the upgrades (for now) is the googly eyes. These just add a touch of humour to any printer. I bought a set from amazon.
The result
My first print was of a benchy. Unfortunately, I'd selected a 0.4mm nozzle in cura, not realising that the nozzle on the printer was actually the 0.8mm stock nozzle. This came out shockingly bad, with big gaps in it. It was quite obvious that I had set the wrong size.
The Second print went much better. While the benchy was stuck to the default CR-10 max build plate pretty well, I eventually got it removed.
I do still have some more tweaks to do - like add Octoprint, a camera and LEDs. Perhaps another post will make it's way out soon.
About the author
Tim Wilkes is a UK-based security architect with over 15 years of experience in electronics, Linux, and Unix systems administration. Since 2021, he's been designing secure systems for a telecom company while indulging his passions for programming, automation, and 3D printing. Tim shares his projects, tinkering adventures, and tech insights here - partly as a personal log, and partly in the hopes that others will find them useful.
Want to connect or follow along?
LinkedIn: [phpsytems]
Twitter / X: [@timmehwimmy]
Mastodon: [@timmehwimmy@infosec.exchange]
If you've found a post helpful, consider supporting the blog - it's a part-time passion that your support helps keep alive.
⚠️ Disclaimer
This post may contain affiliate links. If you choose to purchase through them, I may earn a small commission at no extra cost to you. I only recommend items and services I’ve personally read or used and found valuable.
As an Amazon Associate I earn from qualifying purchases.