Dino Dig - Steelcon's kids track
Please note, links on this page to amazon are most likely amazon affiliate links. I'd love it if you buy through my links, but I understand if you don't.
So, I've been a bit quiet recently and not updated the blog in a while. I've been quite busy finishing up a few things for Owasp MCR and Steelcon. This year, my son is on the kids' track and I've agreed to help out by coming up with an activity. After a bit of discussion, my activity was decided on as being the archeological dig.
The dig itself is pretty much what it sounds like. The kids get a large takeaway size container full of stuff for them to dig through. Methods to dig through include using a hammer, screwdrivers, paint brushes and gravity. The rules / requirements for the activity are quite straight forward:
1) Safety first - Basically, safety glasses and no throwing the blocks. Should be a no-brainer, be we are dealing with 5 to 14 year olds here.
2) Keep a lid on it - If you are moving the block, place the lid back on. This helps us keep the mess contained. Mostly.
3) Let me entertain you - Keep the kids entertained for 30 mins to 1 hour. The balancing act here is making sure that the kids don't get through the dig too quickly vs keeping them entertained, engaged and making progress. Also, the kids are varied in age and so strength.
4) Cheap, like the budgie - There is a budget and the cheaper we do things, the more we can do with the kids.
So, now we have the ground rules established, let's look at the shopping list. This was for ~ 20 kids - and assuming we need spares (Items not kids) - quanities are for 25). So, On to the shopping list:
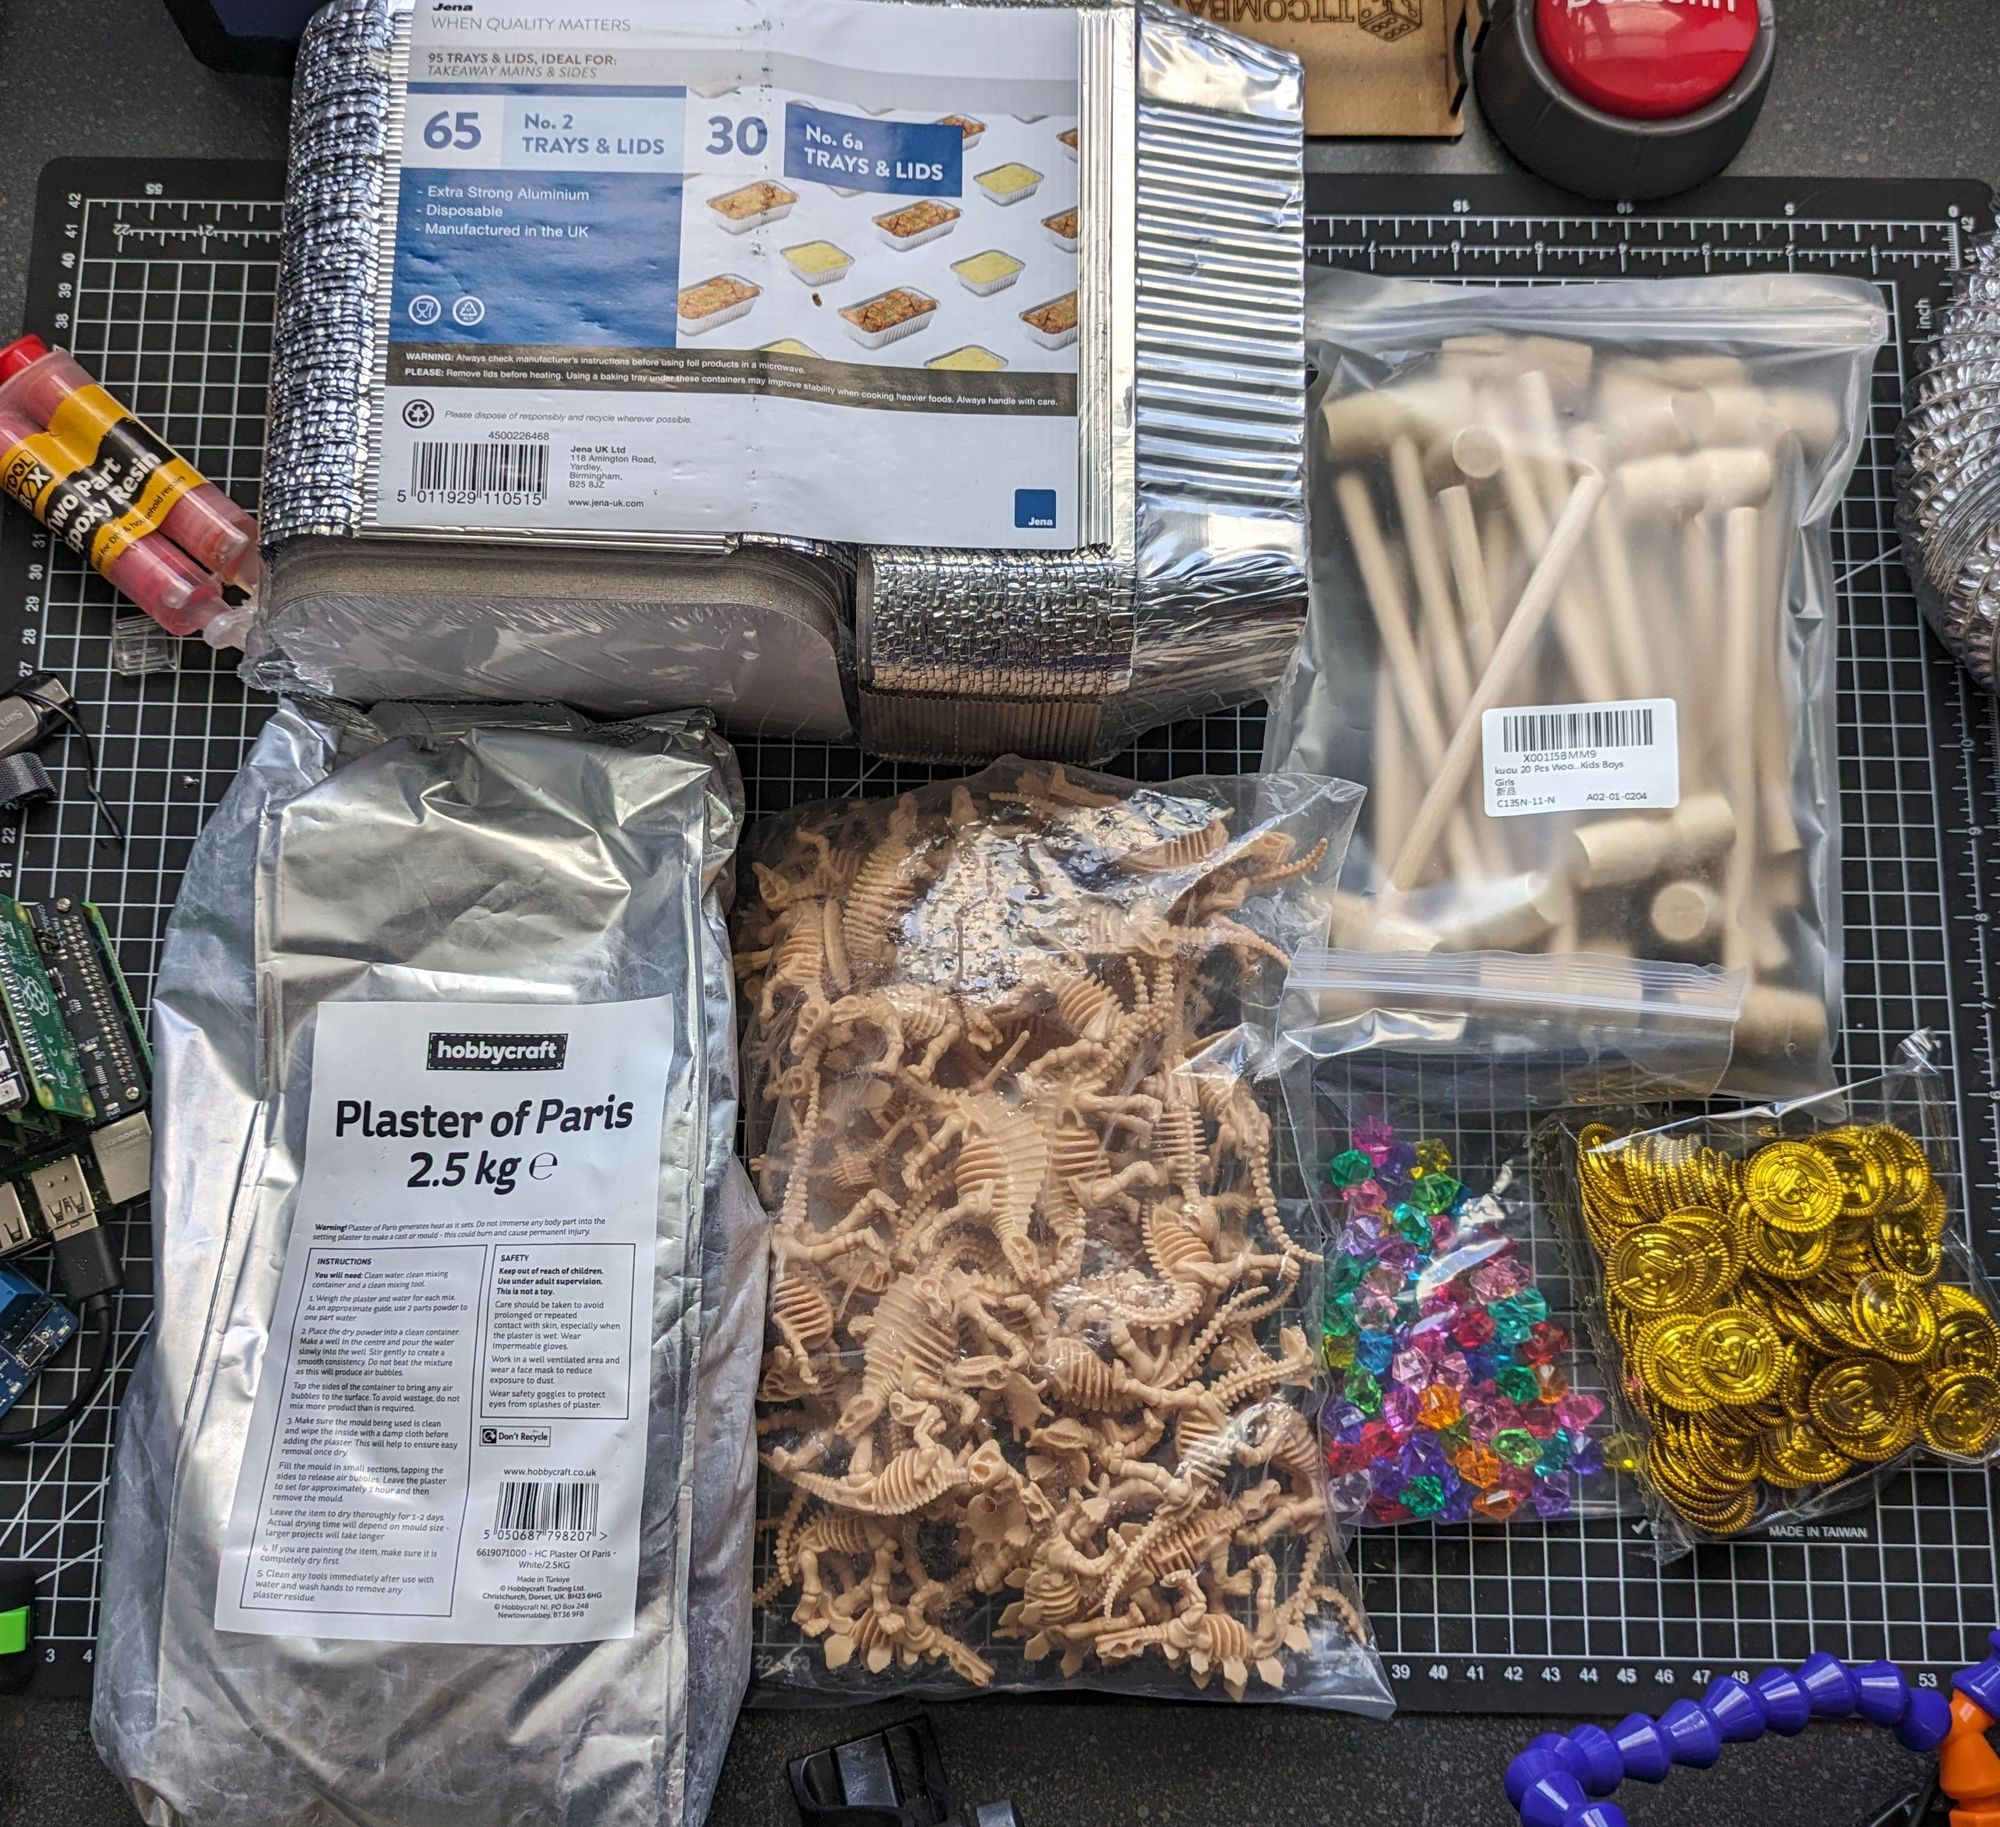
Safety Glasses - Over glasses or normal glasses
Plaster of Paris - 5kg
Sand ~ 20 kg - Had quite a bit left over. The less you add, the harder to break.
Toys - I opted for a dinosaur, a couple of gems and coins, pirate themed. Yes, there are lots left over.
Hammers - So the kids can hit the blocks and hopefully not have it fall apart in the first 5 minutes.
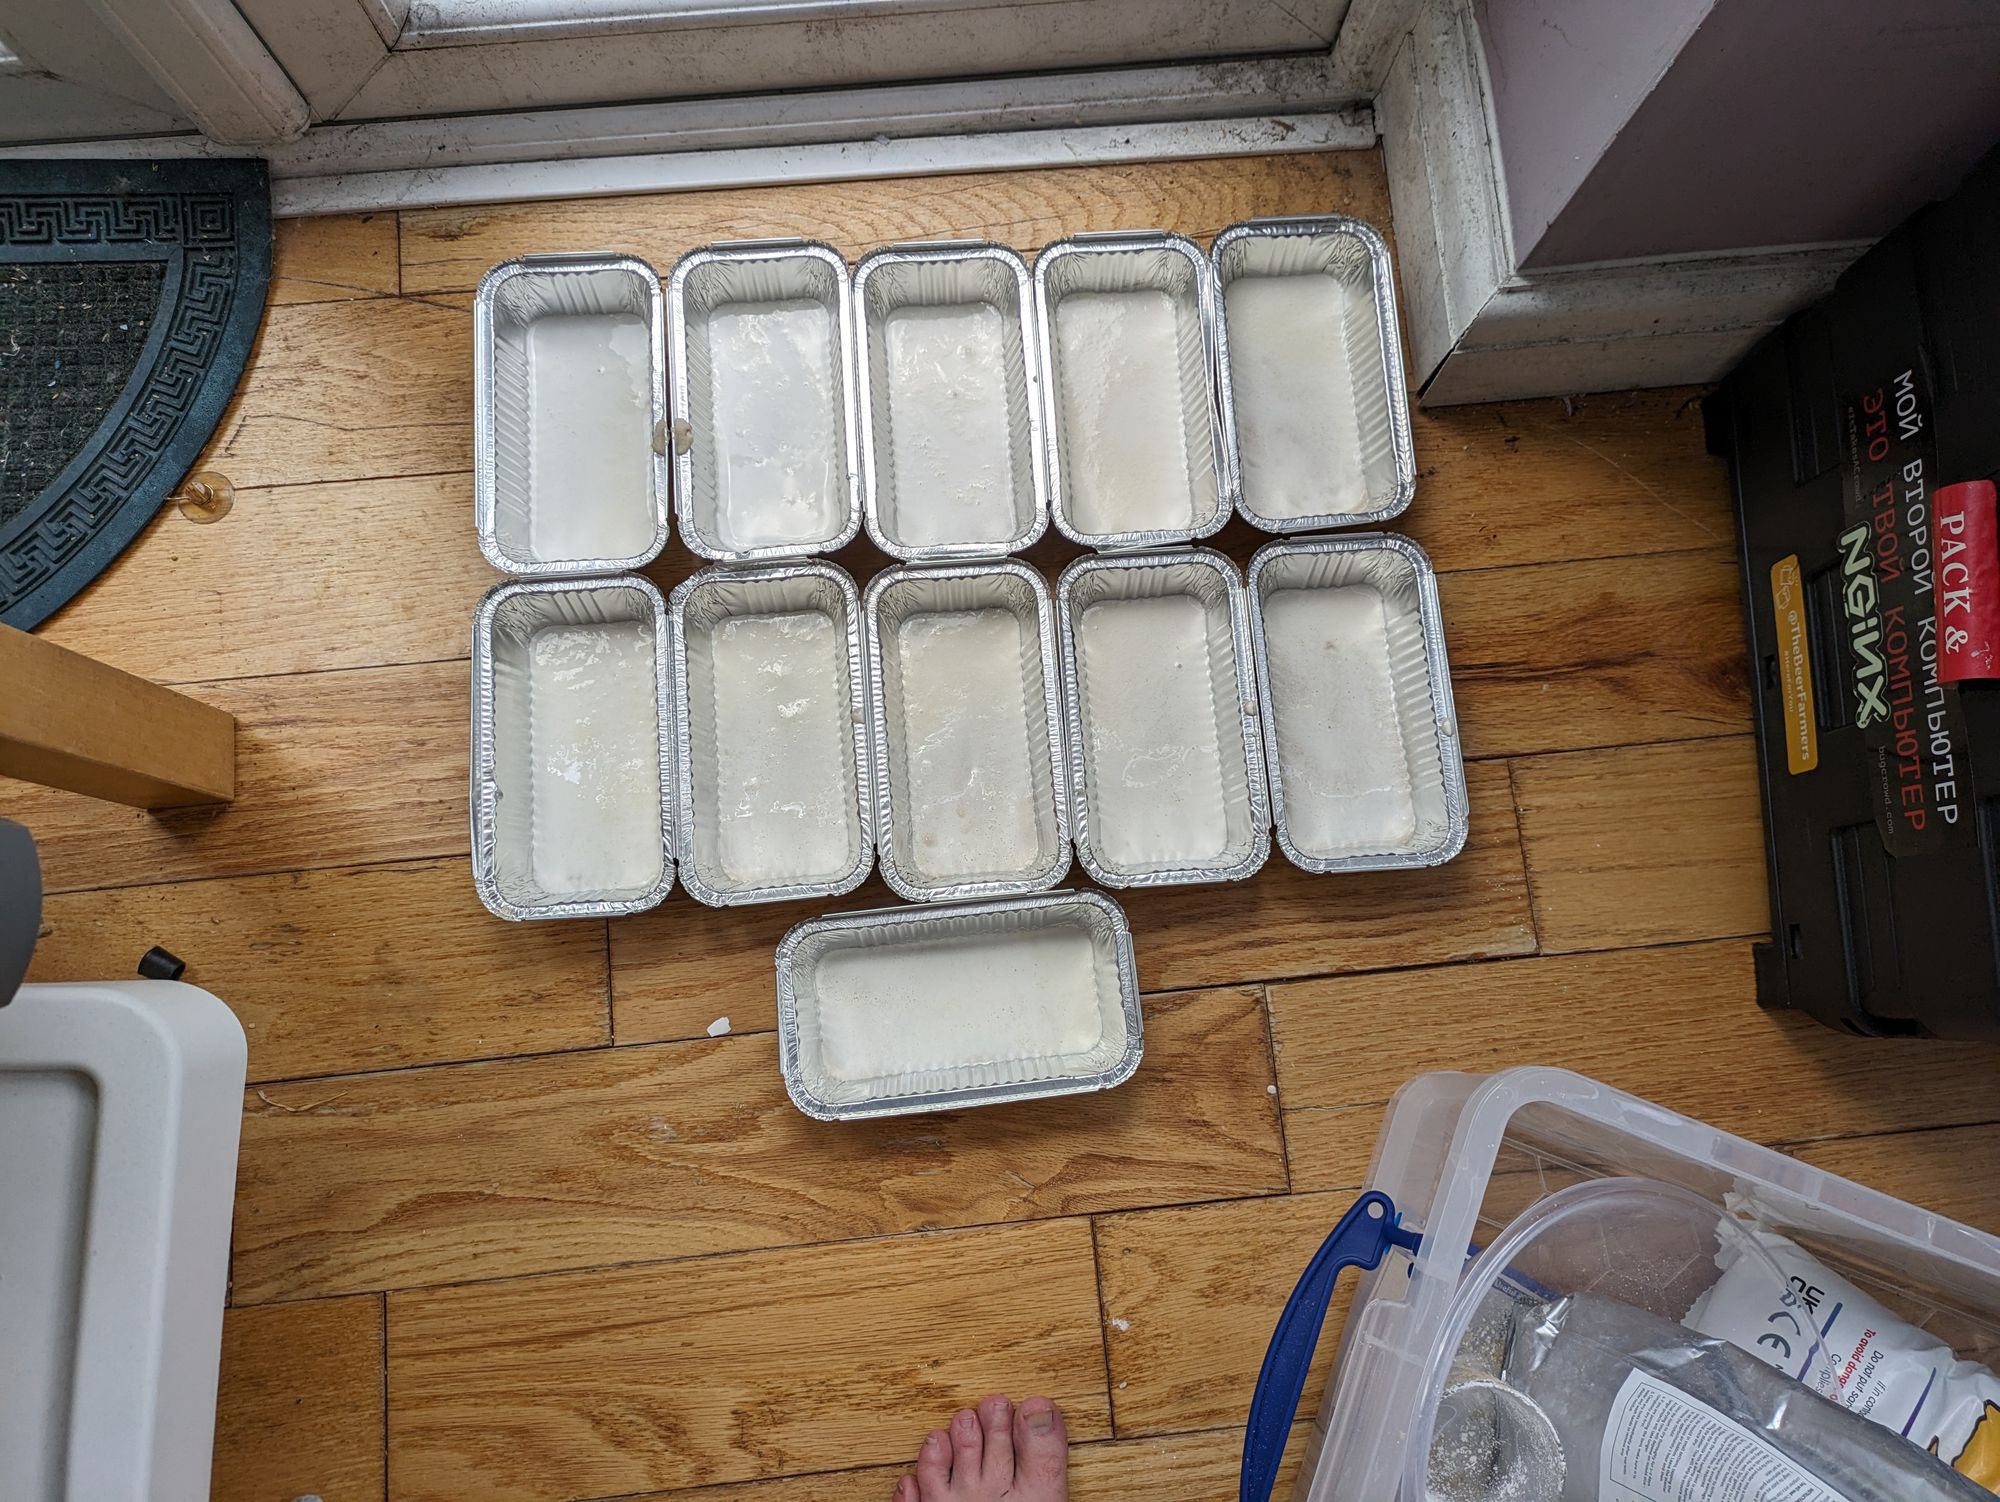
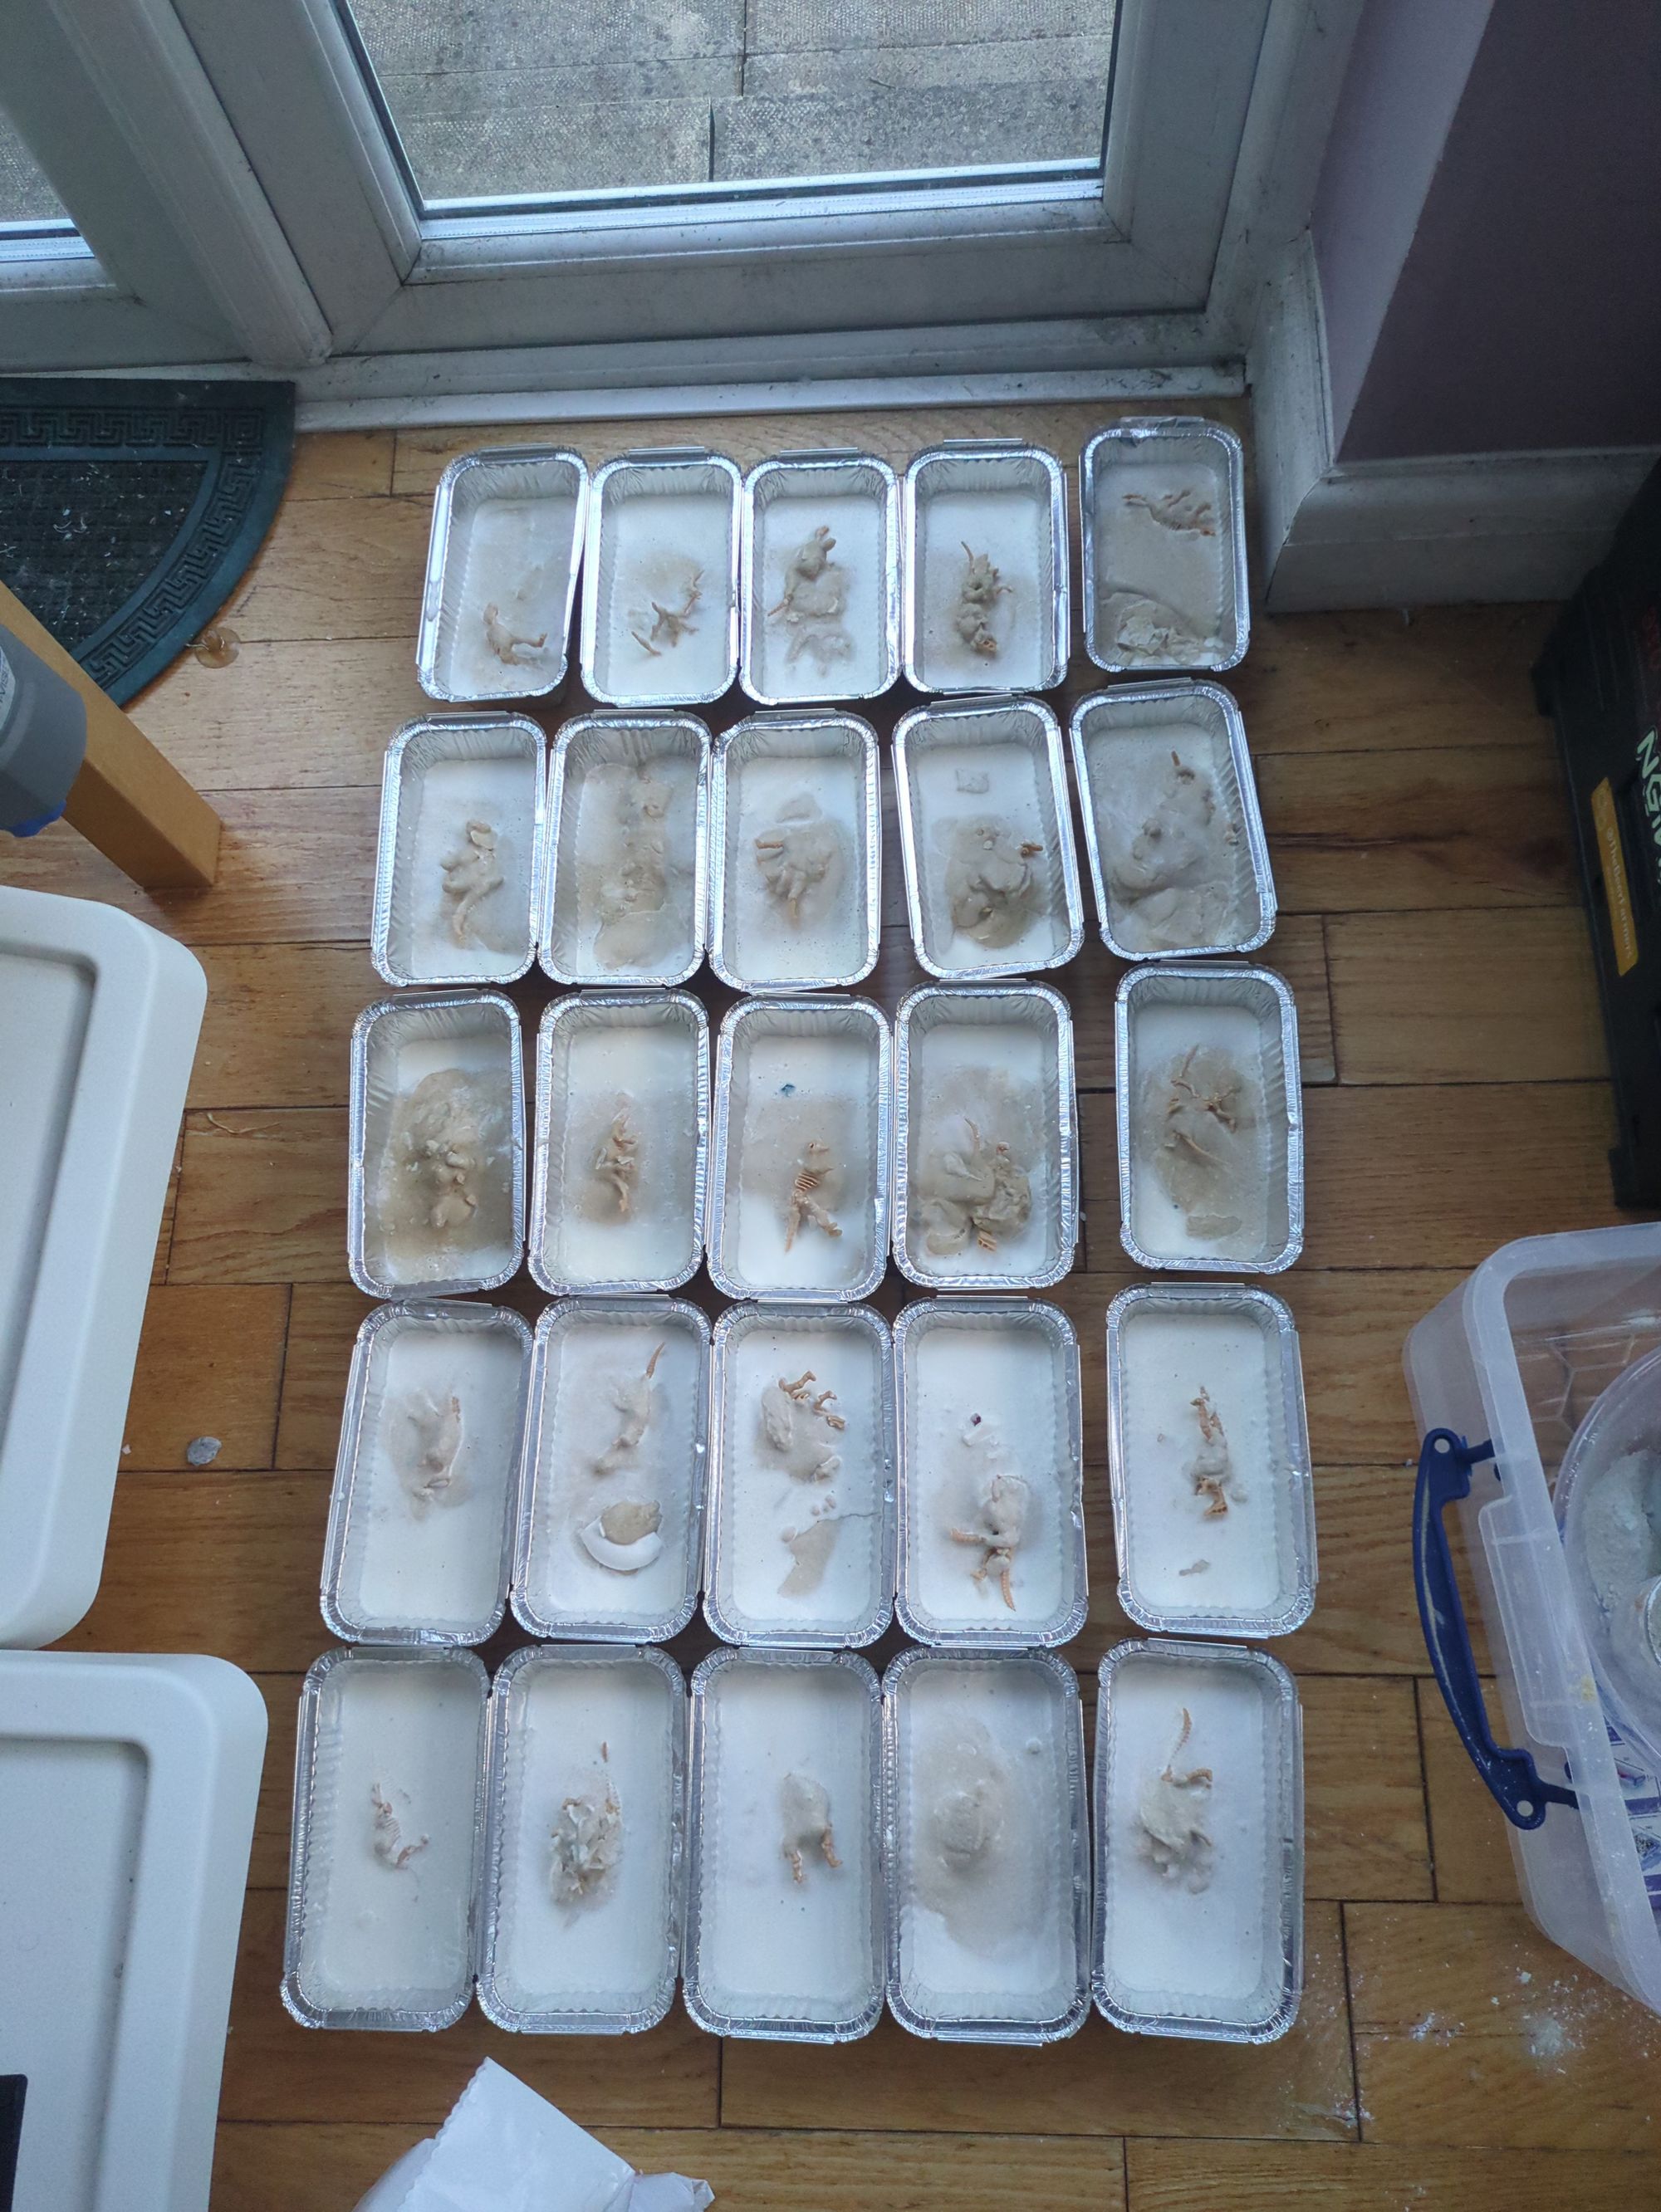
Takeaway trays - I got mine from Costco
Screwdrivers - to hit with the hammers
Paint brushes - to clean away the more intricate details
Scrapers - fine grained digging.
Wooden Spoon - To stir up the mixture.
Mixing bowl - You aren't going to reuse this, along with the wooden spoon!
Nutella glass - Optional, but I used it to measure things quickly
Bonus: Das air drying Modelling clay
To start with, I did a bit of testing of ratios. I managed to really cock up the amount of water, but that just meant that my drying time was longer. Some things to note:
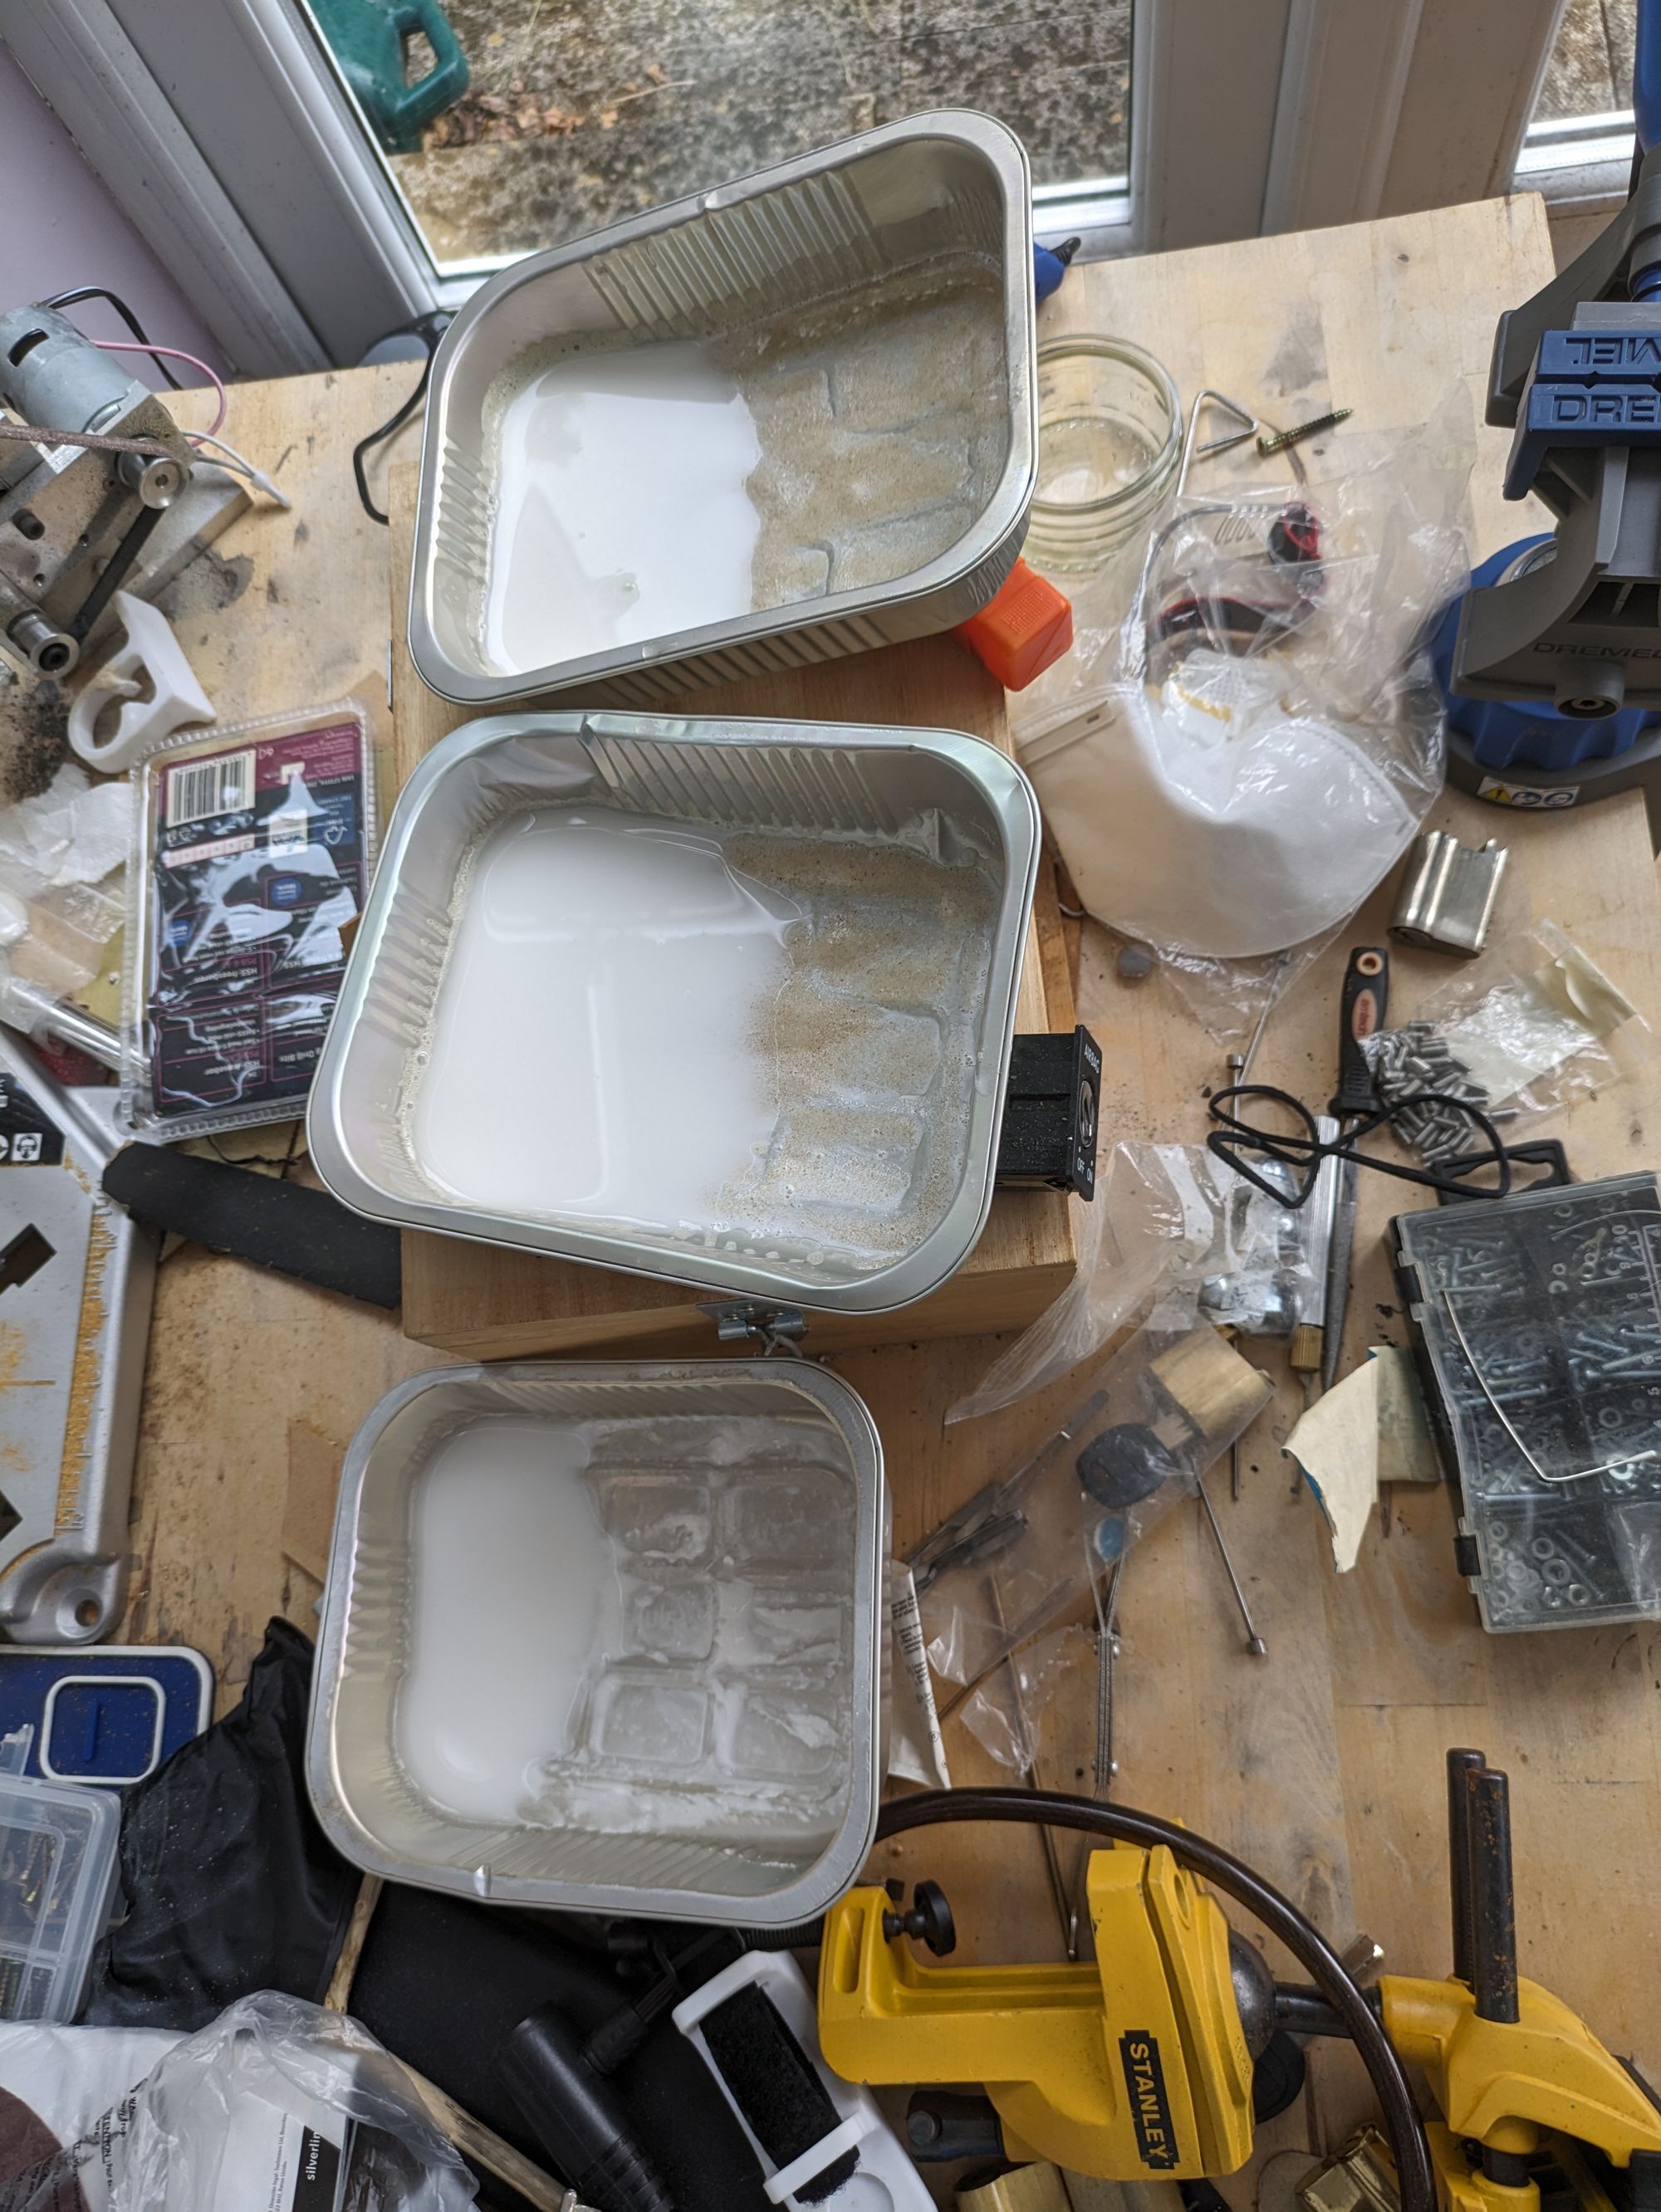
I did this during the spring / summer and my conservatory is baking hot. Drying time was hours on a hot day - the too much water experiment took ~ 24 hours. You will be pouring several layers. You need to account for this in your making time.
In terms of mixing, I found a ratio of 2 to 1 to be good. Bear in mind, you don't want big batches. To measure, I used an old nutella glass that I had knocking around. The first layer needs to dry before adding the treasures to dig out.

Once the treasures are added, cover with a new sand / plaster mix. Add more layers until all the treasures are covered. Bear in mind, you don't necessarily want the treasures sticking out and the treasures can be quite big.

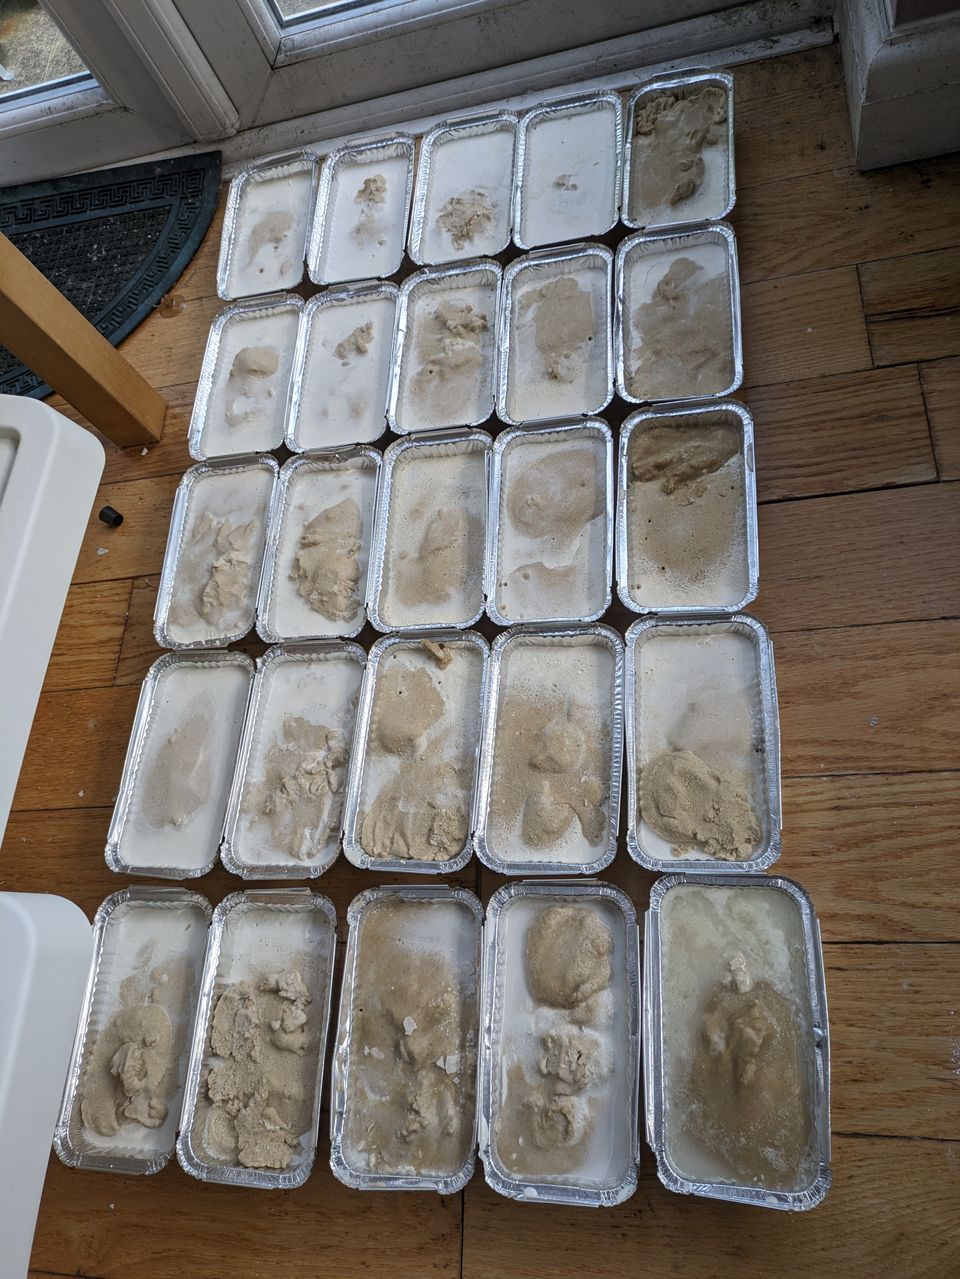
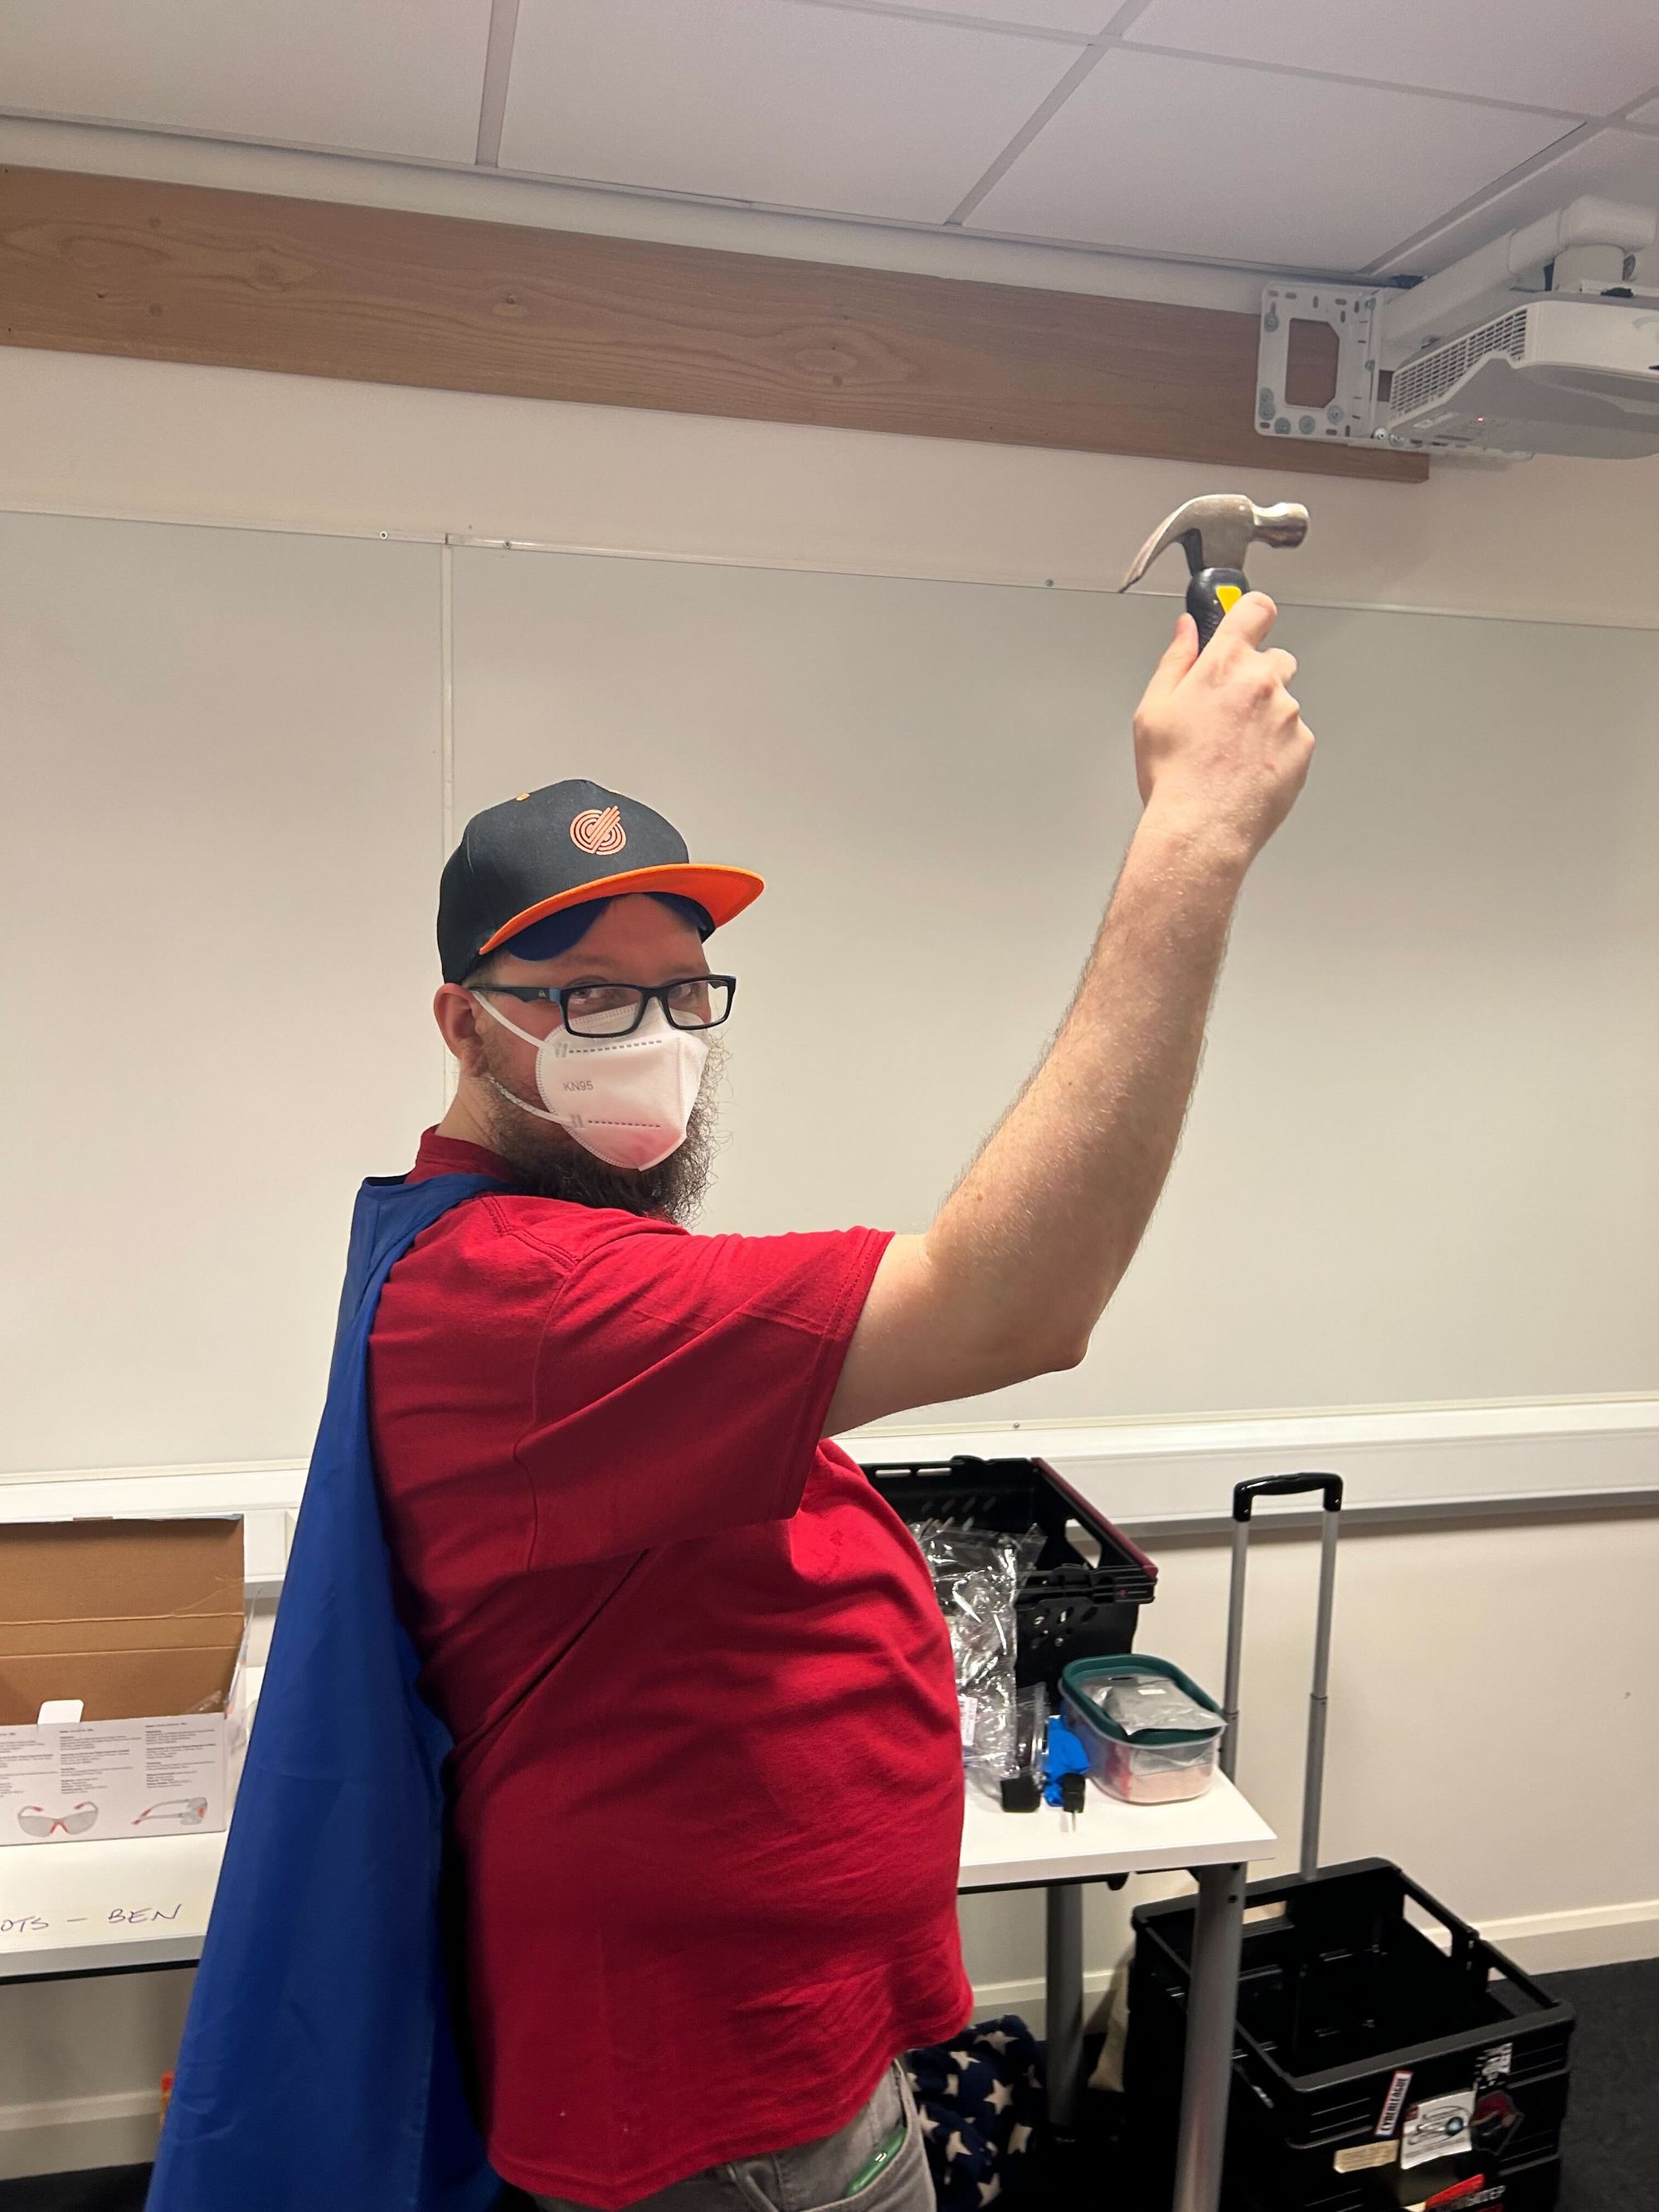
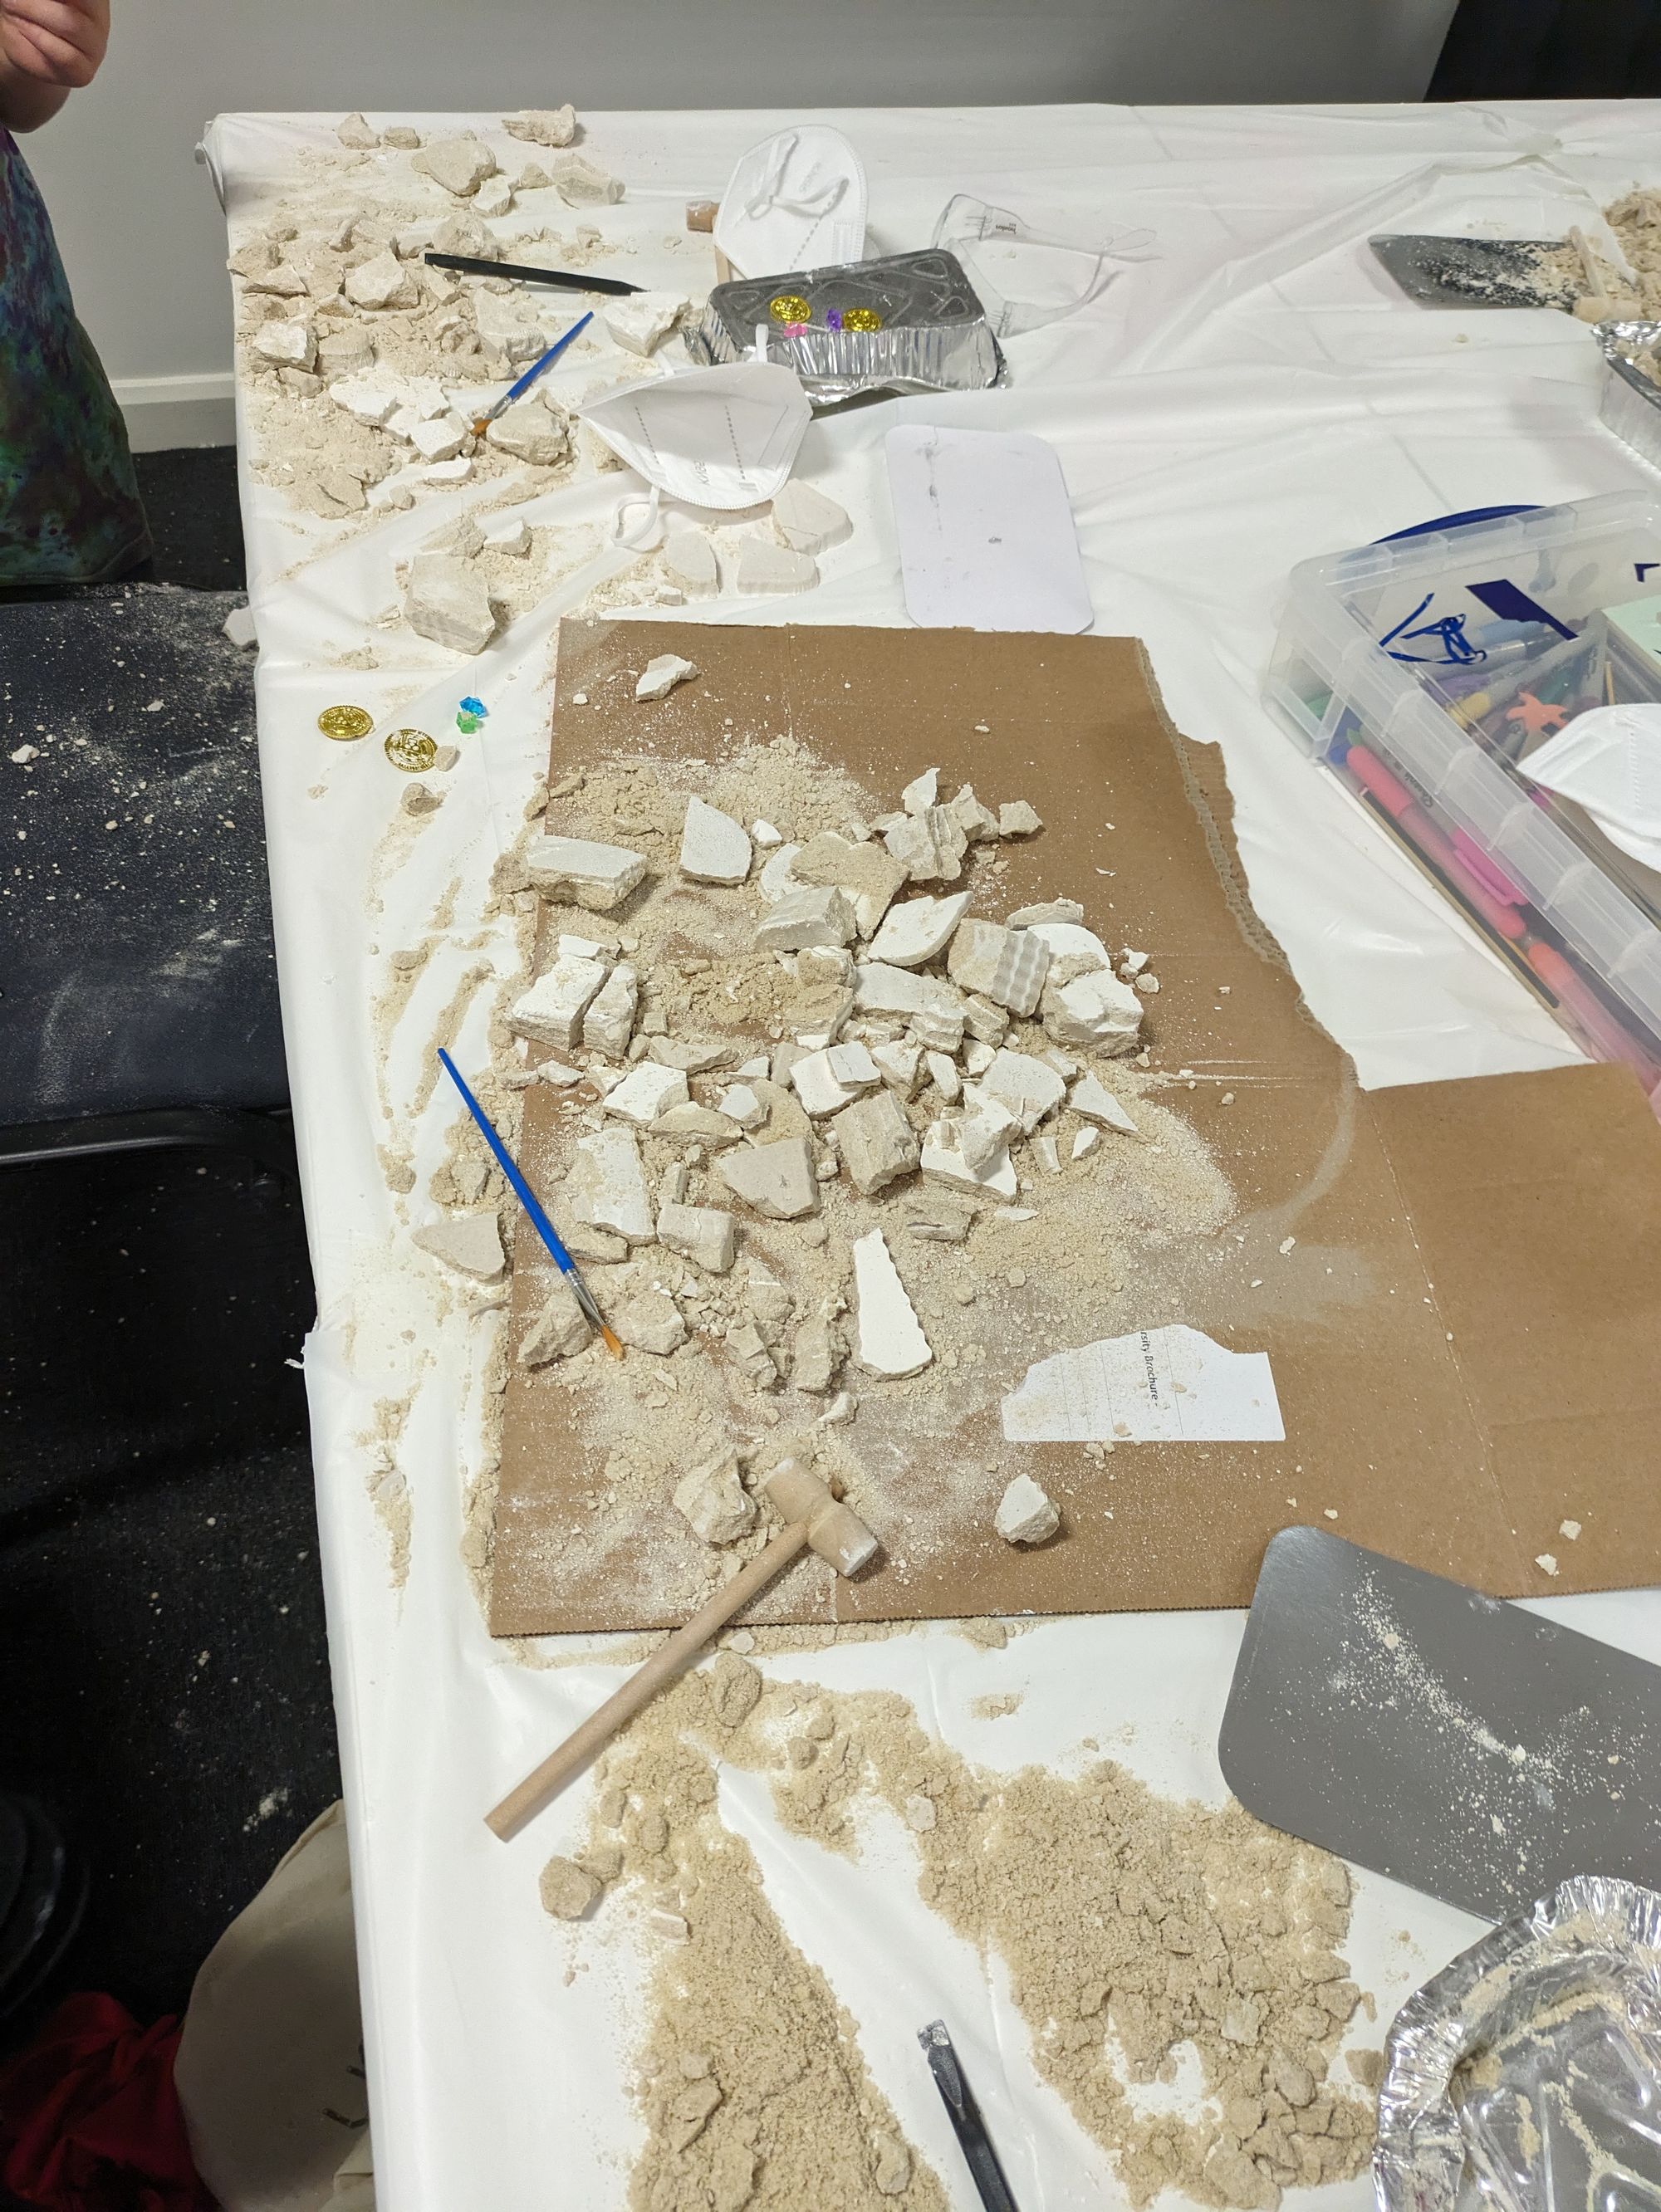
Steelcon 2023 has now come and gone, and my activity was put in to action. The main thing was that the kids seemed to really enjoy it. In some cases, the plaster was too tough for the kids to get through them selfs, so a bigger hammer was wielded (By our very own "Hammer man"!).
The kids took between 15 and 30 mins to break the items apart and find their treasures. Once the treasures were found, the kids then used the brushes to clean up the dinos.
For the kids who finished quickly, we gave them Das modelling clay to press over the dino skeletons to make the dino's shape come back to life. If you are doing this with your child, once dry, you could even paint over the clay.
One of the kids specifically chose to only cover half of the dino, so they would get a half and half effect, which looked pretty cool.
About the author
Tim Wilkes is a UK-based security architect with over 15 years of experience in electronics, Linux, and Unix systems administration. Since 2021, he's been designing secure systems for a telecom company while indulging his passions for programming, automation, and 3D printing. Tim shares his projects, tinkering adventures, and tech insights here - partly as a personal log, and partly in the hopes that others will find them useful.
Want to connect or follow along?
LinkedIn: [phpsytems]
Twitter / X: [@timmehwimmy]
Mastodon: [@timmehwimmy@infosec.exchange]
If you've found a post helpful, consider supporting the blog - it's a part-time passion that your support helps keep alive.
⚠️ Disclaimer
This post may contain affiliate links. If you choose to purchase through them, I may earn a small commission at no extra cost to you. I only recommend items and services I’ve personally read or used and found valuable.
As an Amazon Associate I earn from qualifying purchases.