Epaper Displays
One of my friends has been raving about epaper displays for a while now. Recently he bought 50 of them and needs to program them up to work with a controller and Home Assistant.
Getting started
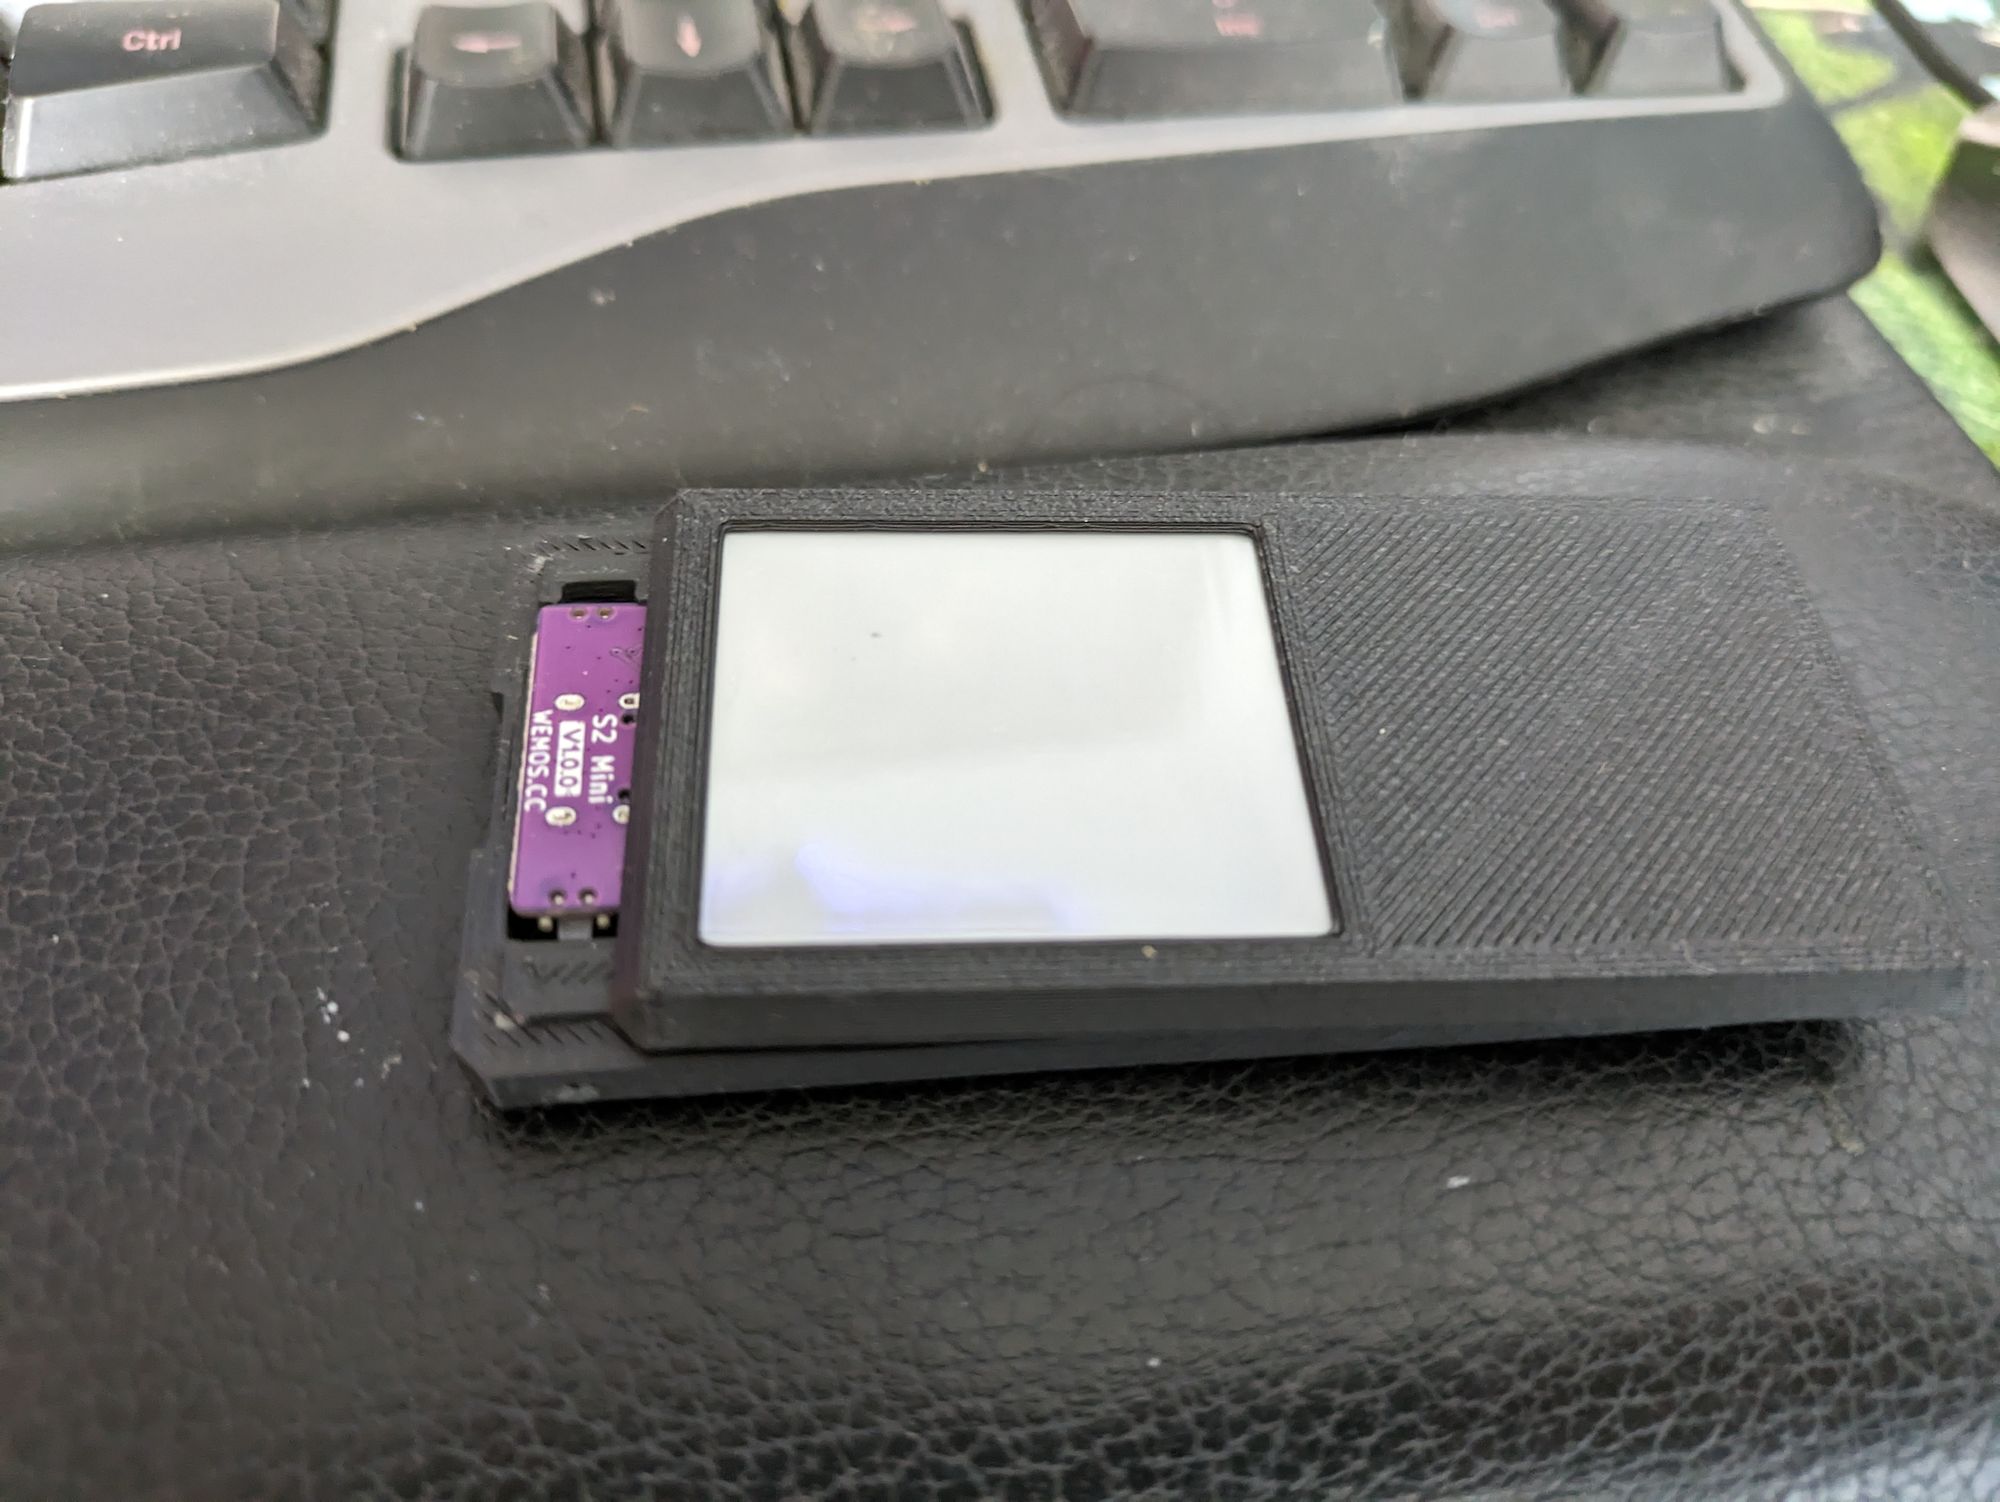
First of all, you are going to need the access point and flasher. These items can be bought from Tindie here. Some assembly is required, and you should be able to solder. In general, add a dollop of solder to the pads, then heat to add the components. I also made sure when I was soldering the flex pcb to the esp32 to use a smudger to press them down, as well as add extra solder to make sure there was a good joint. This goes double for the tag side, as that has to be pre-tinned. Full instructions for the build can be found here.
At this point, before super gluing everything, I would make sure you have a least 1 flashed tag to test the transmit / recieve side of things.
Flashing the displays / Tags
There are several options here. Depending on stock, when you bought the AP, you may have some already pre-flashed so you don't need to do anything. If you didn't or are buying some that aren't flashed later, there are several jigs that you can build to help with the flashing.
Details of the jigs can be found here. Other jigs are available and so is a PCB to help with the various tags.
NB: At time of writing, I am currently building a jig (as linked above), but I have yet to get it working. I am finding it fiddly, and I'm also not sure the photo of the jig is correct - the pogo pins don't look high enough to me. I will update this once I get it working.
Flashing the AP
Flashing the AP is a straightforward affair. Simply plug the device in to your computer via USB-C.
You may also need to hold down the boot button and tap the RST button while it is booting. I have found this was only necessary when trying to reflash an AP after if was dropped, and decided it was going to misbehave.
To do the actual programming, visit https://install.openepaperlink.de/ in your web browser, select 'Mini_AP' and click install, and you are good to go. Once completed, connect to the hotspot created by the AP and add it to your network. Visit http://192.168.4.1/ to see the setting to add the AP to your network.
Once added, you will need to find the IP Address given to the AP by the router. Check the display, as by now this should display the IP Address during boot up. If the display isn't working, check the soldered connections. If you need to, visit your router's settings page to get the IP address that it assigned to the AP.
Once in the AP, click on the AP_config button in the top right, and start updating the firmware. Click on advanced to see a list of versions along with ESP32 and filesystem. At a minimum, you will need to click on filesystem, probably of the latest version. Once updated, your AP will need rebooting. Pre-programmed Tags should now start showing up.
Home Assistant!
Getting home assistant to play nicely with the tags was done via HACS. Obviously, HACS needs to be installed first. After installation, you will need to add 'https://github.com/jonasniesner/open_epaper_link_homeassistant' as a custom repository to HACS. Once added, search for 'epaper' and the addon should come up. Install the component, then add the epaper integration to home assistant via the settings -> Integrations menu.
Adding the integration will need the hub's IP address. The tags automatically once discovered by the AP. In addition to adding these devices, you also get three service calls. I am going to skip over the 5 line service call, as my displays didn't support it. However, to make the call work, just add line5 and format 5 to the yaml below. With that all out of the way, we are ready to move on to testing.
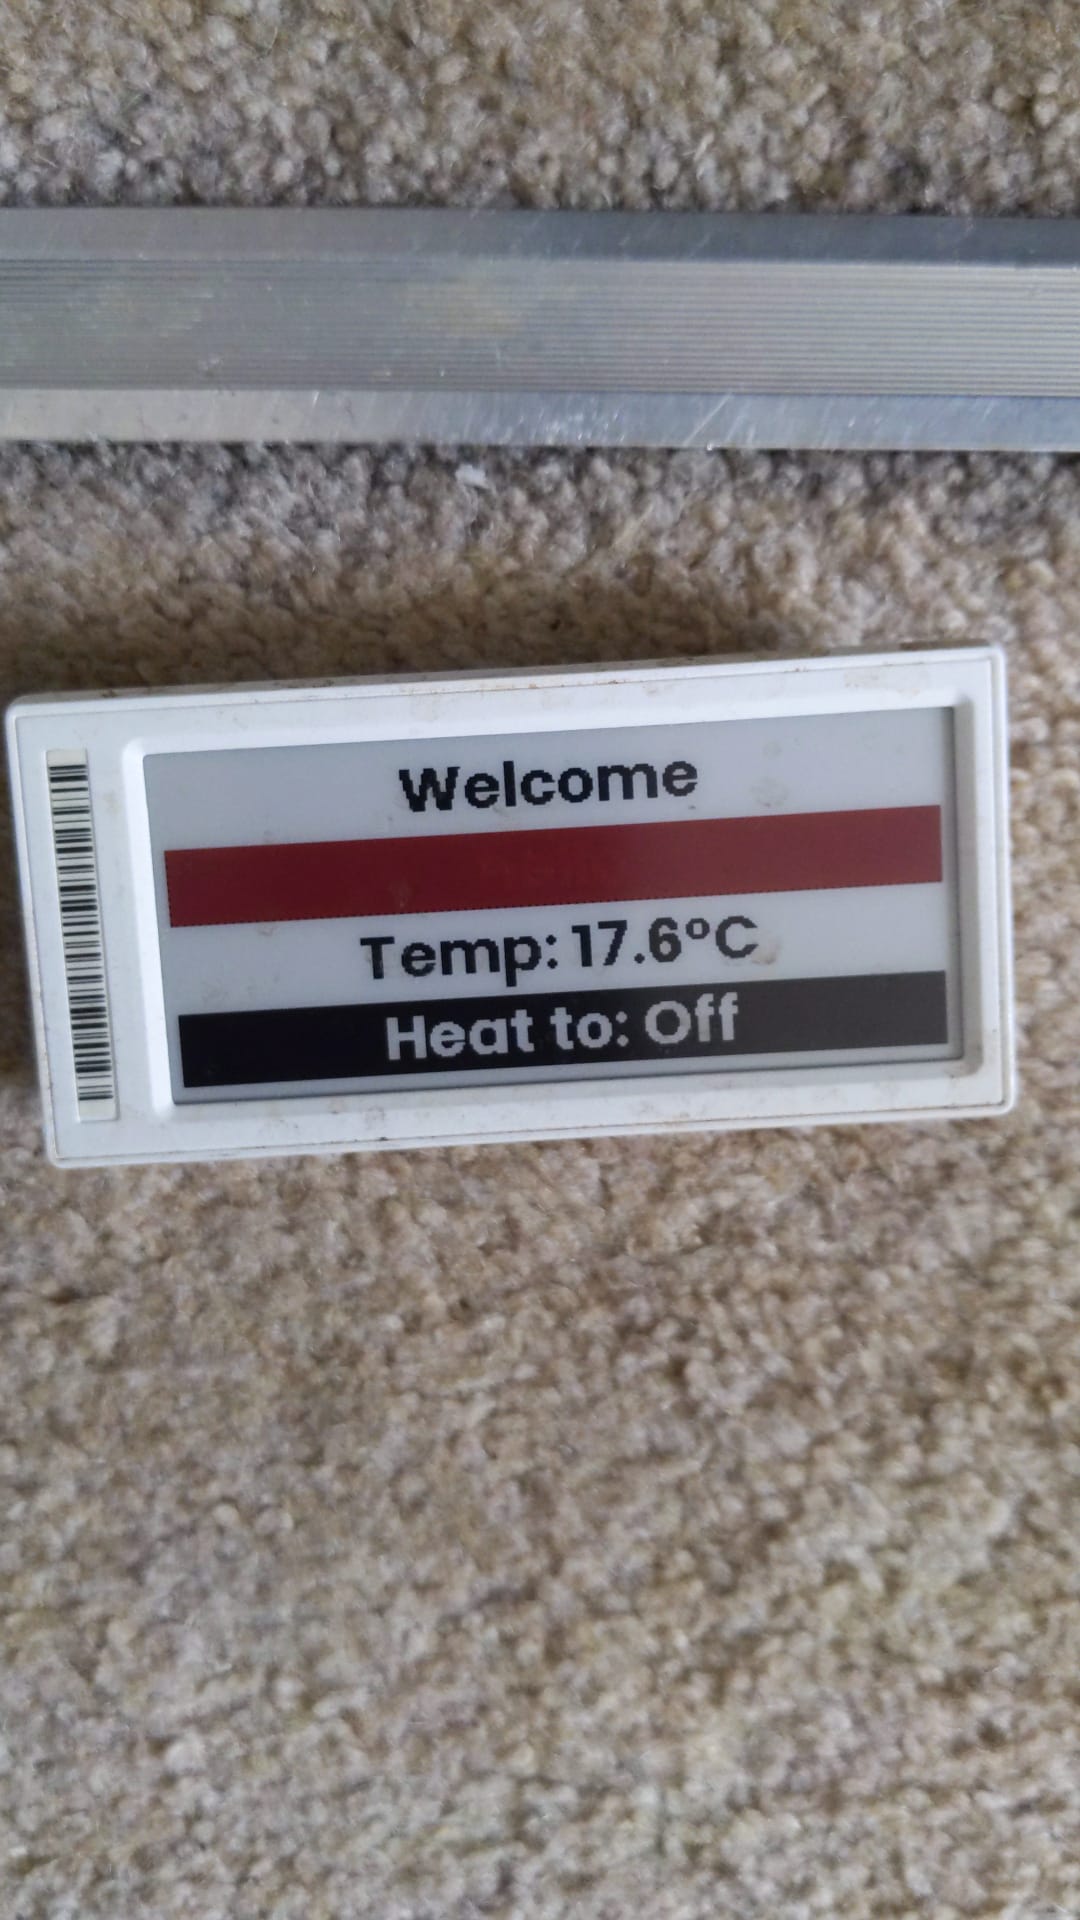
The first order was testing the display with the service call. The displays I am using have the 4 lines of text. Putting the text in quotes does mean you can add a '\n' inside of the string and get up to 8 lines of text. Text size is obviously reduced. Also, the mac needs to include all the zeros, and be in quotes.
service: open_epaper_link.dlimg
data:
  mac: 840B2D9XXXXXXXXX
  url: https://morgenwirdes.de/api/v3/esl1.php?plz=84051
Running this service call should place an image on to your tag (it is the one suggested in the home assistant addon, so should be SFW. All you then need to do is wait for the tags to check in.
In order to set up an automation to get the tags to display the readings from my aqara multisensors, I used this automation. I have removed the mac, you will need to replace these with your values. Not to mention, you'll need to change the sensor's names as well to match your setup.
alias: Epaper Display Updater
description: ""
trigger:
  - platform: time_pattern
    minutes: /5
condition: []
action:
  - service: open_epaper_link.lines4
    data:
      mac: 0000021XXXXXXXXX
      line1: Bedroom
      line2: "Temp: {{ states('sensor.bedroom') }} "
      line3: "Humidity: {{ states('sensor.bedroom_2') }} "
      line4: "Pressure: {{ states('sensor.bedroom_3') }} "
      border: r
      format1: mbbw
      format2: mrrb
      format3: mwwb
      format4: mrwb
    enabled: true
  - service: open_epaper_link.lines4
    data:
      mac: 0000021XXXXXXXXX
      line1: Outside
      line2: "Temperature: {{ states('sensor.outdoors') }} "
      line3: "Humidity: {{ states('sensor.outdoors_2') }} "
      line4: "Pressure: {{ states('sensor.outdoors_3') }} "
      border: r
      format1: mbbw
      format2: mrrb
      format3: mwwb
      format4: mrwb
mode: single
While this automation updates every 5 minutes, you may want to stretch that out a bit. Updating too frequently might drain the batteries prematurely. Speaking of which, you can use home assistant to monitor the battery level of the tags.
About the author
Tim Wilkes is a UK-based security architect with over 15 years of experience in electronics, Linux, and Unix systems administration. Since 2021, he's been designing secure systems for a telecom company while indulging his passions for programming, automation, and 3D printing. Tim shares his projects, tinkering adventures, and tech insights here - partly as a personal log, and partly in the hopes that others will find them useful.
Want to connect or follow along?
LinkedIn: [phpsytems]
Twitter / X: [@timmehwimmy]
Mastodon: [@timmehwimmy@infosec.exchange]
If you've found a post helpful, consider supporting the blog - it's a part-time passion that your support helps keep alive.
⚠️ Disclaimer
This post may contain affiliate links. If you choose to purchase through them, I may earn a small commission at no extra cost to you. I only recommend items and services I’ve personally read or used and found valuable.
As an Amazon Associate I earn from qualifying purchases.