Building the Batmobile
Introduction
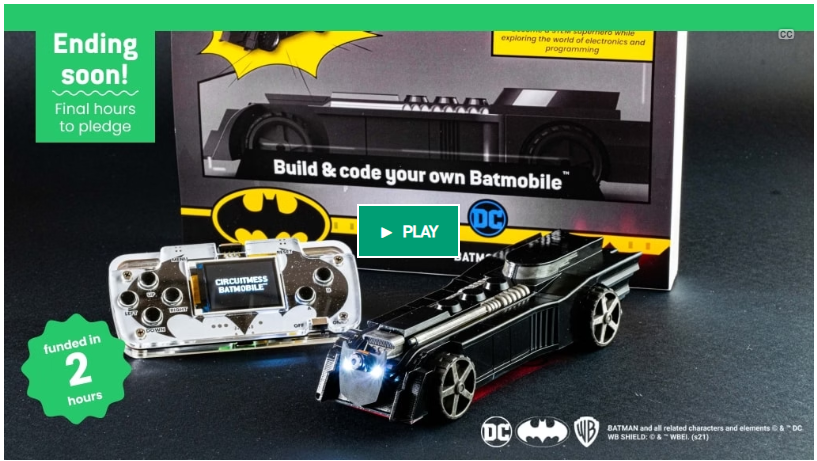
Looking for a creative project to share with my son, I stumbled upon a Kickstarter by CircuitMess that offered a DIY Batmobile and Batcontroller kit. As lifelong Batman fans, this looked like the perfect way to combine nostalgia, tinkering, and father-son time. When the kits finally arrived this May, we dug in during the summer break for a memorable build adventure.
What’s in the Box?
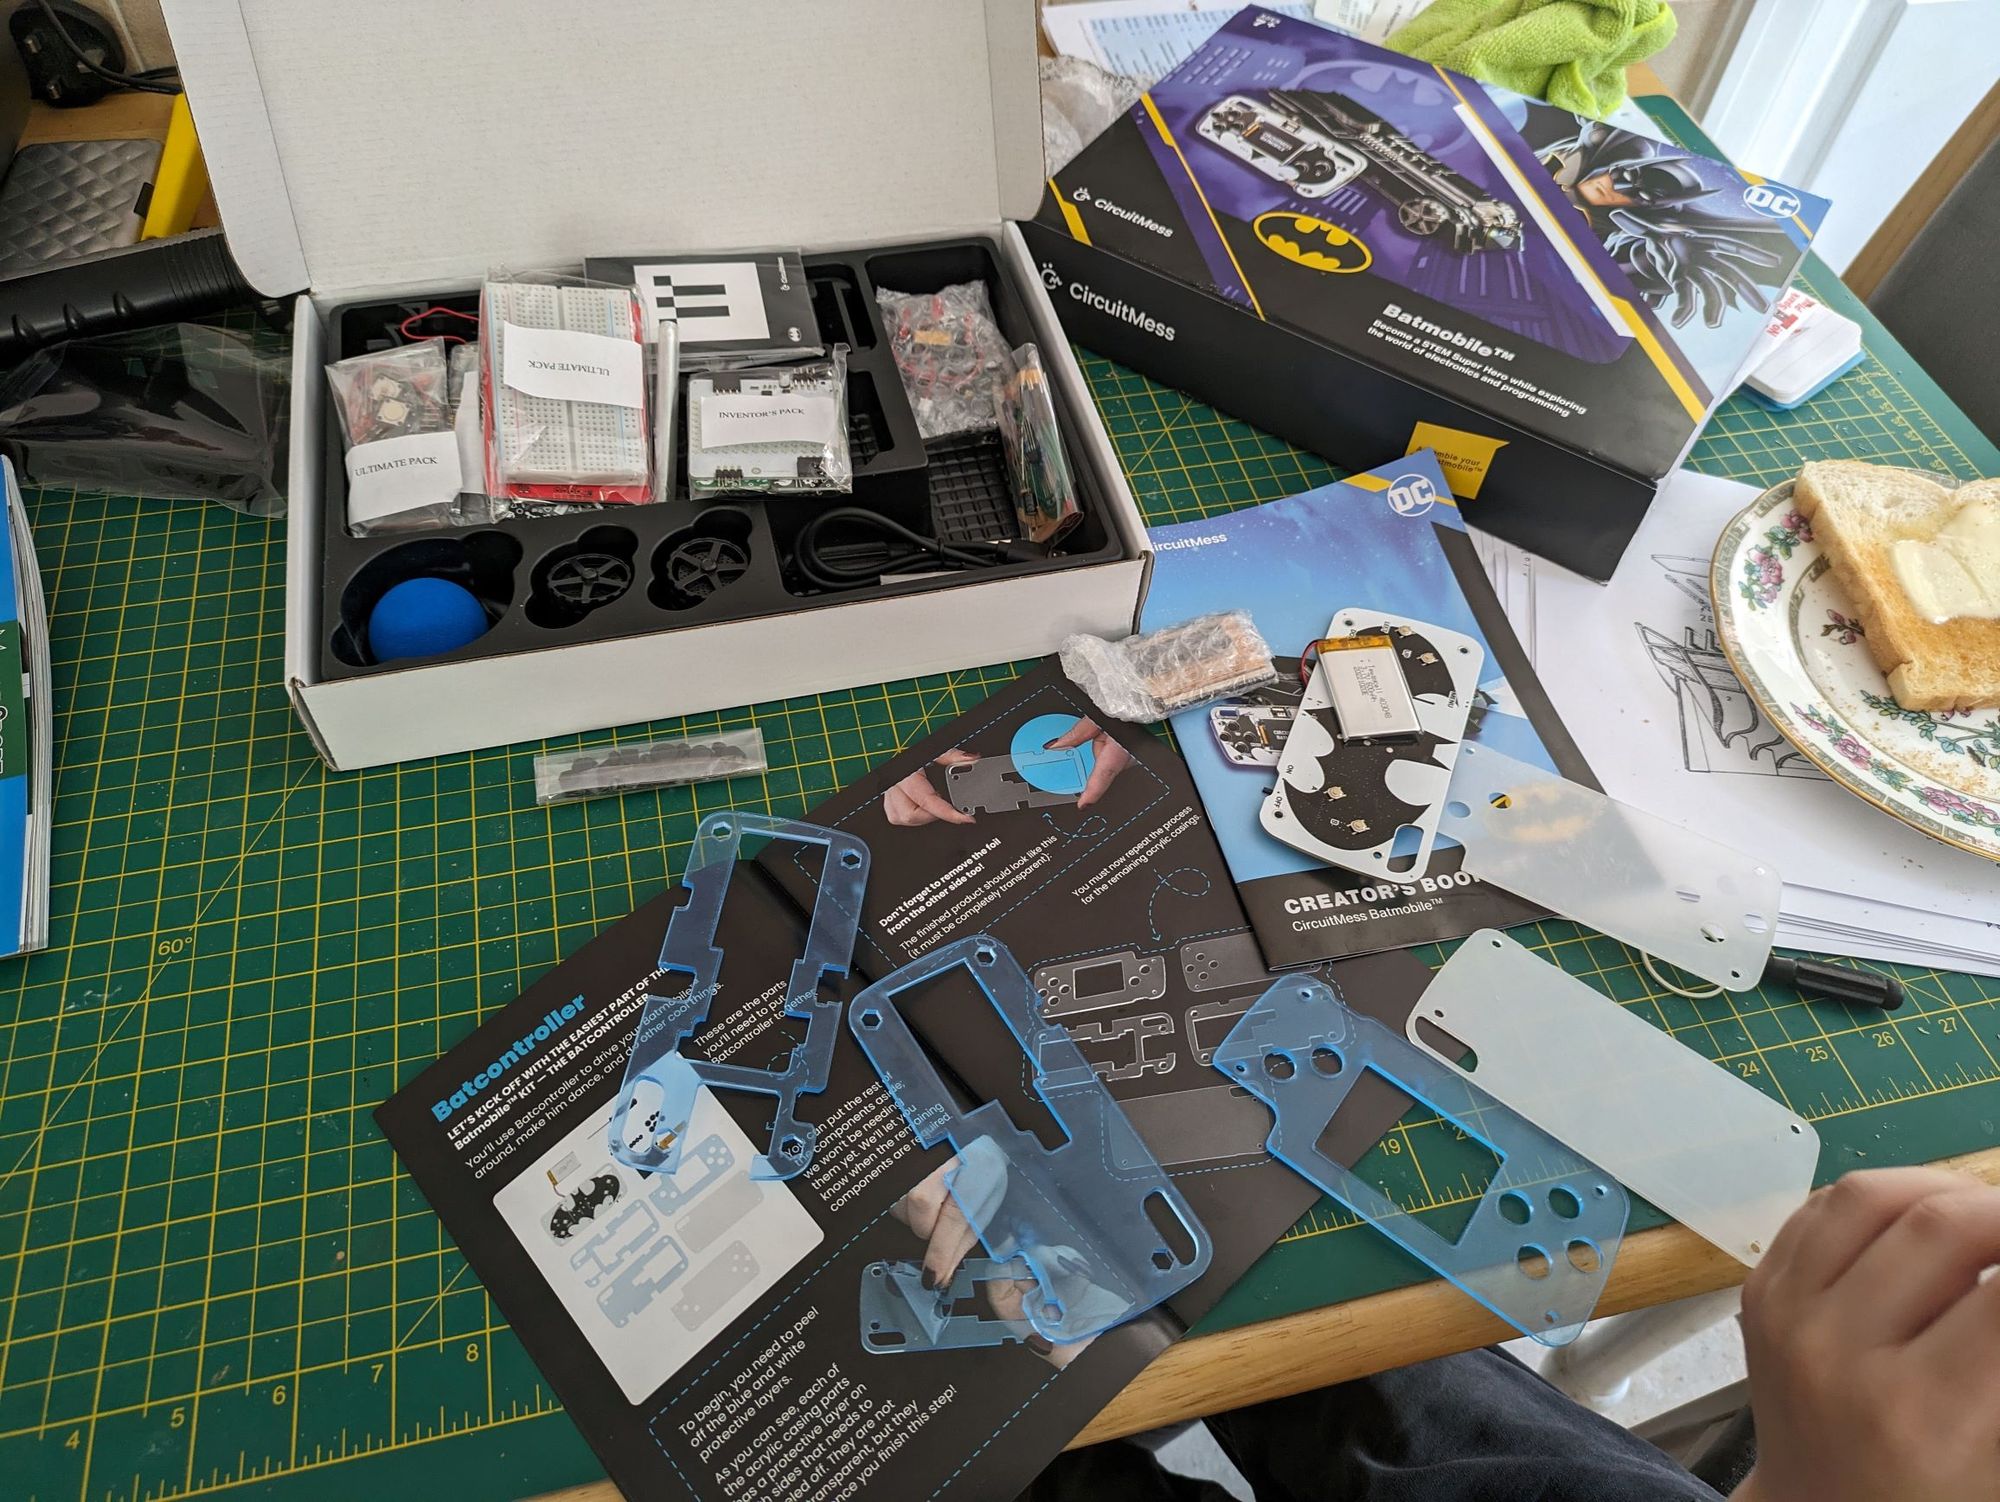
The Batmobile kit ships with everything needed to build a fun, functional remote-control car—capable of tracking balls, reading cards, and controlled via the Batcontroller. The “Inventor Pack” (11+) version adds a toolkit and extra components for soldering—naturally, I went for the deluxe edition.
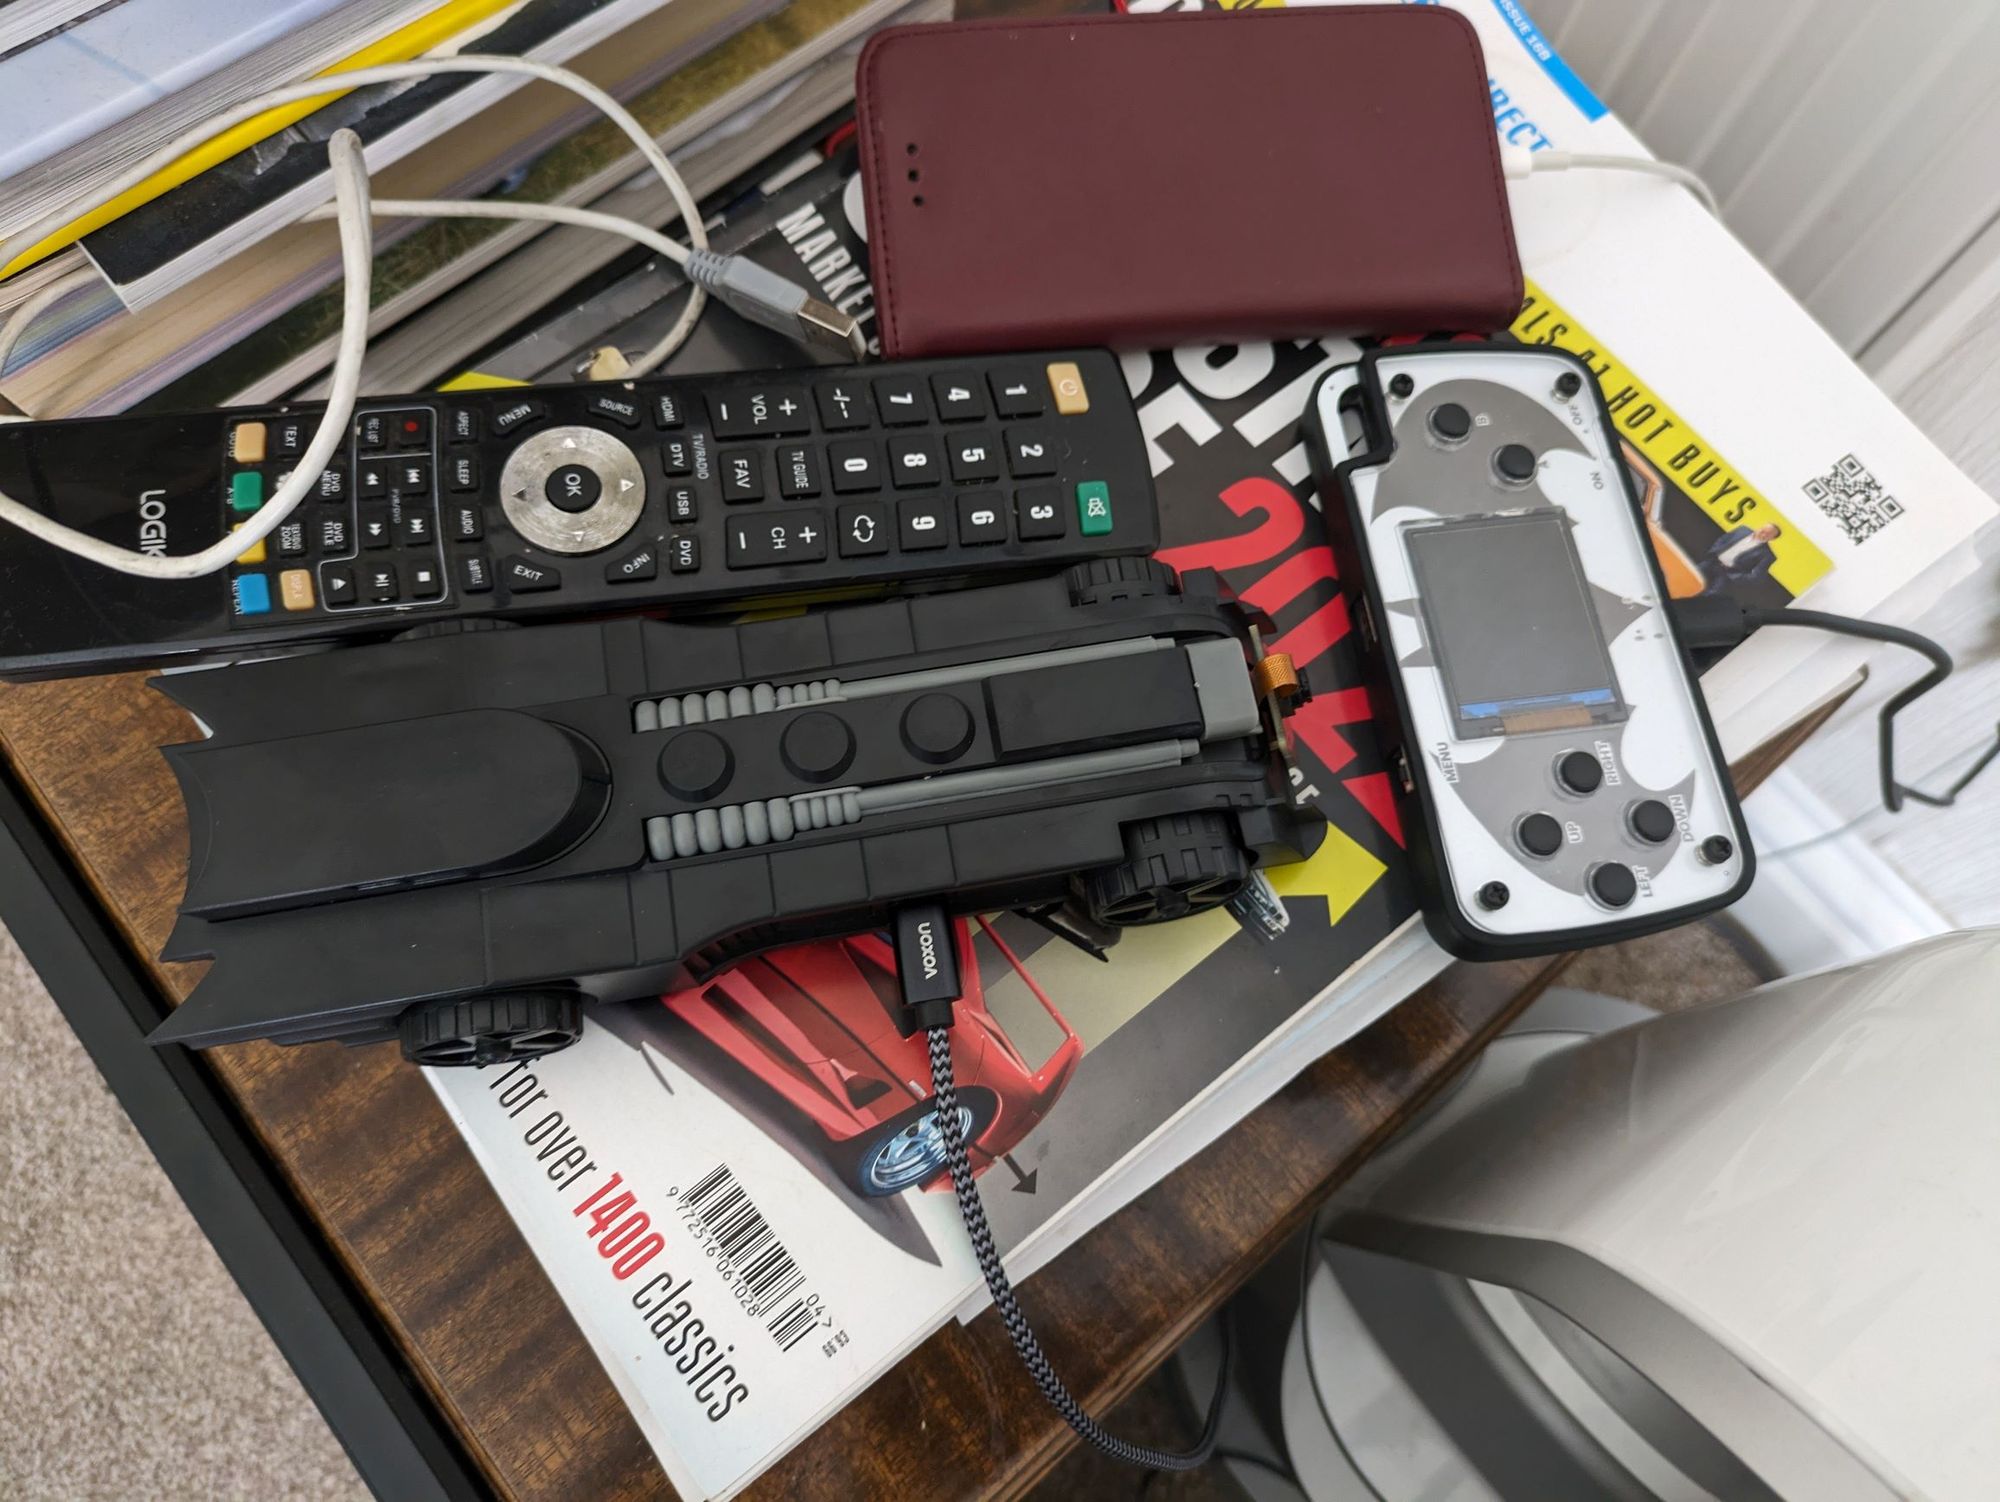
- Batcontroller and Batmobile model
- Toolkit with screwdrivers, wire cutters, and more
- Electronics components suited for bright young builders
- Silicone bumper for extra protection
Step 1: Building the Batcontroller
We began with the controller, attaching the screen and battery in a precise yet slightly fiddly fit. A minor mishap (inverted screen connector) led to the display not lighting at first—a helpful reminder to test as you go.
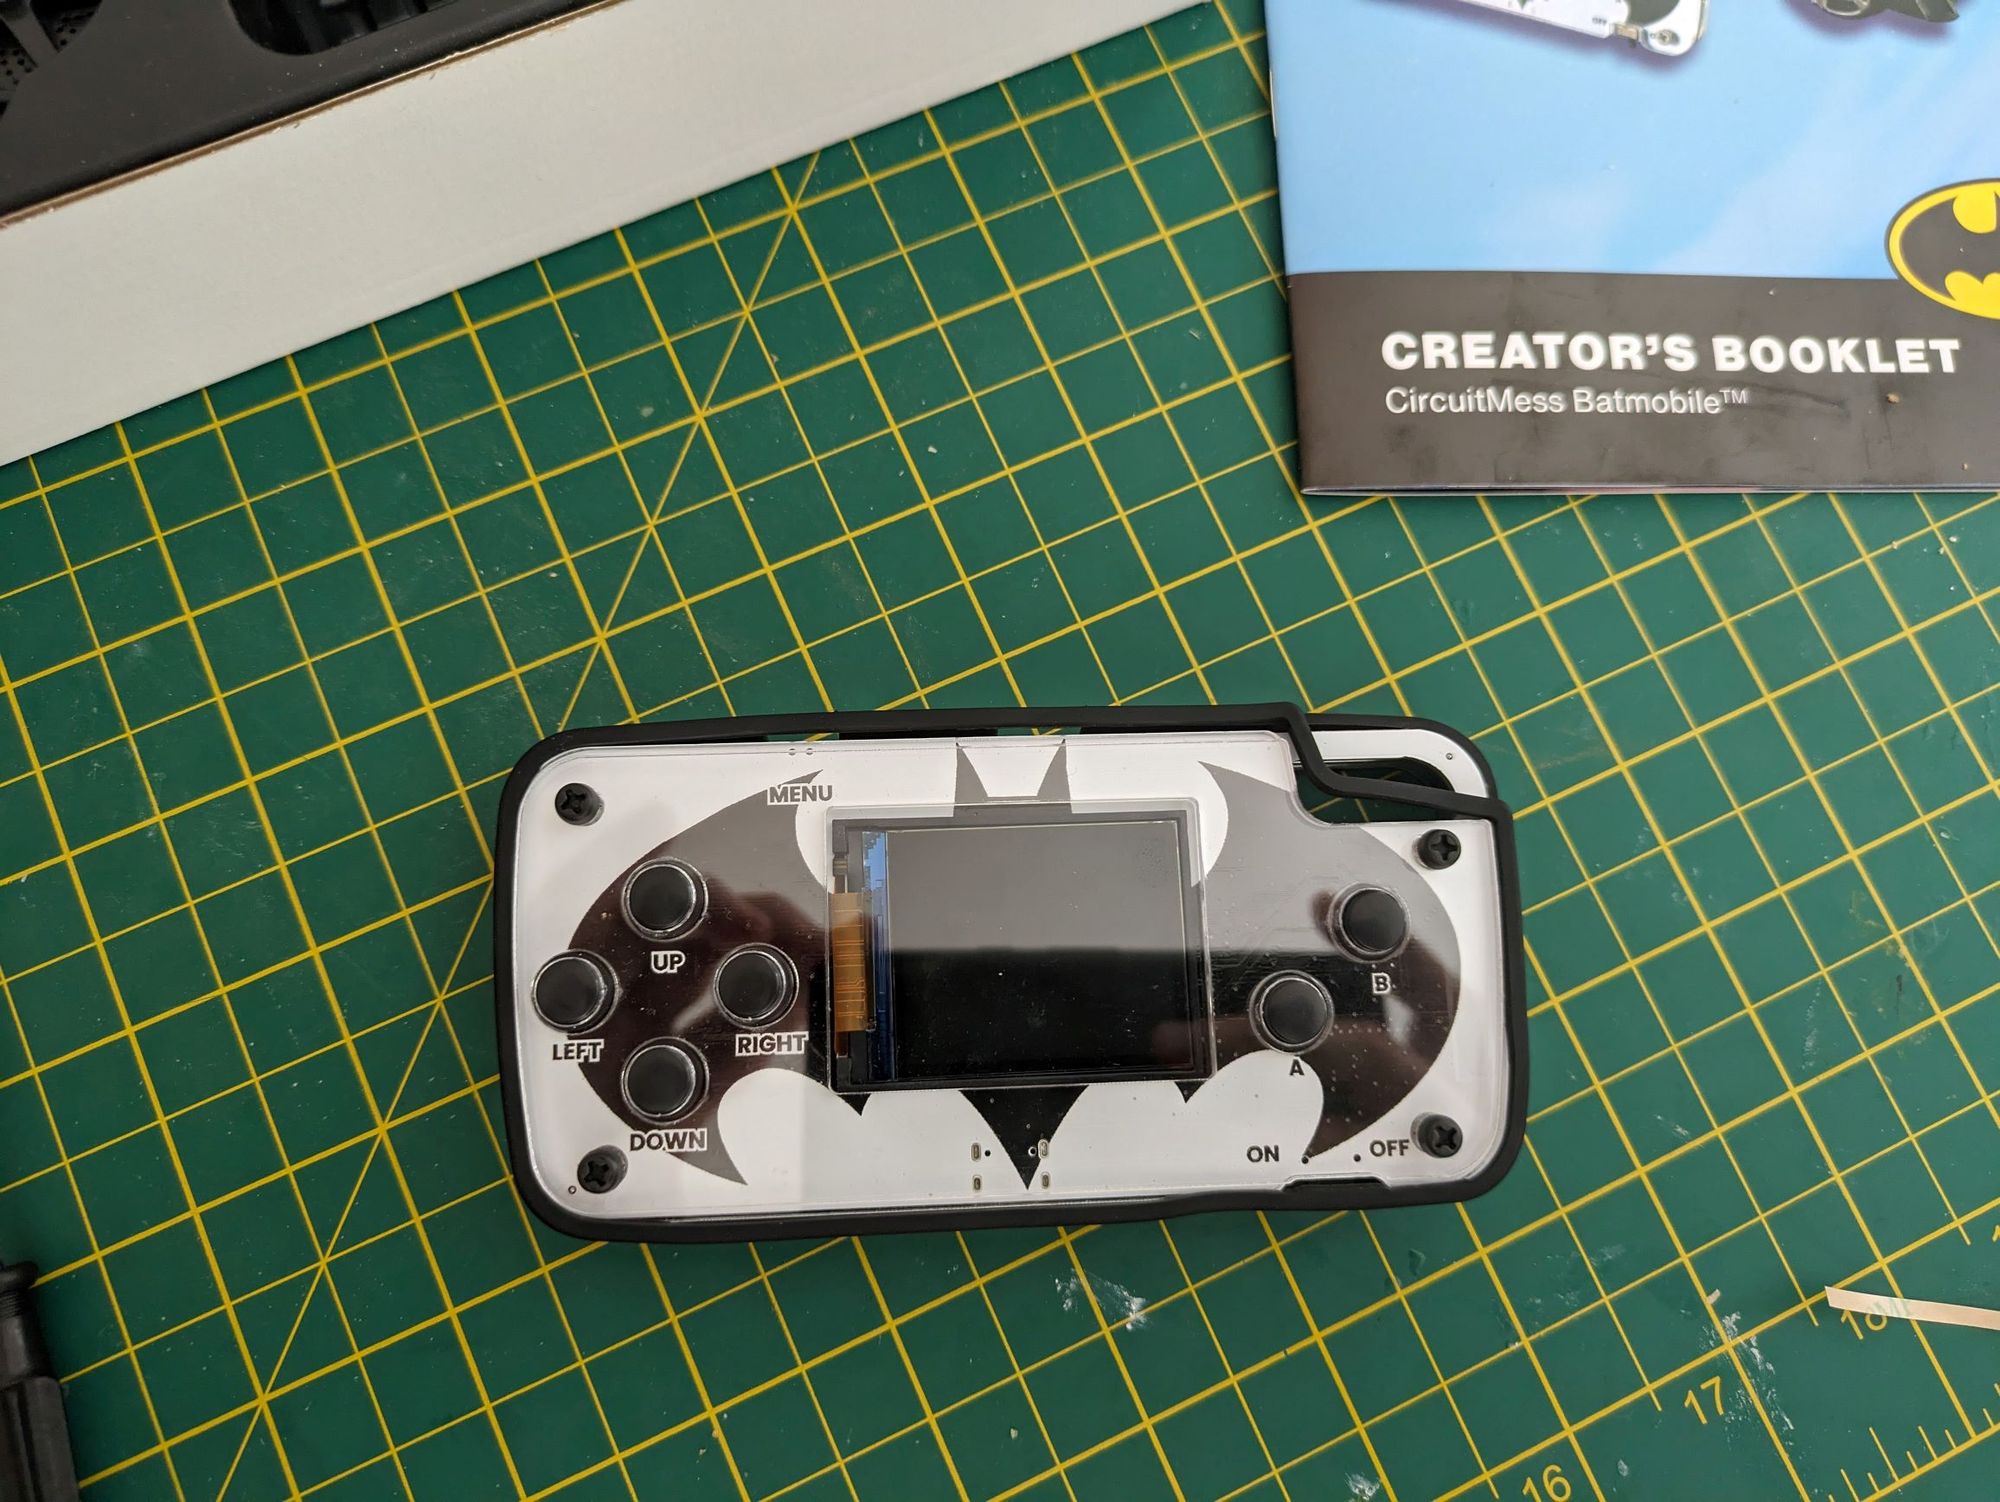
Once the screen was aligned, we added the rubber bumper and marveled at how professional the finish looked.
Step 2: Assembling the Batmobile
The main build was delightfully straightforward:
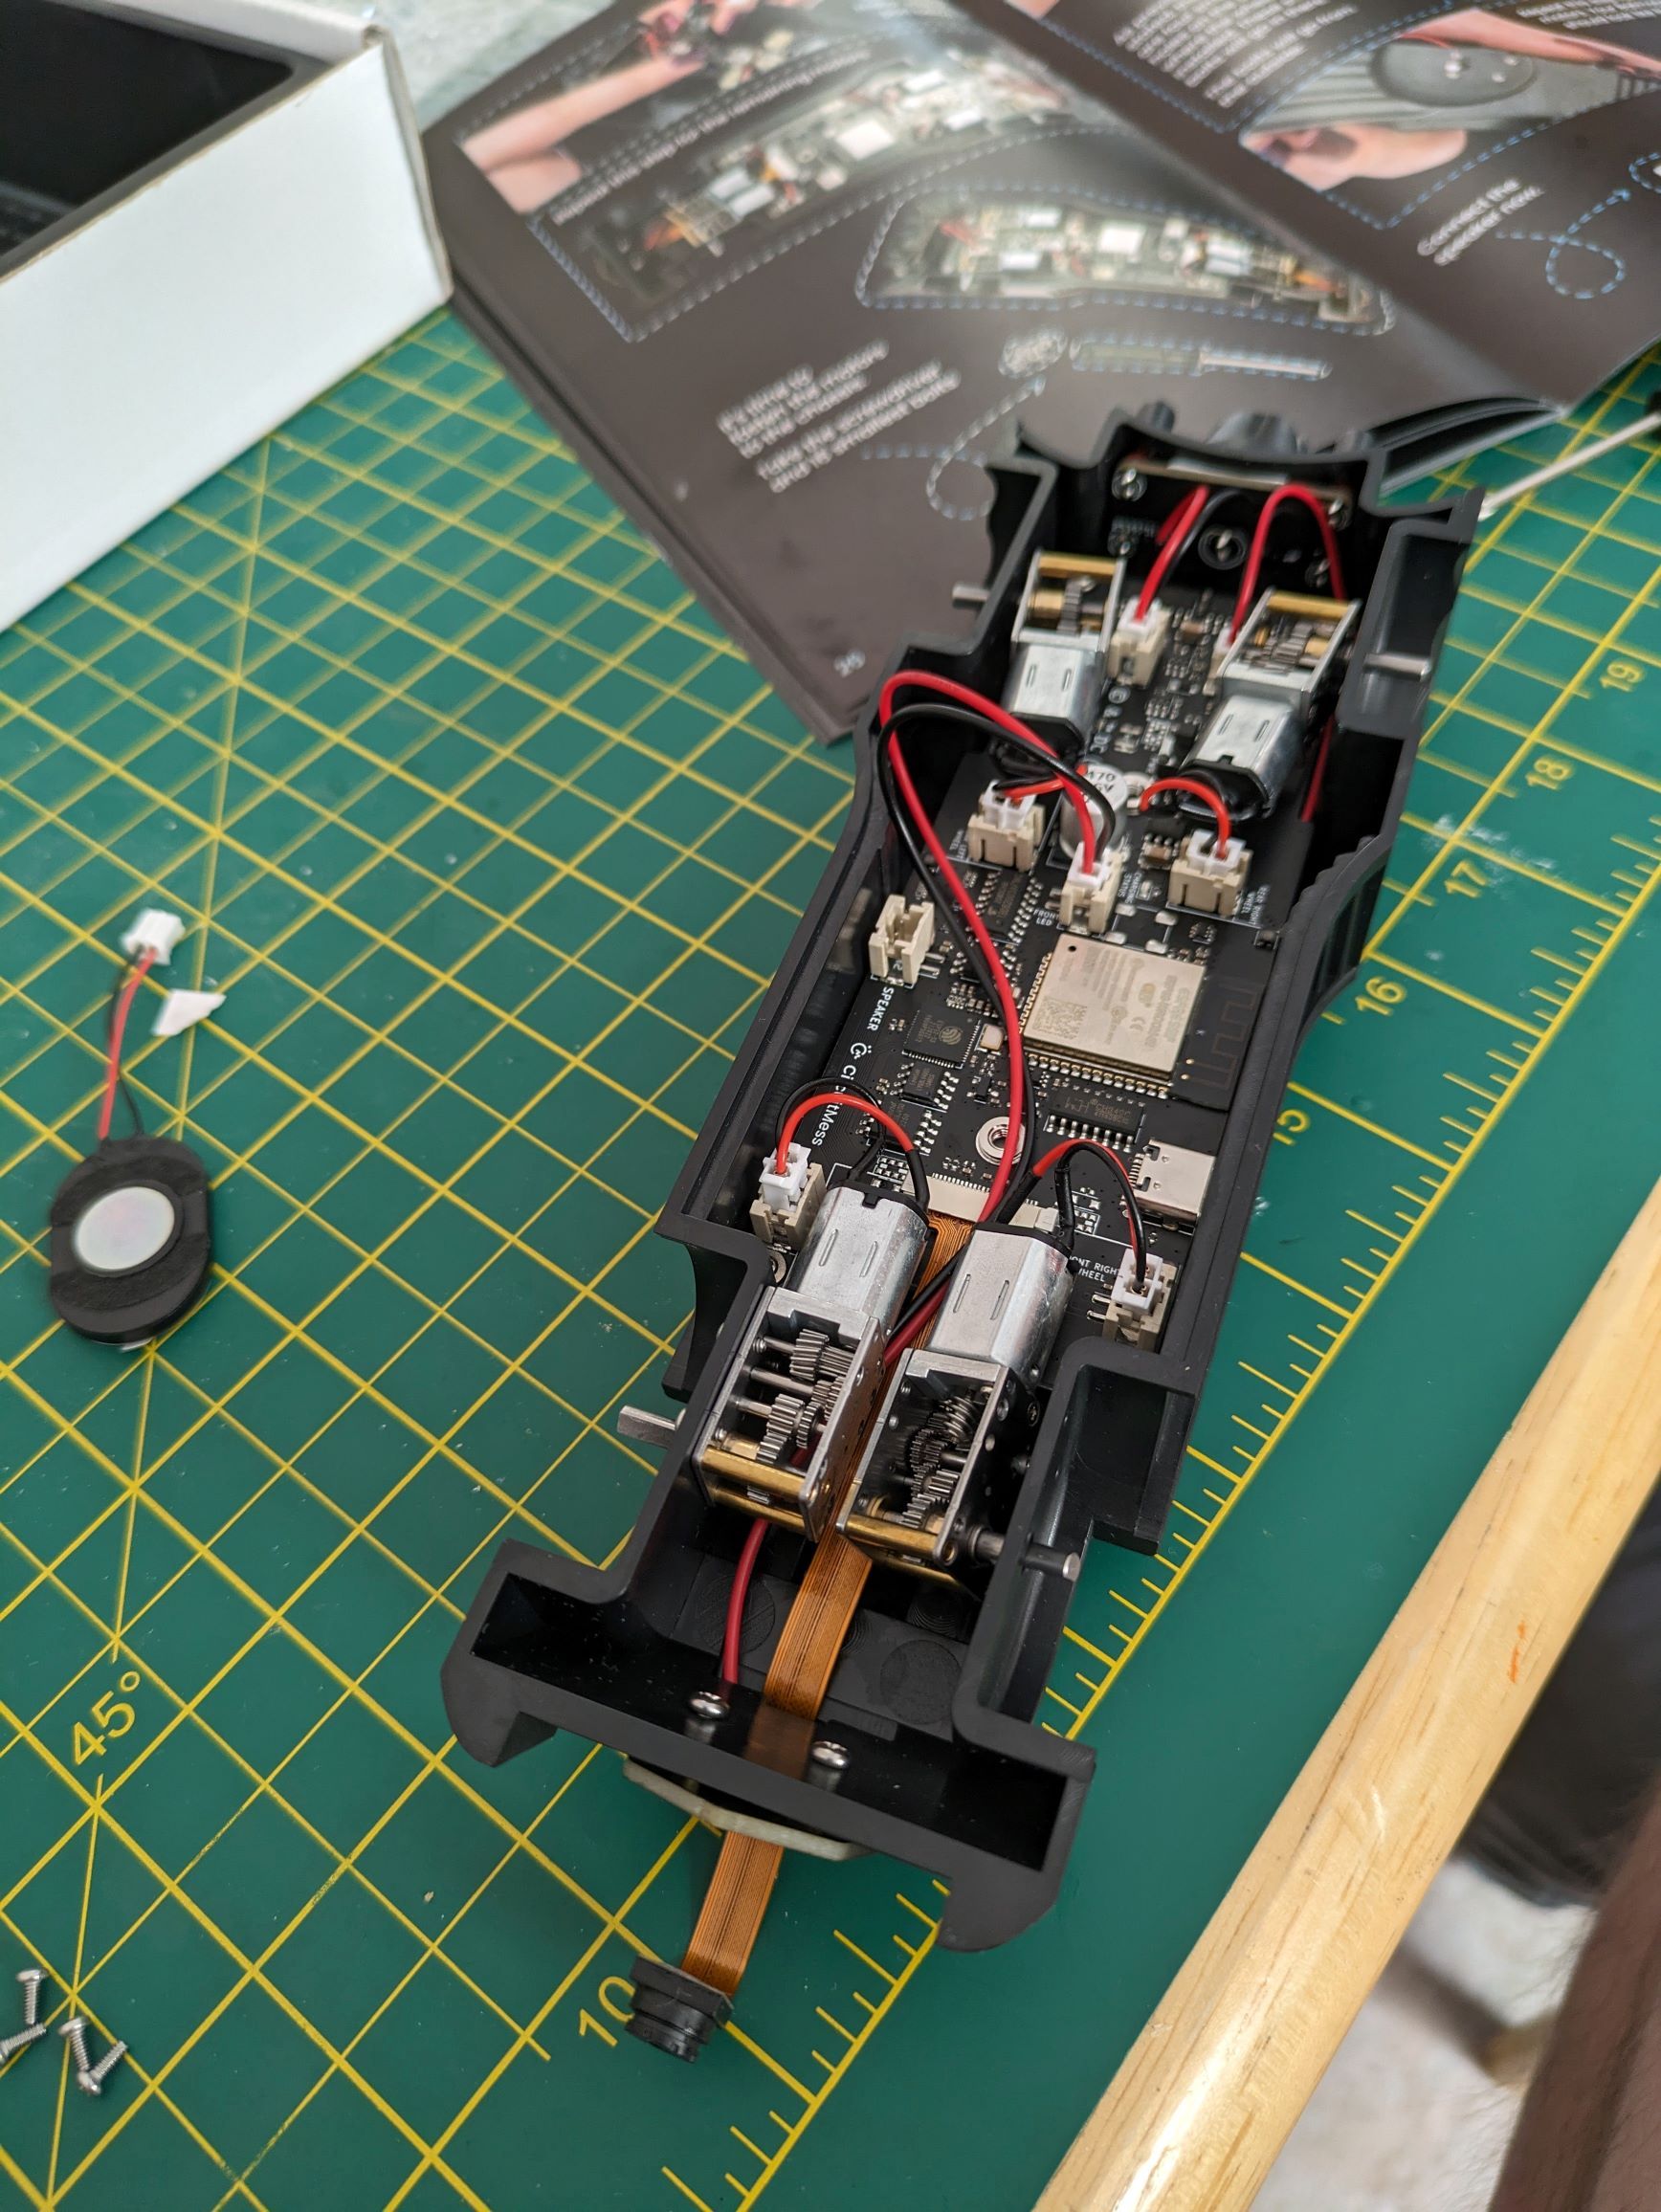
- Fixed the “rear light unit” (affectionately called “the fire”) and connected wiring to the main PCB.
- Affixed the iconic Bat logo and positioned the onboard camera.
- Added motors and gears, ensuring that push-down connectors were fully seated before securing them under the clear acrylic shell—a key lesson for aspiring makers.
Step 3: Charging & First Test
With assembly complete, we charged both units via USB-C for several hours. The initial battery life was brief, but enough to power our first test run. It was fantastic to watch the Batmobile in motion—such a rewarding finish to our build.
Reflections & What’s Next
This project wasn't just about a toy—it was about creating something tangible, teaching patience, troubleshooting as a team, and making memories. Next on our list:
- Explore programming the controller for custom behavior
- Try autonomous movement (e.g., tracking a moving ball)
- Upgrade lighting or add sounds for enhanced play
Why This Project Came Together So Well
| Factor | What Worked |
|---|---|
| Shared Hobby | Batman-themed builds fuelled excitement |
| Clear Build Instructions | Easy to follow for all ages |
| Balanced Complexity | Just challenging enough for a junior maker |
| Durable Components | Well-designed parts for lasting fun |
| Teaching Moment | Real-world assembly lessons and testing logic |
About the author
Tim Wilkes is a UK-based security architect with over 15 years of experience in electronics, Linux, and Unix systems administration. Since 2021, he's been designing secure systems for a telecom company while indulging his passions for programming, automation, and 3D printing. Tim shares his projects, tinkering adventures, and tech insights here - partly as a personal log, and partly in the hopes that others will find them useful.
Want to connect or follow along?
LinkedIn: [phpsytems]
Twitter / X: [@timmehwimmy]
Mastodon: [@timmehwimmy@infosec.exchange]
If you've found a post helpful, consider supporting the blog - it's a part-time passion that your support helps keep alive.
⚠️ Disclaimer
This post may contain affiliate links. If you choose to purchase through them, I may earn a small commission at no extra cost to you. I only recommend items and services I’ve personally read or used and found valuable.
As an Amazon Associate I earn from qualifying purchases.