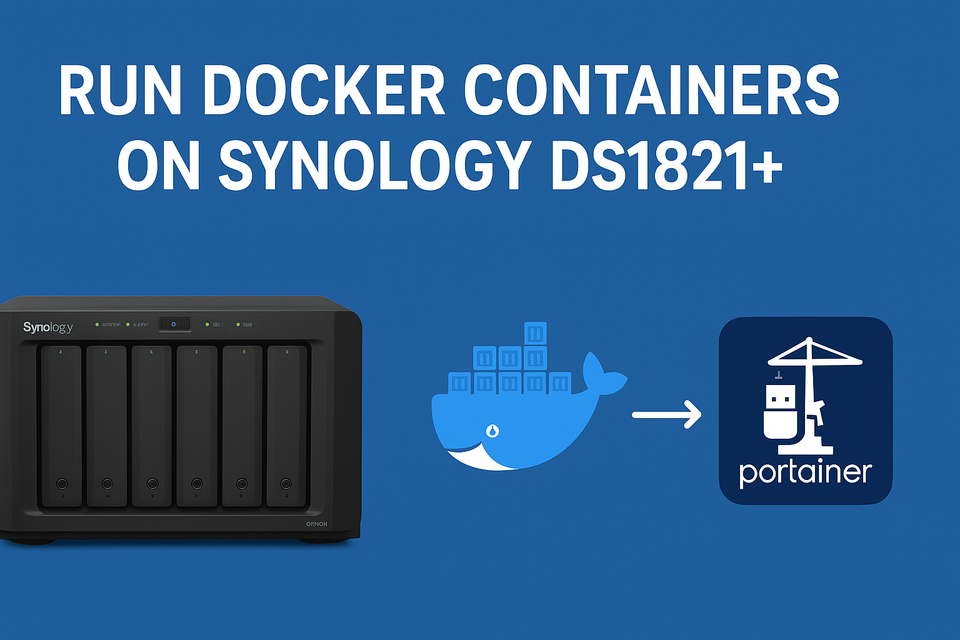
Running Containers on a Synology DS1821+: Getting Started with Portainer

Introduction
Synology’s DS1821+ is a powerful NAS that goes far beyond simple file storage. With support for Docker containers, you can turn it into a versatile platform for hosting applications, services, and development environments—all inside isolated, lightweight containers.
In this guide, we’ll walk through setting up Docker on the DS1821+, installing your first container, and using Portainer as a graphical management tool for all future container deployments.
Why Run Containers on Synology?
- Centralized Hosting: Run multiple services on your NAS instead of separate devices.
- Isolation & Security: Containers keep applications sandboxed.
- Flexibility: Try new apps without cluttering your main system.
- Convenience: Manage everything via Portainer’s clean web interface.
Step 1: Enable Docker on the Synology DS1821+
- Log in to DSM (DiskStation Manager) with an admin account.
- Open Package Center.
- Search for Docker.
- On DSM 7.x, this may appear as Container Manager.
- Click Install.
Once installed, you’ll see Docker/Container Manager in your main menu.
Step 2: Prepare Your NAS for Containers
Before running your first container, it’s best to organize storage and networking:
- Shared Folder for Containers:
- Go to Control Panel → Shared Folder.
- Create a new folder (e.g.,
docker). - Assign read/write permissions for your user.
- User Permissions:
If you prefer not to run containers asadmin, create a dedicated user for Docker services.
Step 3: Launch Portainer
Portainer provides a web-based dashboard to manage Docker containers. Instead of handling everything via CLI or DSM’s limited interface, Portainer makes container management simple and visual.
Method A: Install via Synology’s Container Manager UI
- Open Container Manager.
- Go to the Registry tab.
- Search for
portainer/portainer-ce. - Download the latest image.
- Go to Image, select
portainer/portainer-ce, and click Launch.- Container Name:
portainer - Network:
bridge - Port Settings: Map 9000 → 9000 (so you can access Portainer at
http://NAS-IP:9000). - Volume: Mount your
dockershared folder to/data.
- Container Name:
- Click Apply to start the container.
Method B: Install via CLI (More Control)
If you’re comfortable with SSH:
docker volume create portainer_data

docker run -d \
  -p 8000:8000 \
  -p 9000:9000 \
  --name=portainer \
  --restart=always \
  -v /var/run/docker.sock:/var/run/docker.sock \
  -v portainer_data:/data \
  portainer/portainer-ce
Step 4: Access Portainer
- In your browser, go to:
http://<Your-NAS-IP>:9000 - On first launch, create an admin user for Portainer.
- Connect Portainer to your local Docker environment (your Synology NAS).
Now you have a full dashboard to:
- Pull new container images.
- Start/stop containers.
- Monitor logs and stats.
- Configure networking and volumes.
Step 5: Next Steps – Expanding Beyond Portainer
With Portainer running, you can easily add more useful containers:
- Home Automation → Home Assistant
- Media Streaming → Plex, Jellyfin
- Financial software → Firefly III, Actual Budget
- Monitoring → Grafana, Prometheus
Each container can be installed through Portainer’s GUI, making Synology a powerful self-hosting platform.
Conclusion
Running containers on the Synology DS1821+ unlocks the real potential of your NAS. With Portainer as your first container, you now have an easy-to-use control center for managing all future workloads.
Whether you’re hosting home automation, personal projects, or developer tools, Synology + Docker + Portainer is a winning combination.
Recommended Tools & Gear 🛠️
If you’re building out your Synology setup, these essentials make life easier:
- Synology DS1821+ NAS – Check price on Amazon
- Seagate IronWolf Pro NAS Drives (8TB/12TB/16TB) – View options
- Uninterruptible Power Supply (UPS) – APC UPS
- M.2 NVMe Cache Drives – Samsung 970 EVO Plus - This may require additional steps, such as using this repo, as the Samsung 970 evo plus is not officially supported.
👉 Tip: Always use NAS-rated hard drives (like Seagate IronWolf or WD Red) for better reliability and longevity.
About the author
Tim Wilkes is a UK-based security architect with over 15 years of experience in electronics, Linux, and Unix systems administration. Since 2021, he's been designing secure systems for a telecom company while indulging his passions for programming, automation, and 3D printing. Tim shares his projects, tinkering adventures, and tech insights here - partly as a personal log, and partly in the hopes that others will find them useful.
Want to connect or follow along?
LinkedIn: [phpsytems]
Twitter / X: [@timmehwimmy]
Mastodon: [@timmehwimmy@infosec.exchange]
If you've found a post helpful, consider supporting the blog - it's a part-time passion that your support helps keep alive.
⚠️ Disclaimer
This post may contain affiliate links. If you choose to purchase through them, I may earn a small commission at no extra cost to you. I only recommend items and services I’ve personally read or used and found valuable.
As an Amazon Associate I earn from qualifying purchases.