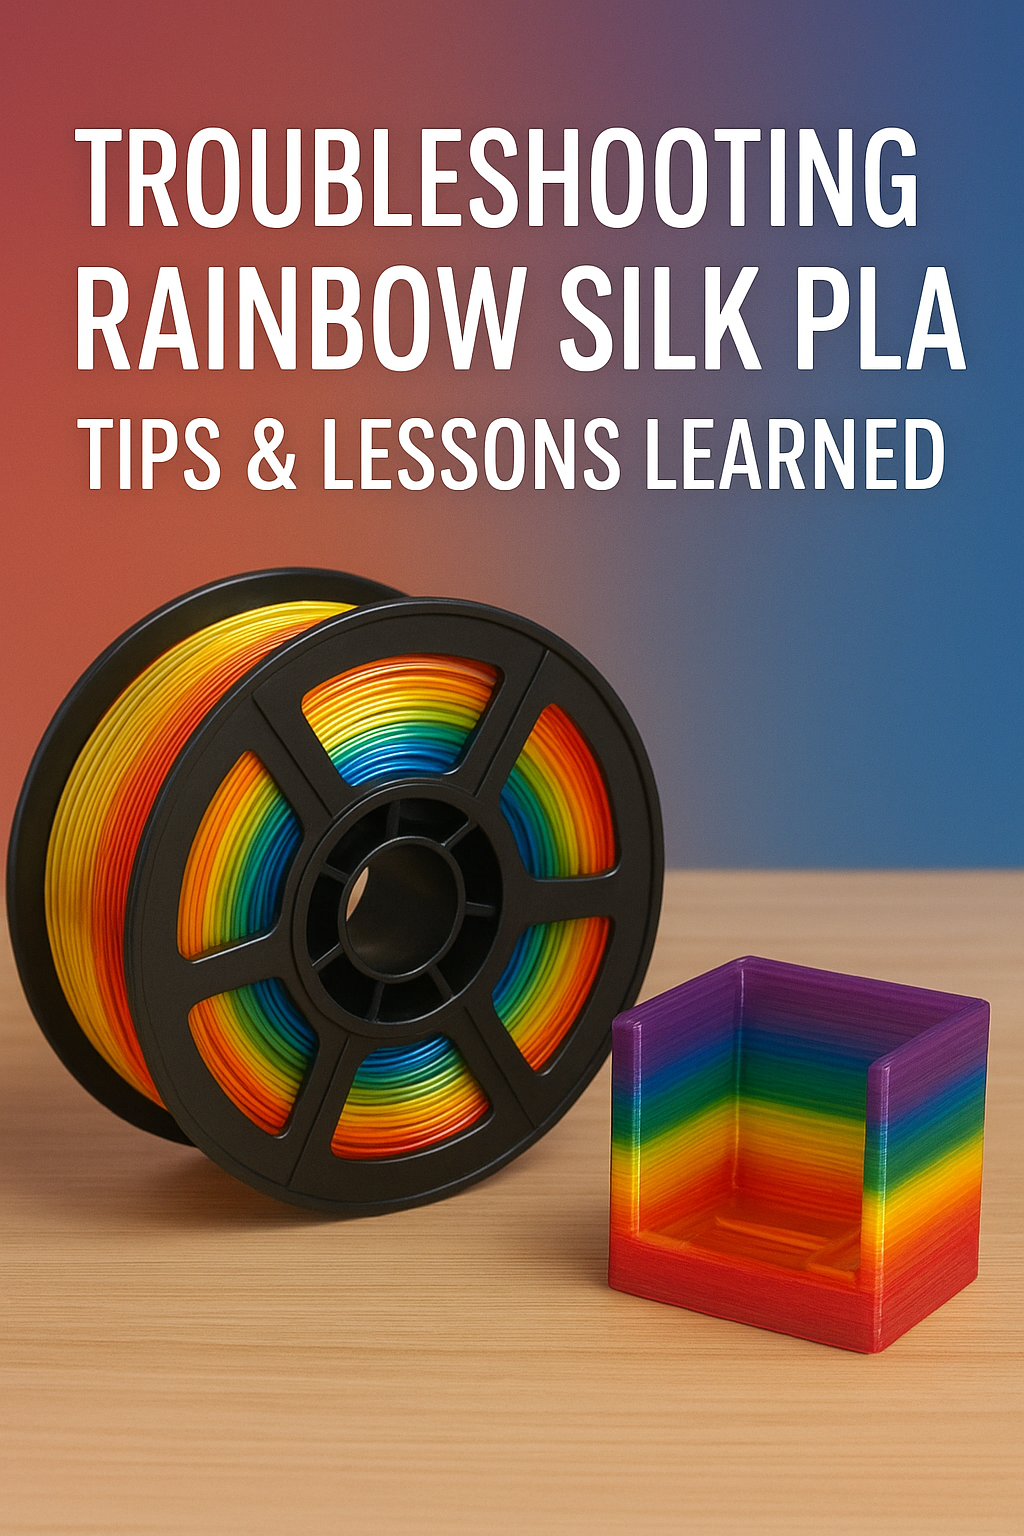
Troubleshooting Rainbow Silk PLA: Tips & Lessons Learned

Why This Filament Trip Was Worth It
I recently rediscovered a spool of rainbow silk PLA - a visually striking filament I picked up a couple of years ago. Excited to revisit the colorful possibilities, I dove in, only to discover some quirky behavior that other makers might face too. Below is a guide to the challenges I encountered - and how you can address them.
1. Layer Adhesion Issues
Problem: The silk PLA exhibited poor inter-layer bonding, resulting in prints that warped or delaminated - my colorful tower collapsed mid-print.
Solution:
- Increase nozzle temperature to 220 °C or higher, while keeping your bed warm.
- Use thicker shell walls (2 - 3 mm) to strengthen structure.
- Add brims or rafts for better first-layer adhesion.
2. Excessive Stringing
Problem: The filament consistently created fine strings between components of the print.
Mitigations:
- Fine-tune retraction settings (distance and speed).
- If that fails, use a hot air gun or hair dryer post-print to remove strings.
3. Tangles & Poor Spool Winding
Problem: Unexpected clicking during extrusion turned out to be tightly wound filament - plus a hidden tangle - that caused print interruptions.
Solution Options:
- Carefully rewind the filament by hand - if risk of further tangling is low.
- Build an automatic spool winder - like those on All3DP’s guide for hassle-free rewinding.
4. What I Kept Printing
Despite these challenges, I managed to print several practical items - mostly Gridfinity modules, which offer excellent desktop organization. These prints proved the filament's usefulness even under imperfect conditions.
Summary Table
| Issue | Fix / Workaround |
|---|---|
| Poor layer adhesion | Up temp to 220 °C+, thicker walls, brim or raft |
| Stringing | Adjust retraction or post-process with heat tool |
| Filament tangling | Rewind manually or use an auto winder from All3DP |
| Moisture concerns | Retrofit dryer or keep filament enclosed |
Final Thoughts
Rainbow silk PLA might be finicky, but its vivid finish and visual appeal make the effort worthwhile. With some tweaks to temperature, shell thickness, and winding practices, you can still unlock its potential - especially for visually striking utility prints.
Equipment Used in this Review
- Rainbow Filament - The filament itself.
- Hot air gun - for removing excess stringing.
About the author
Tim Wilkes is a UK-based security architect with over 15 years of experience in electronics, Linux, and Unix systems administration. Since 2021, he's been designing secure systems for a telecom company while indulging his passions for programming, automation, and 3D printing. Tim shares his projects, tinkering adventures, and tech insights here - partly as a personal log, and partly in the hopes that others will find them useful.
Want to connect or follow along?
LinkedIn: [phpsytems]
Twitter / X: [@timmehwimmy]
Mastodon: [@timmehwimmy@infosec.exchange]
If you've found a post helpful, consider supporting the blog - it's a part-time passion that your support helps keep alive.
⚠️ Disclaimer
This post may contain affiliate links. If you choose to purchase through them, I may earn a small commission at no extra cost to you. I only recommend items and services I’ve personally read or used and found valuable.
As an Amazon Associate I earn from qualifying purchases.