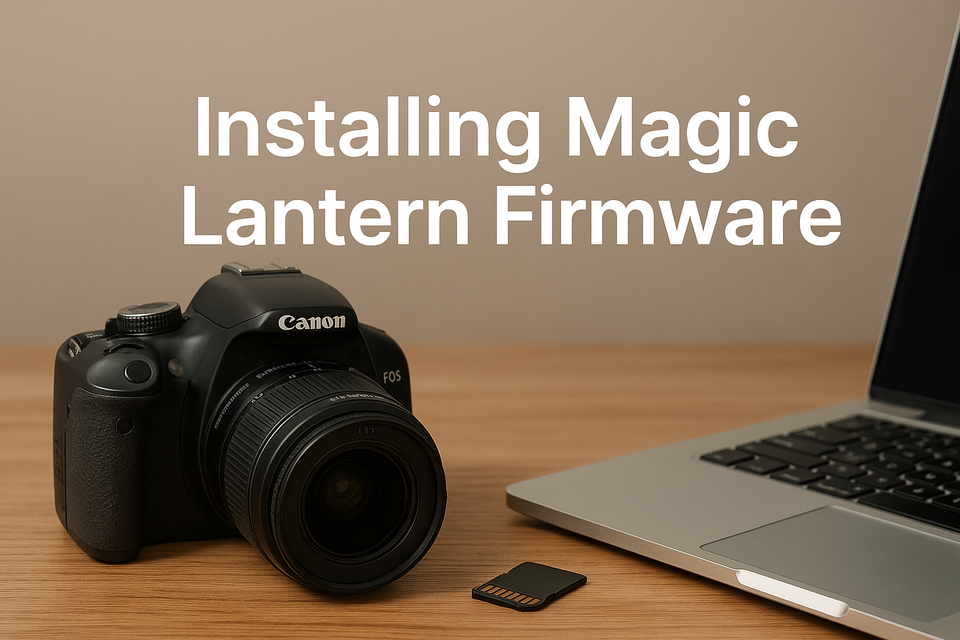
Installing Magic Lantern Firmware on a Canon DSLR: A Practical Guide
What is Magic Lantern?
Magic Lantern isn’t a full replacement for your Canon firmware. Instead, it runs alongside it, adding an extra layer of functionality. The best part? It’s non-destructive—you can remove it at any time by simply formatting your SD card.
Some of the standout features include:
- Focus peaking for sharper shots
- Zebras and histograms for better exposure control
- Intervalometer for time-lapse photography
- Expanded video options, including RAW recording on supported models
Equipment I Used
For this guide, I used a Canon EOS 550D (Rebel T2i)—a reliable DSLR that’s been with me for years. While it may be considered “old” by today’s standards, the 550D is still fully compatible with Magic Lantern and benefits greatly from the extra features.
Other gear included:
- A 128GB SD card
- A fully charged Canon LP-E8 battery
- A standard USB card reader for transferring files
Installation Steps
Here’s a simplified version of the process I followed:
- Check Compatibility
Visit the Magic Lantern website and make sure your Canon model is supported. The 550D is on the list. - Download the Files
Grab the appropriate Magic Lantern build for your camera model. I used the latest nightly build. - Prepare Your SD Card
- Format the card inside your camera.
- Copy the Magic Lantern files to the root directory of the card.
- Run Firmware Update
- Insert the SD card back into your camera.
- Go to the firmware update option in the menu.
- Follow the on-screen instructions.
- Reboot & Explore
Restart your camera, press theDeletebutton, and the Magic Lantern menu should appear.
Pro tip: Always keep a backup of your photos and be aware that using third-party firmware may void warranties.
Thinking About a New Camera?
While the 550D holds up surprisingly well, technology has advanced quite a bit since its release. If you’re considering an upgrade, here are two excellent modern Canon options:
- Canon EOS 90D – A versatile DSLR with 32.5MP resolution, 4K video, and fantastic autofocus. Great if you like the DSLR feel but want modern performance.
- Canon EOS R7 (Mirrorless) – Compact, fast, and future-proof. With Canon shifting focus to its mirrorless line, the R7 is a fantastic APS-C upgrade that still feels familiar.
Both cameras offer native features that were once only possible through Magic Lantern hacks, making them worthy investments for serious photography and video work.
Final Thoughts
Installing Magic Lantern is one of the easiest and most rewarding DIY upgrades you can do for an older Canon DSLR like the 550D. Whether you’re looking to experiment with filmmaking, step up your photography, or just extend the life of your gear, it’s worth trying out.
That said, if you’re ready to move beyond older hardware, today’s Canon lineup delivers many of Magic Lantern’s benefits natively—with better sensors, faster processors, and improved usability.
Me? I'm off to take some fantastic HDR photos.
About the author
Tim Wilkes is a UK-based security architect with over 15 years of experience in electronics, Linux, and Unix systems administration. Since 2021, he's been designing secure systems for a telecom company while indulging his passions for programming, automation, and 3D printing. Tim shares his projects, tinkering adventures, and tech insights here - partly as a personal log, and partly in the hopes that others will find them useful.
Want to connect or follow along?
LinkedIn: [phpsytems]
Twitter / X: [@timmehwimmy]
Mastodon: [@timmehwimmy@infosec.exchange]
If you've found a post helpful, consider supporting the blog - it's a part-time passion that your support helps keep alive.
⚠️ Disclaimer
This post may contain affiliate links. If you choose to purchase through them, I may earn a small commission at no extra cost to you. I only recommend items and services I’ve personally read or used and found valuable.
As an Amazon Associate I earn from qualifying purchases.