Improving an Ikea lantern with a Cricut Joy - for Hallowe'en
Just over a year ago, I was given a Cricut Joy. During that time, I've gotten to grips with the software and it has helped quite a few projects become a reality. I have used the Joy from things like sencils for painting Warhammer models, to making T-Shirts.
For this project I used:
A latern - I chose this one from IKEA
Smart permanent black vinyl from Cricut (there are probably others you can use for this)
Transfer tape
A weeding tool, scissors and a burnishing tool
A Cricut Joy or equivalent and the design space software, setup for the cutter.
Frosted Glass spray paint (Optional)
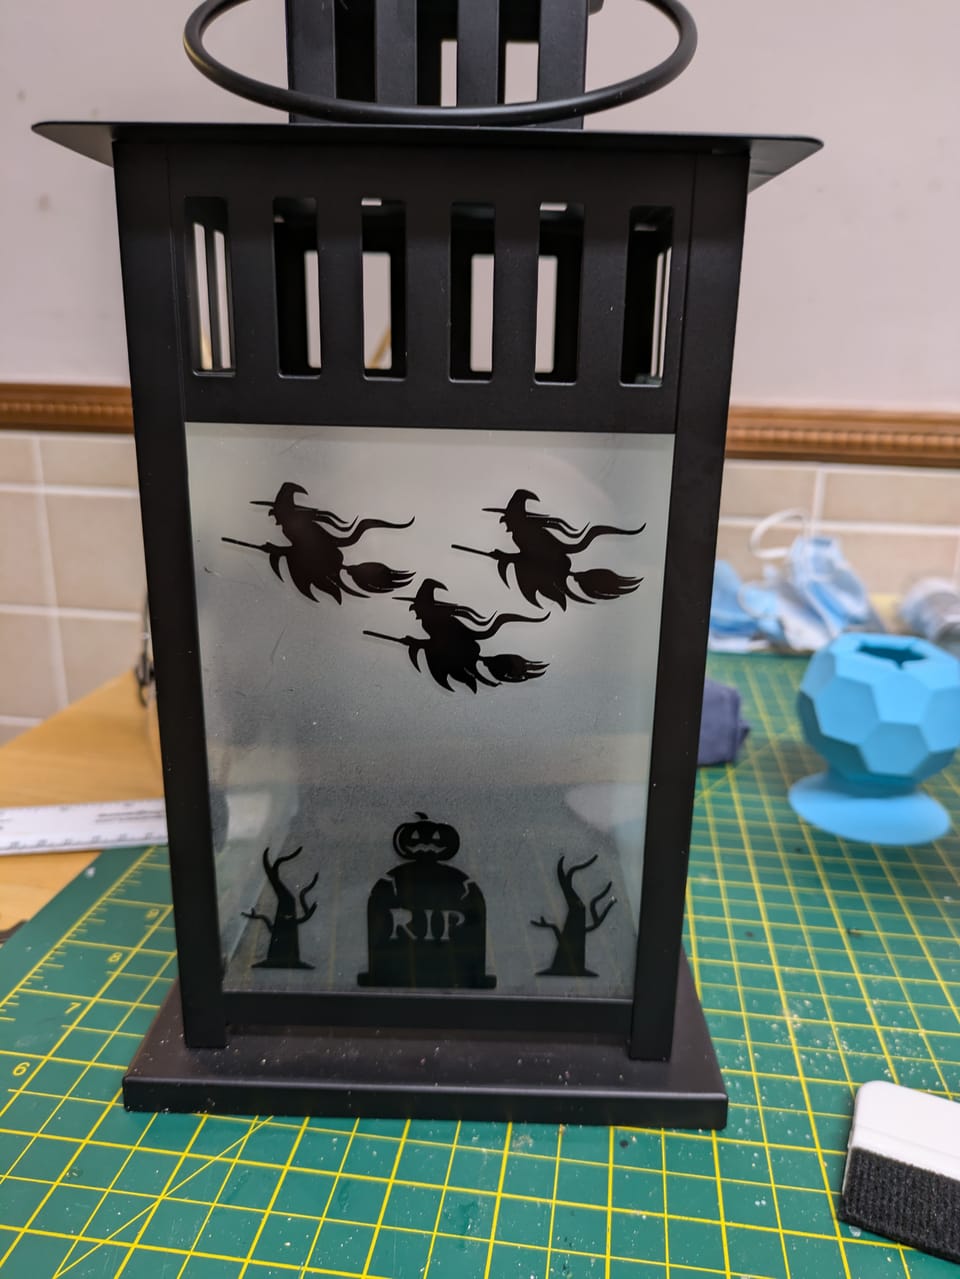
The first thing I did was purchase the lamp. Once you have the lamp, you can see how much space you actually have to play with. I also disassembled the latern, so I could partially spray the glass on the inside with the frosted glass spray. I only sprayed the top half (or at least tried to). I was aiming for a gradient for my scenes here.
NB, the spray should be able to resist the heat of a candle, if it is on the inside. Vinyl won't, so that needs to stay on the outside.
While the paint was drying, I turned my attention to the rest of the decoration. To start off, I went to Google and searched for "Halloween svg files". Please don't use copyrighted images unless you have permission - especially if you want to sell your creations - but I'm not your keeper. You do you. The ones you are after are generally a single colour, preferably on either a transparent or white background. For reference, I found some good ones here.
If you need to remove the background - try this site - https://www.remove.bg/
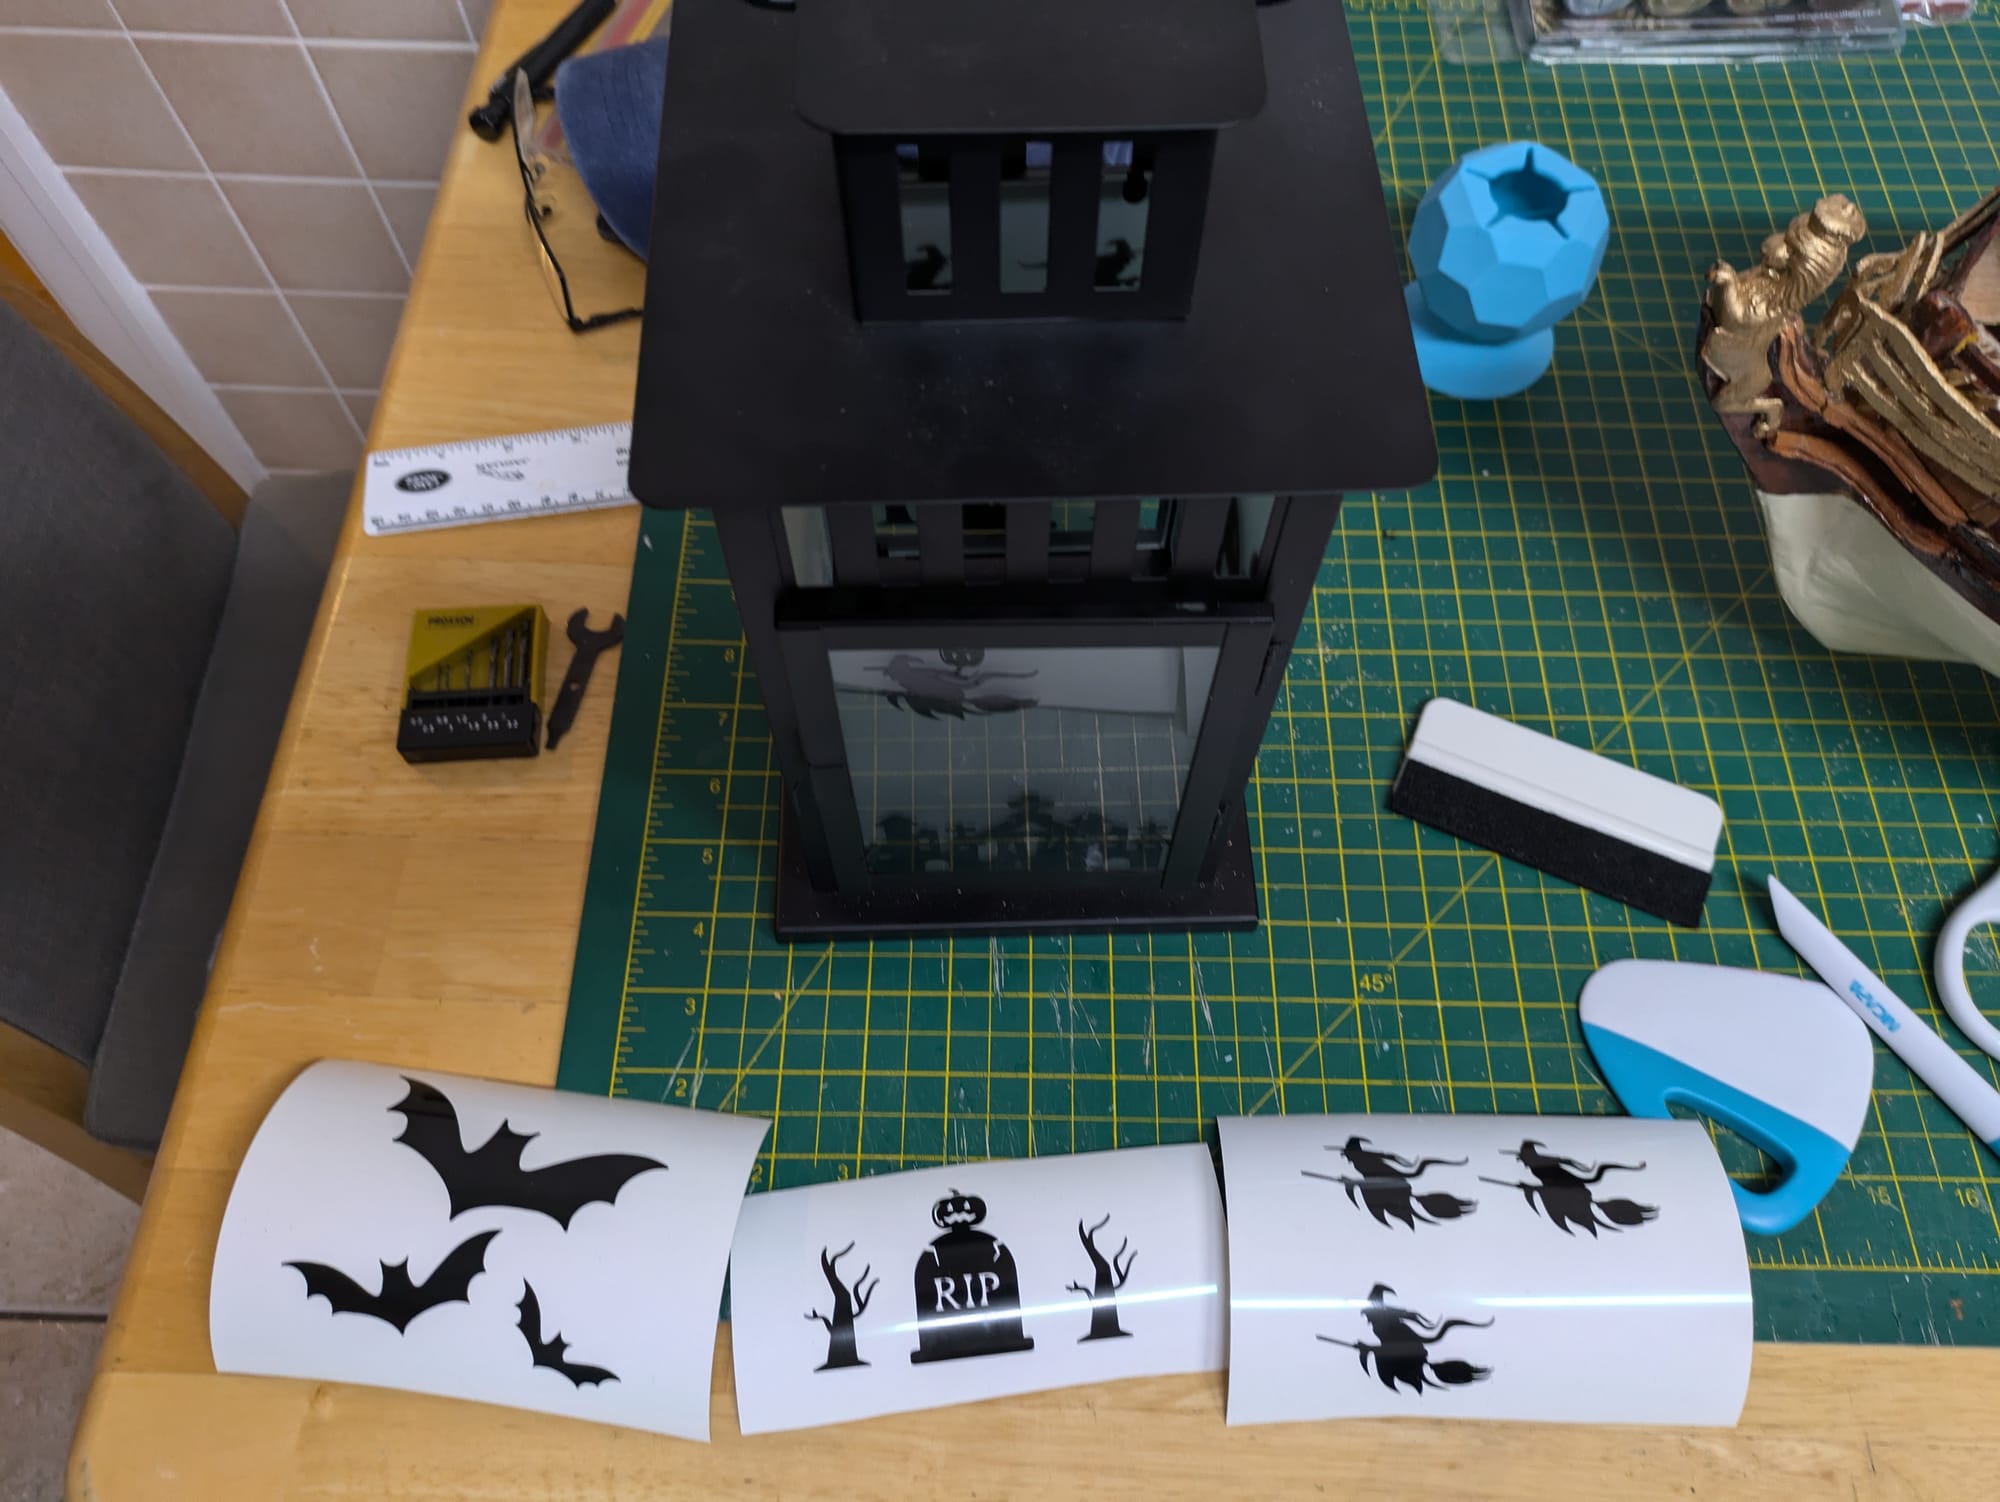
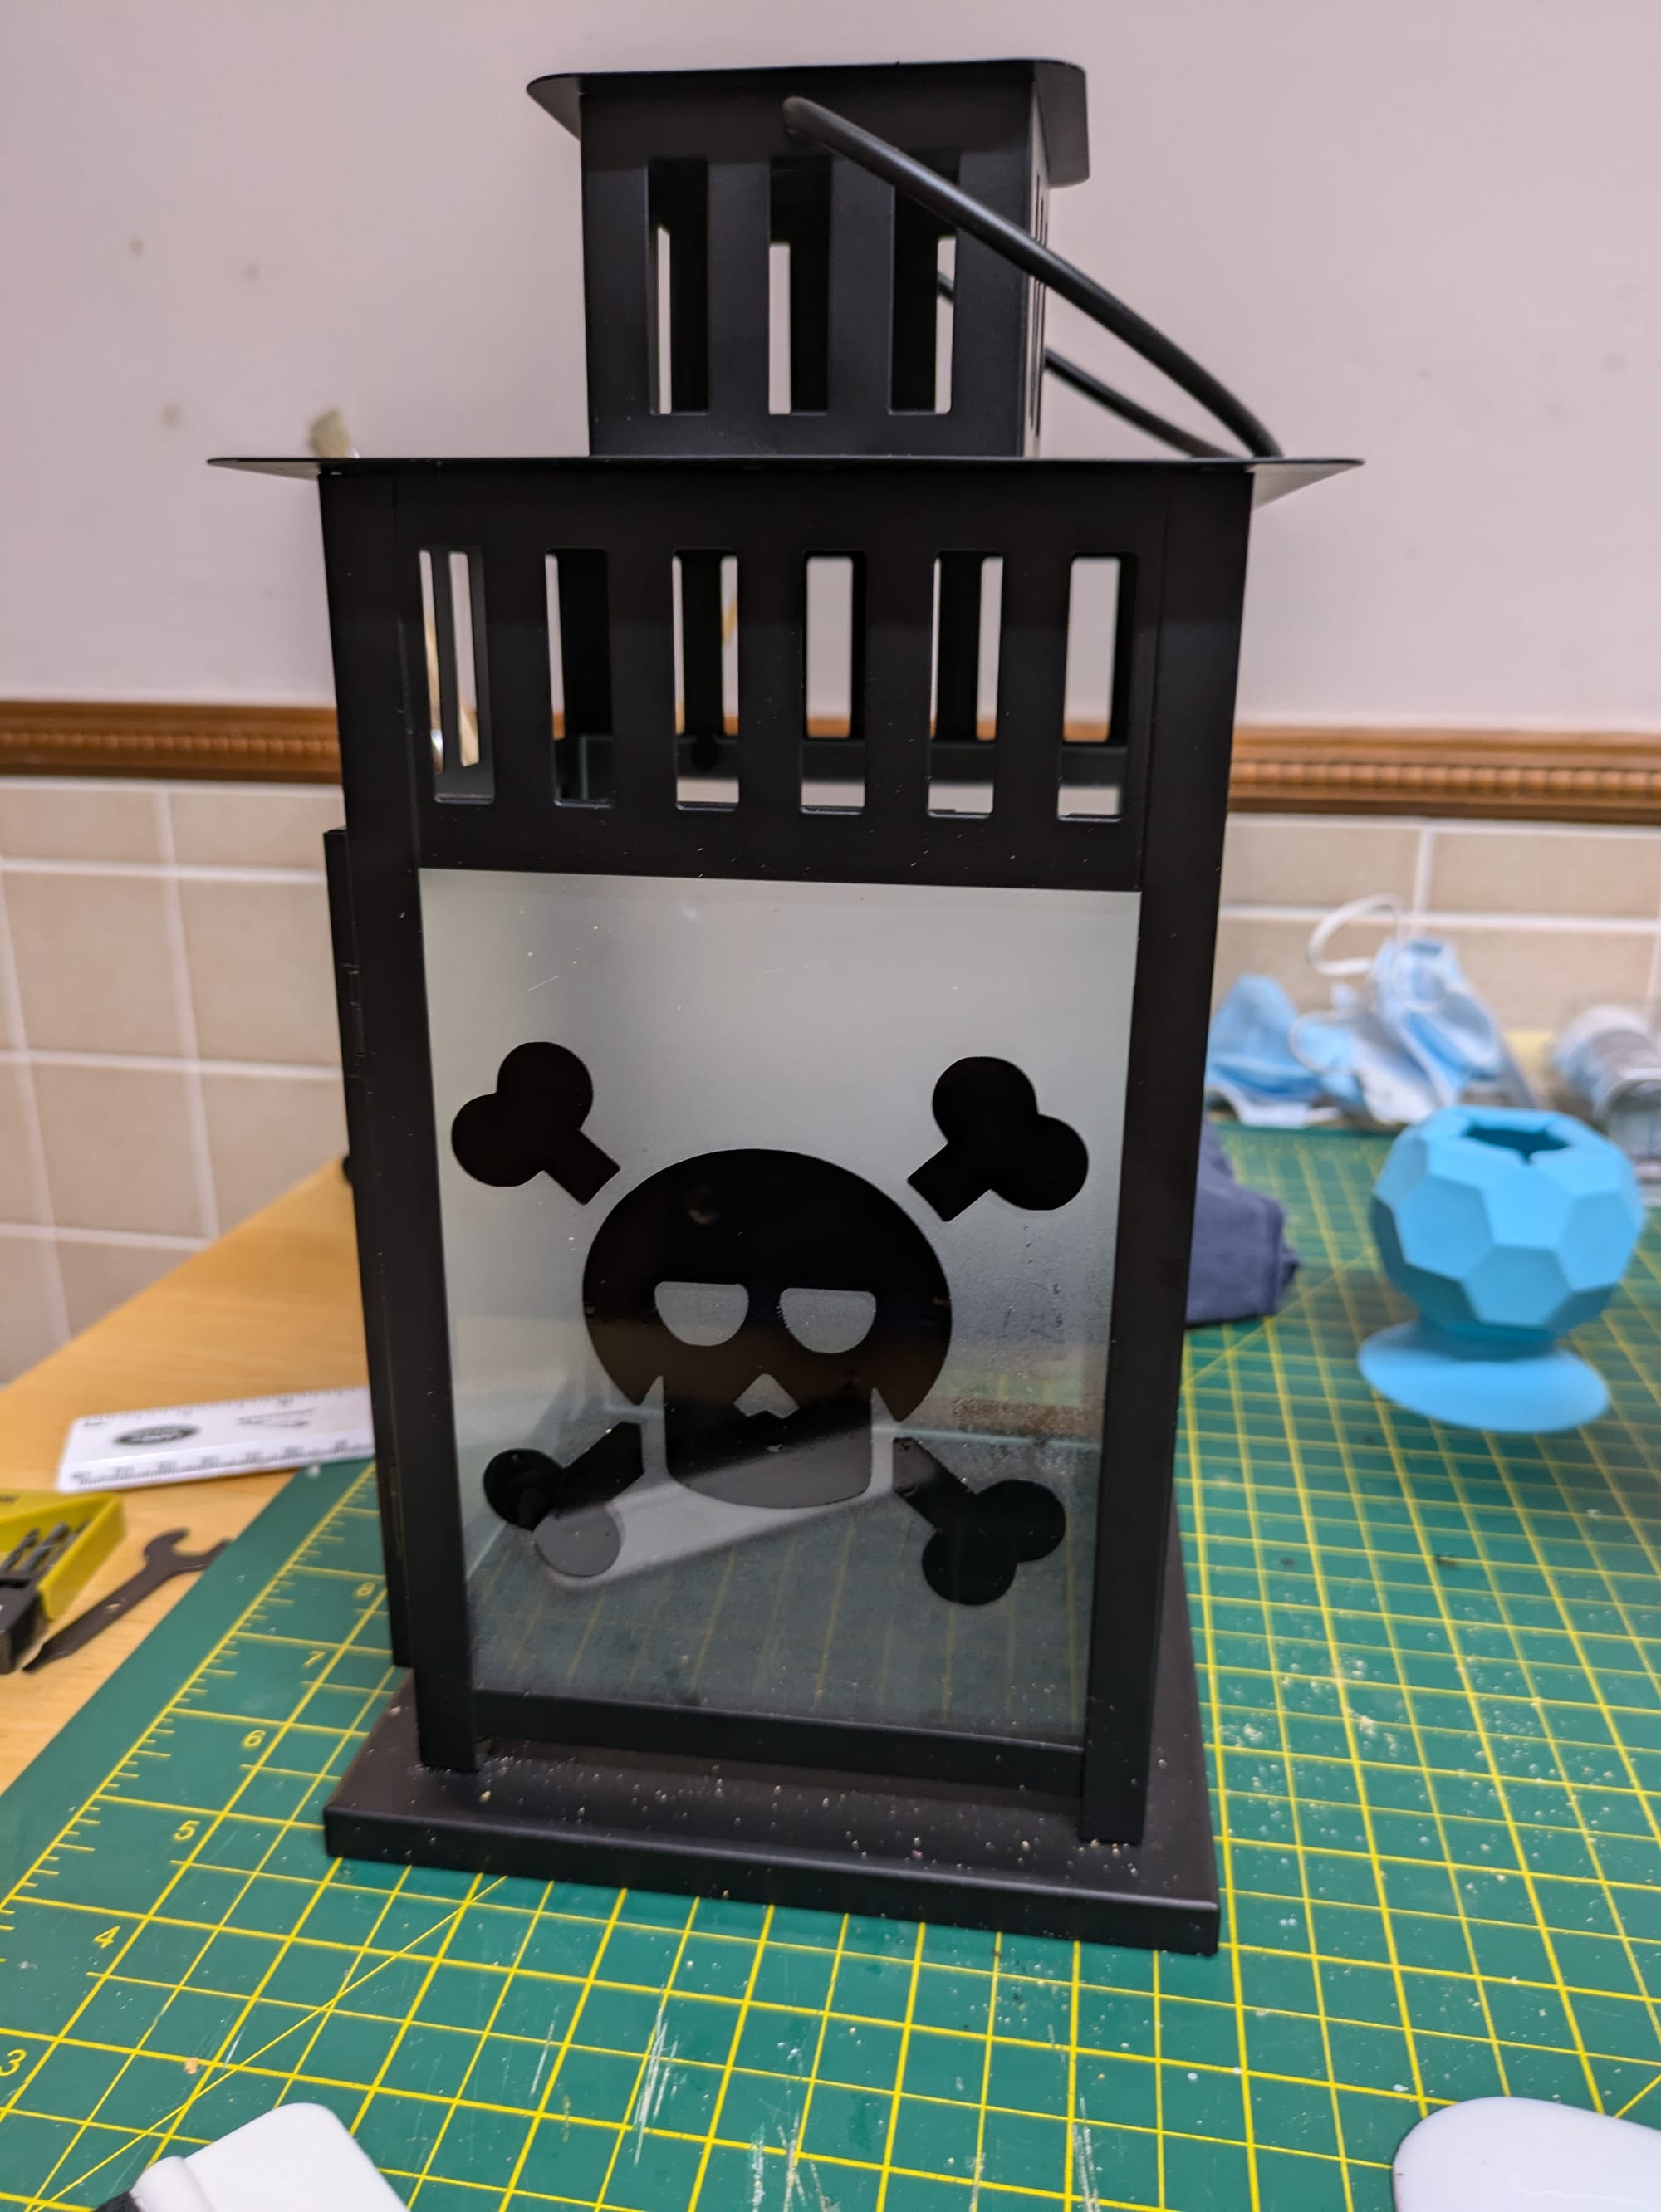
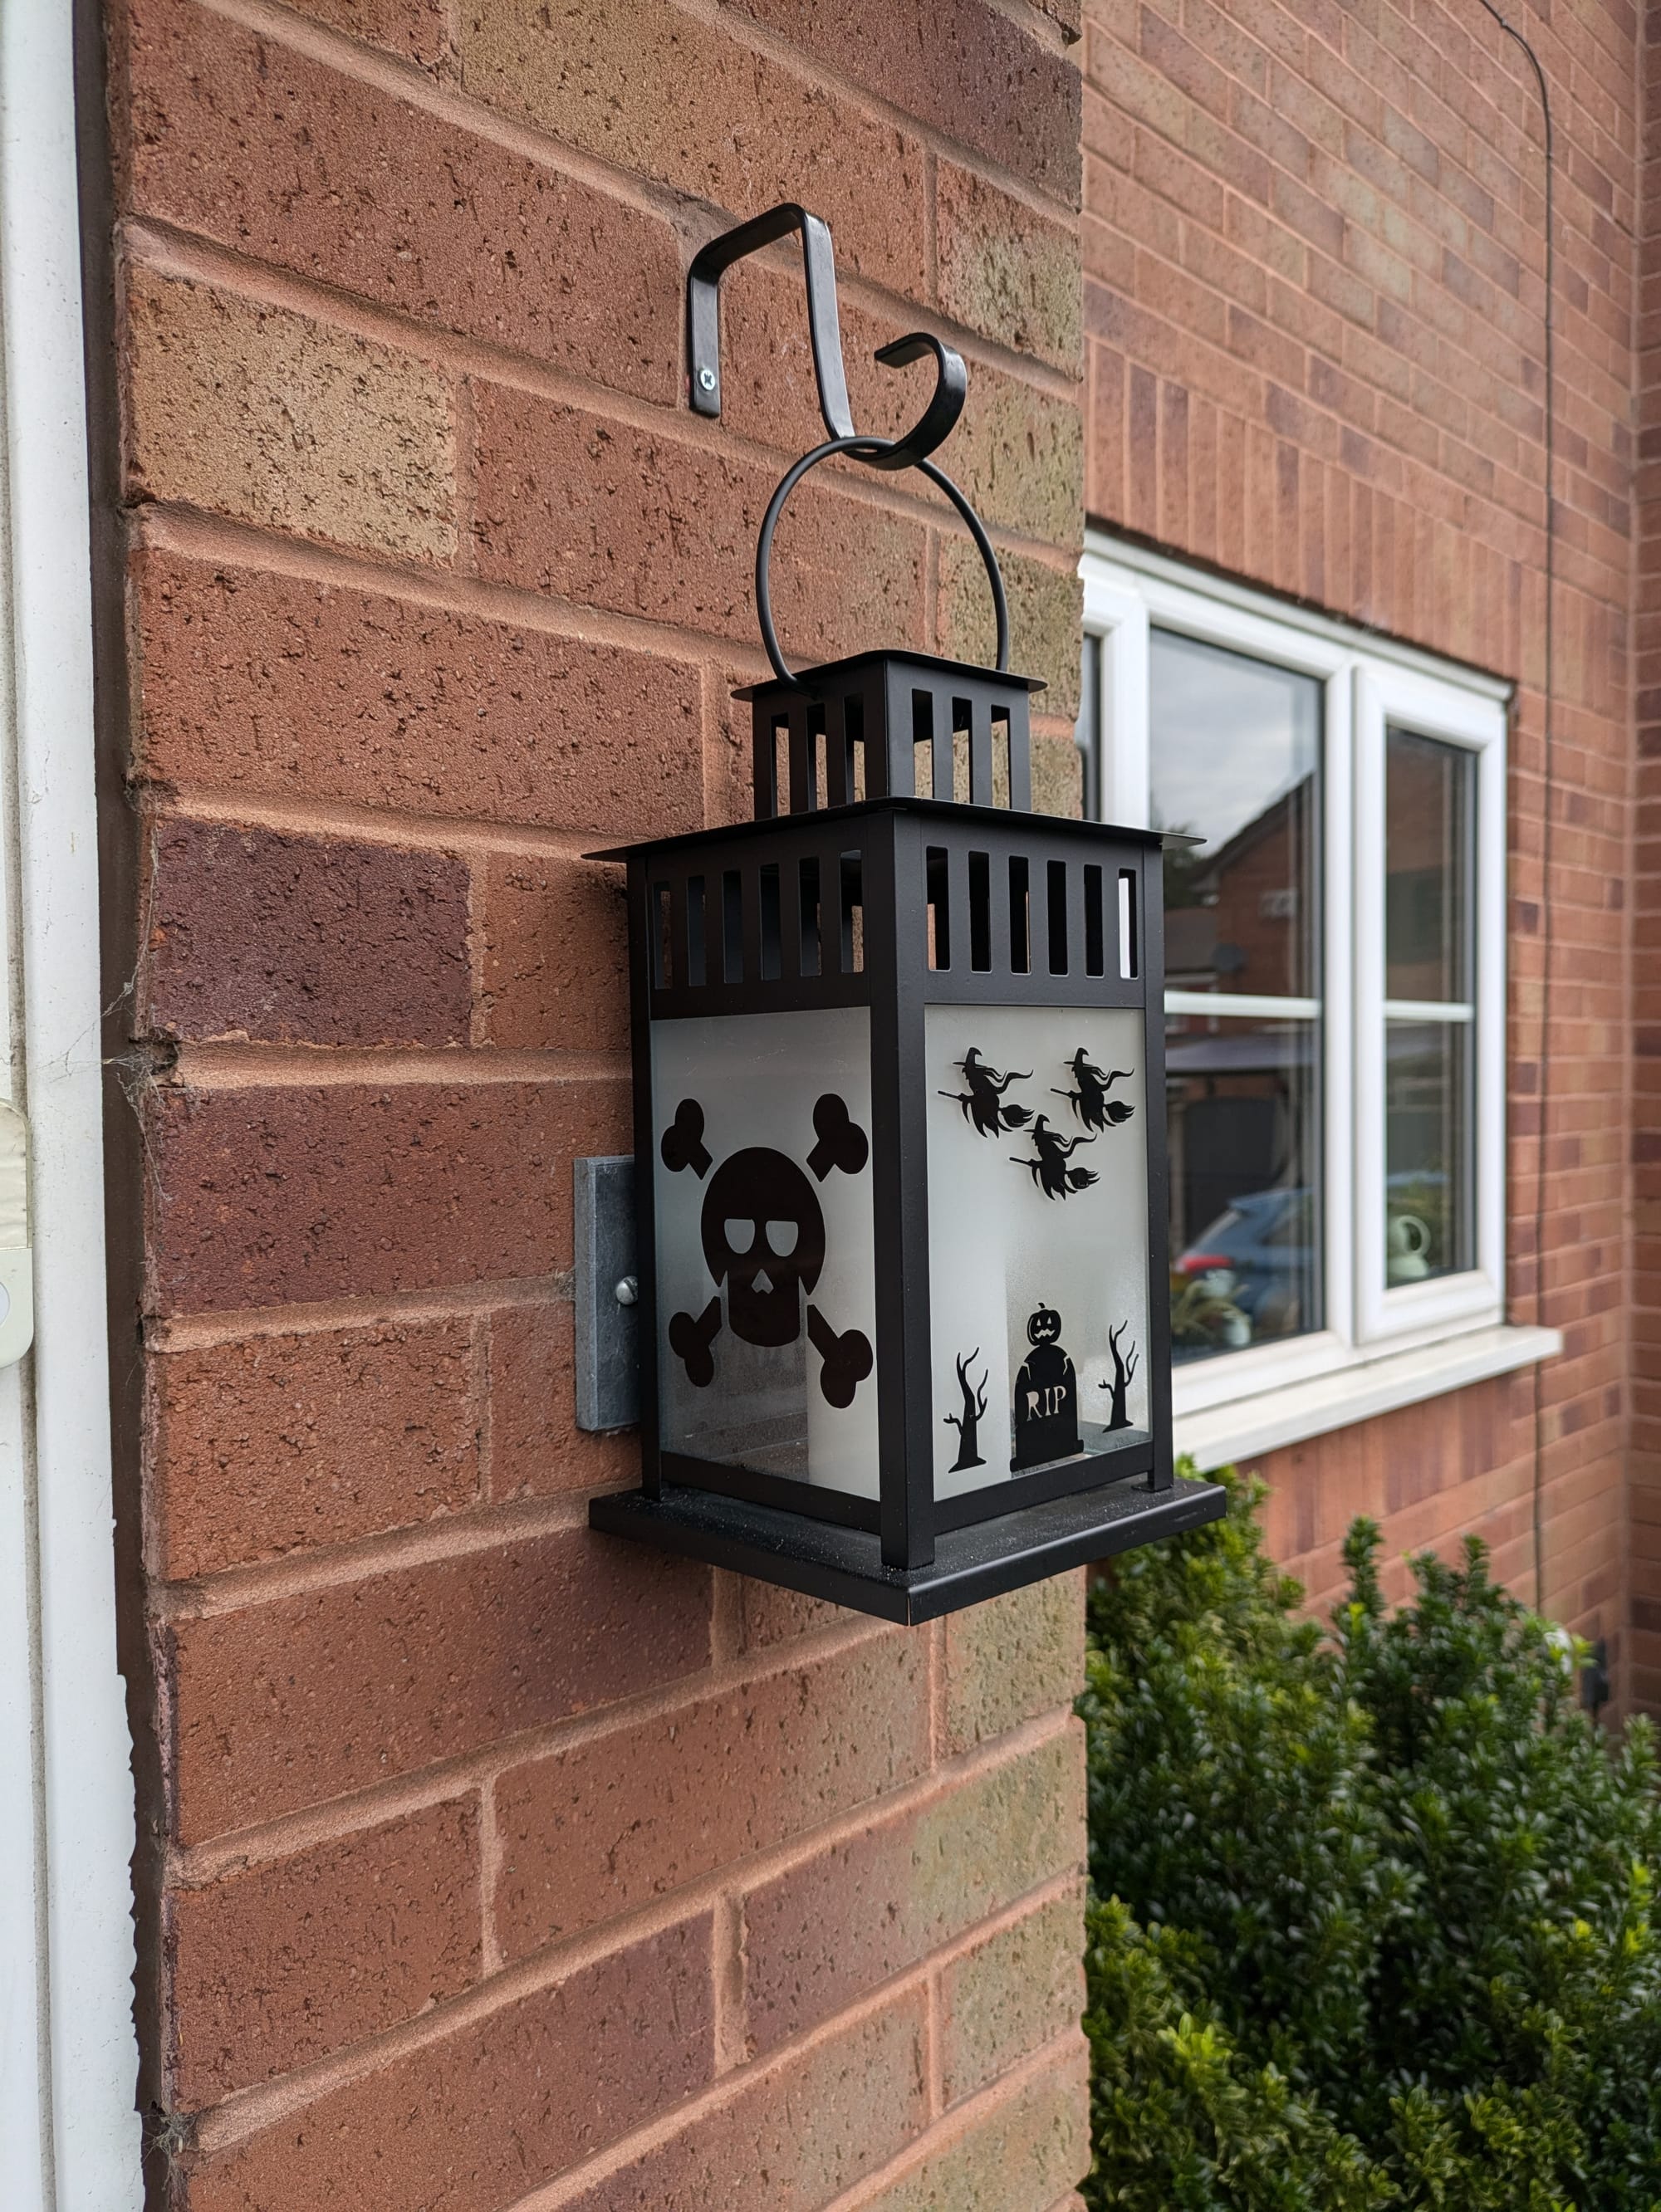
Once you have your graphics, simply upload them in to Design Space and lay them out in the app as you want to cut them out. They should not fill the entire space, but have room to let the light shine through. On one of my lanterns panels, I chose to have a tombstone with a pumpkin on top, along with witches flying overhead (where the frosted glass is).
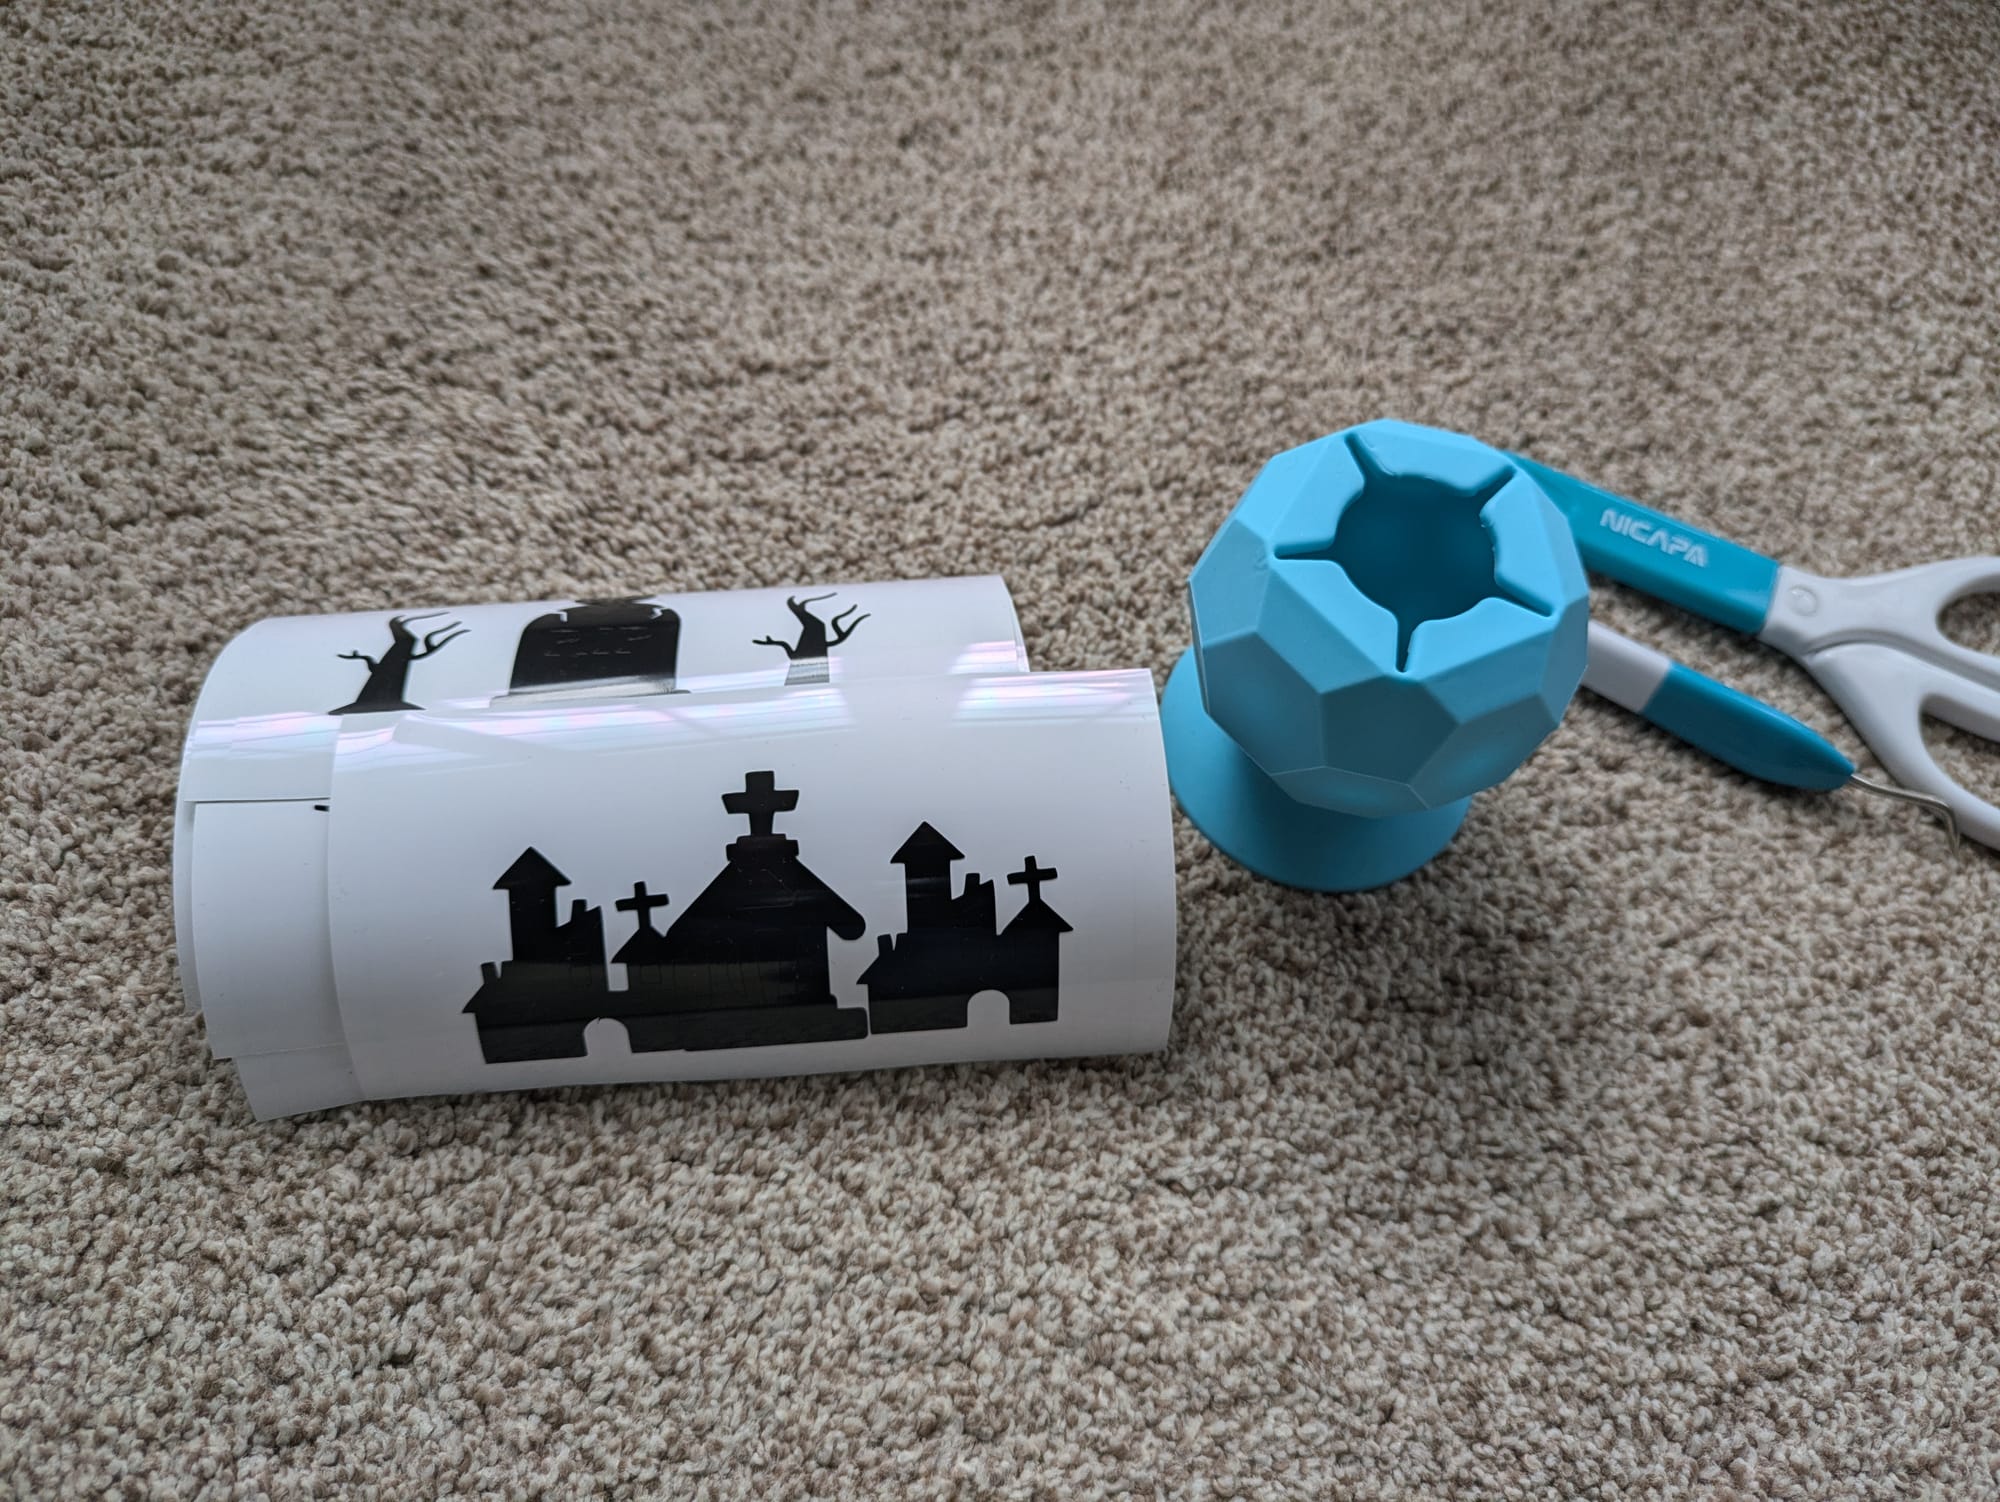
Once the designs are ready, cut them out with your Cricut machine. I used a Cricut Joy machine for this, but your cutting machine should be fine to use. Once done, weed the designs out so that the image of the item to be transfered to the lantern remains.
Once cut, use the scissors to cut the vinyl sheets to managable sizes, if required. Once done, use the transfer tape and the burnishing tool to transfer the vinyl without it's backing on to the glass. There are quite a few videos on youtube on how to do this, if you need them.
Once on the transfer tape, apply the tape to the glass on the lantern to position the image on the glass. When happy, transfer the vinyl with the burnishing tool. Rinse and repeat until you have all your images on the lantern.
Once complete, post the pictures to your instagram to show off to friends and family. Happy Hallowe'en!
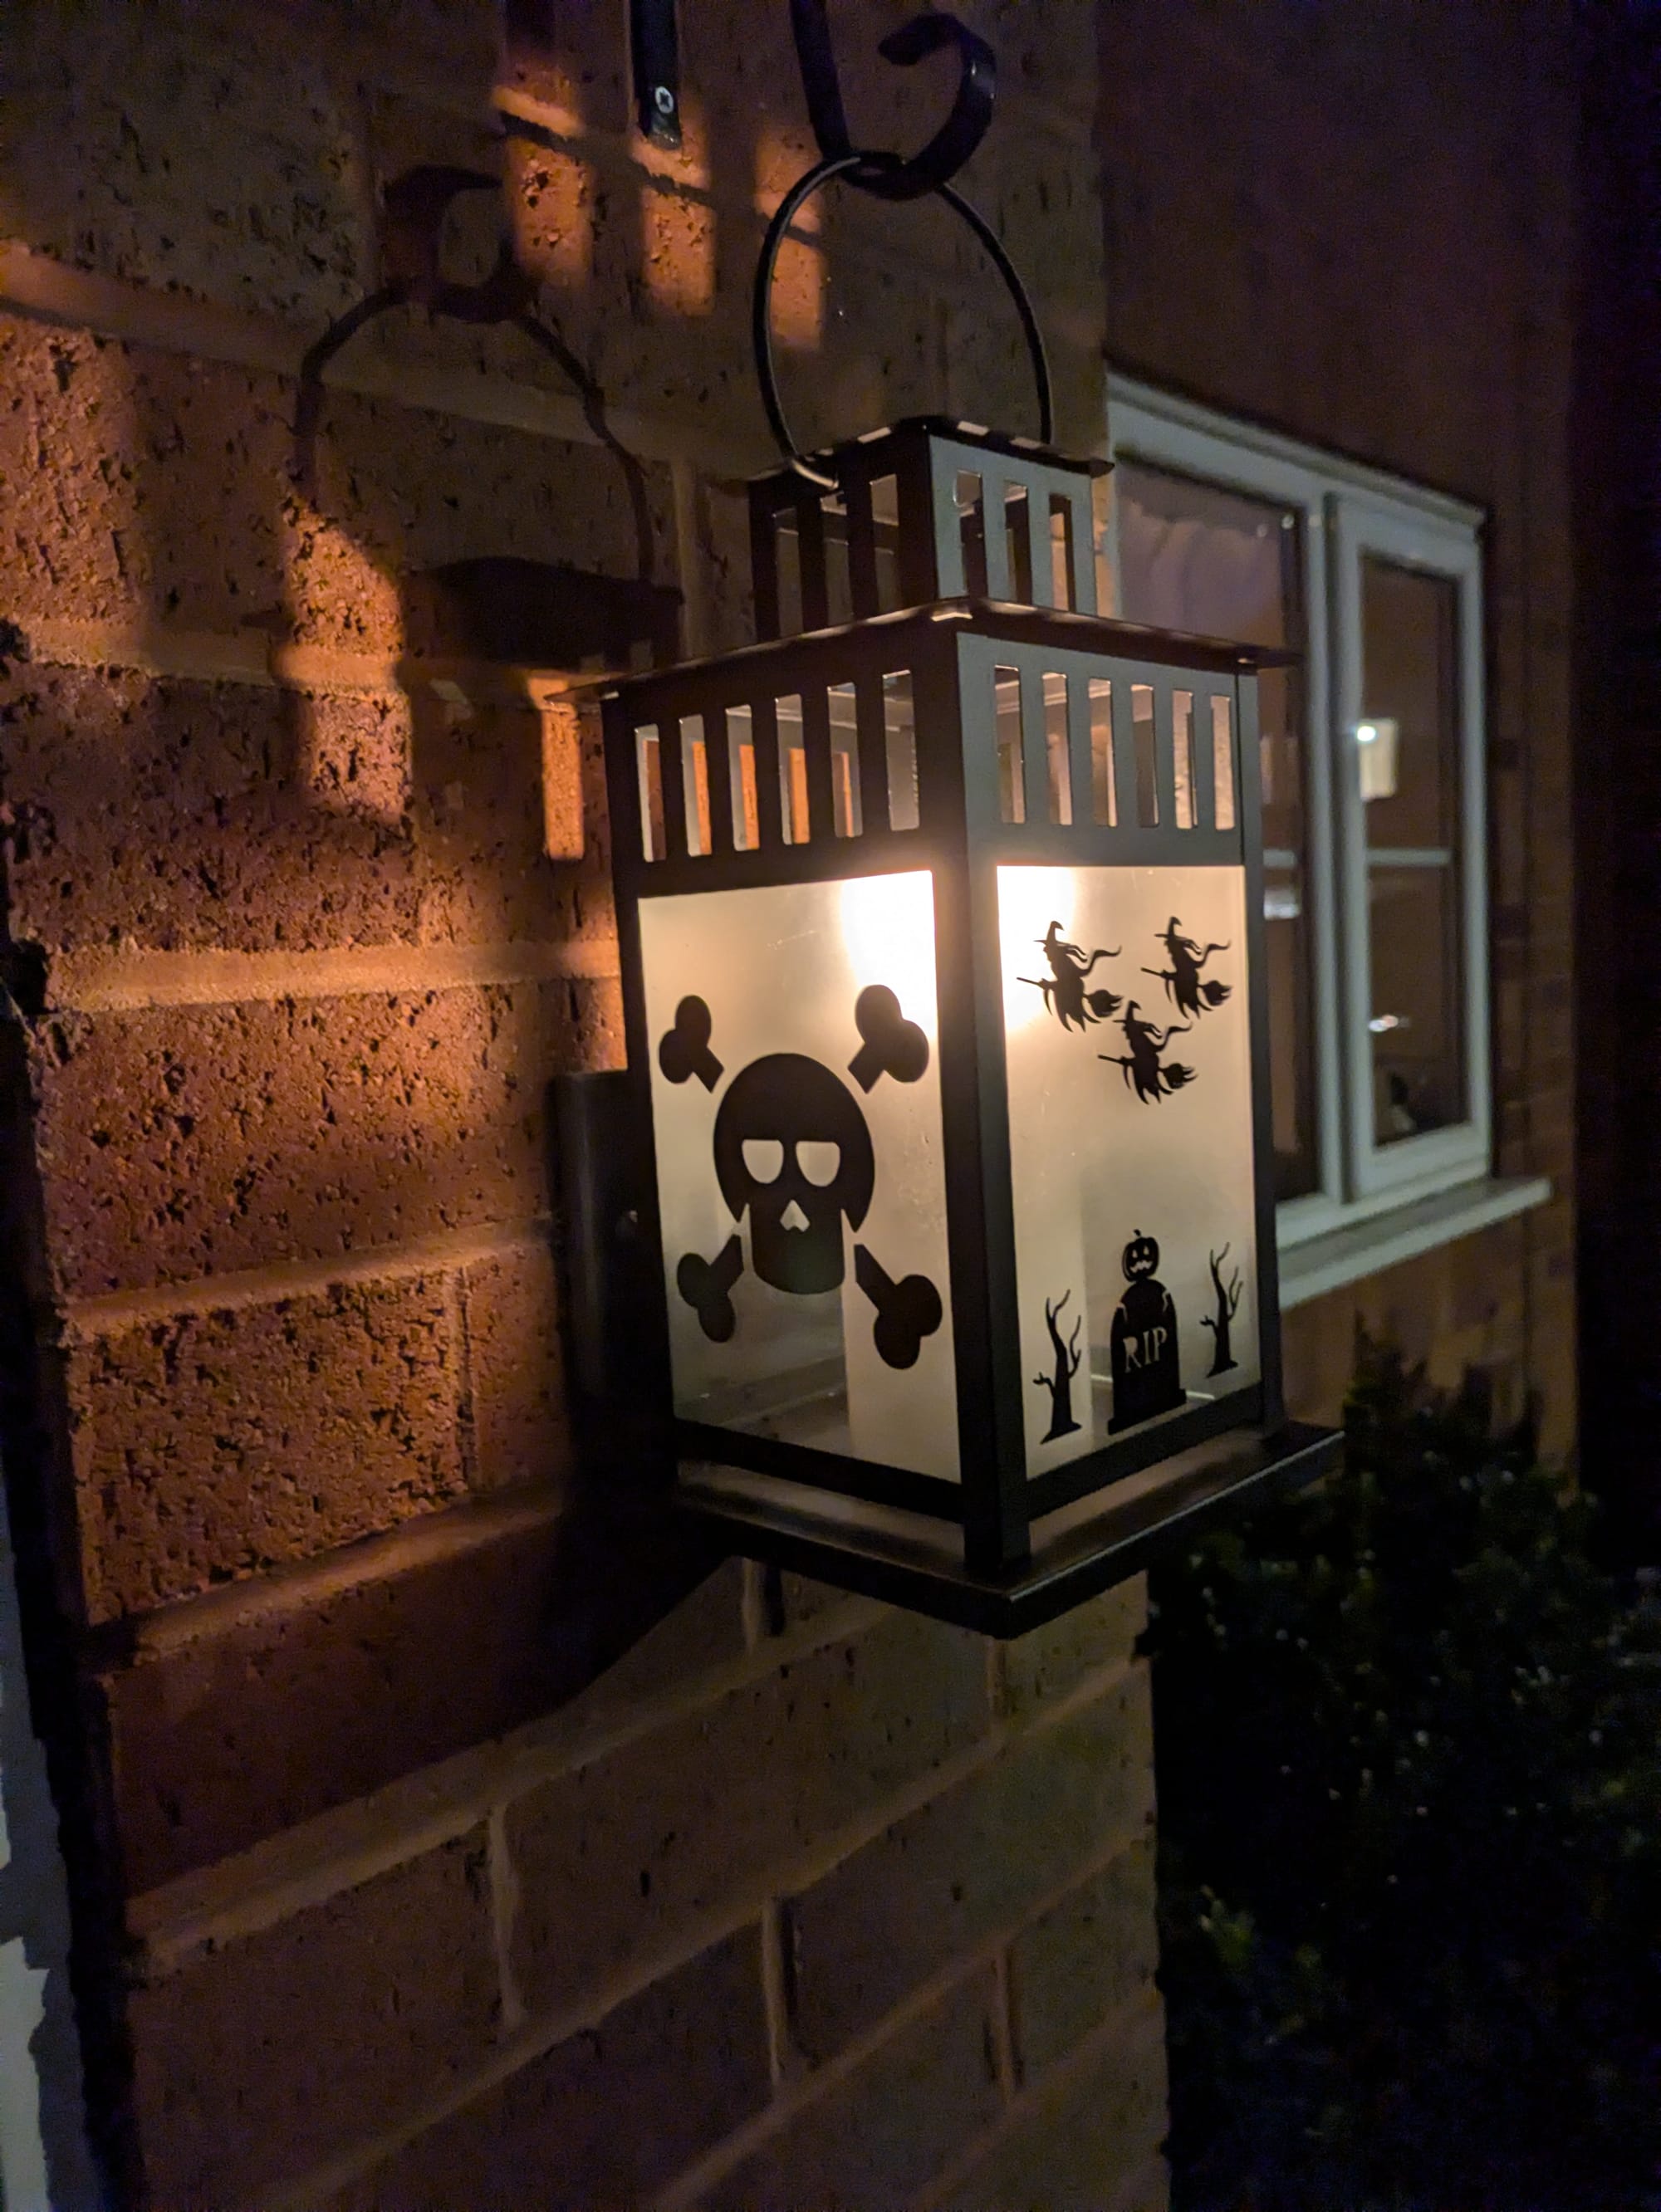
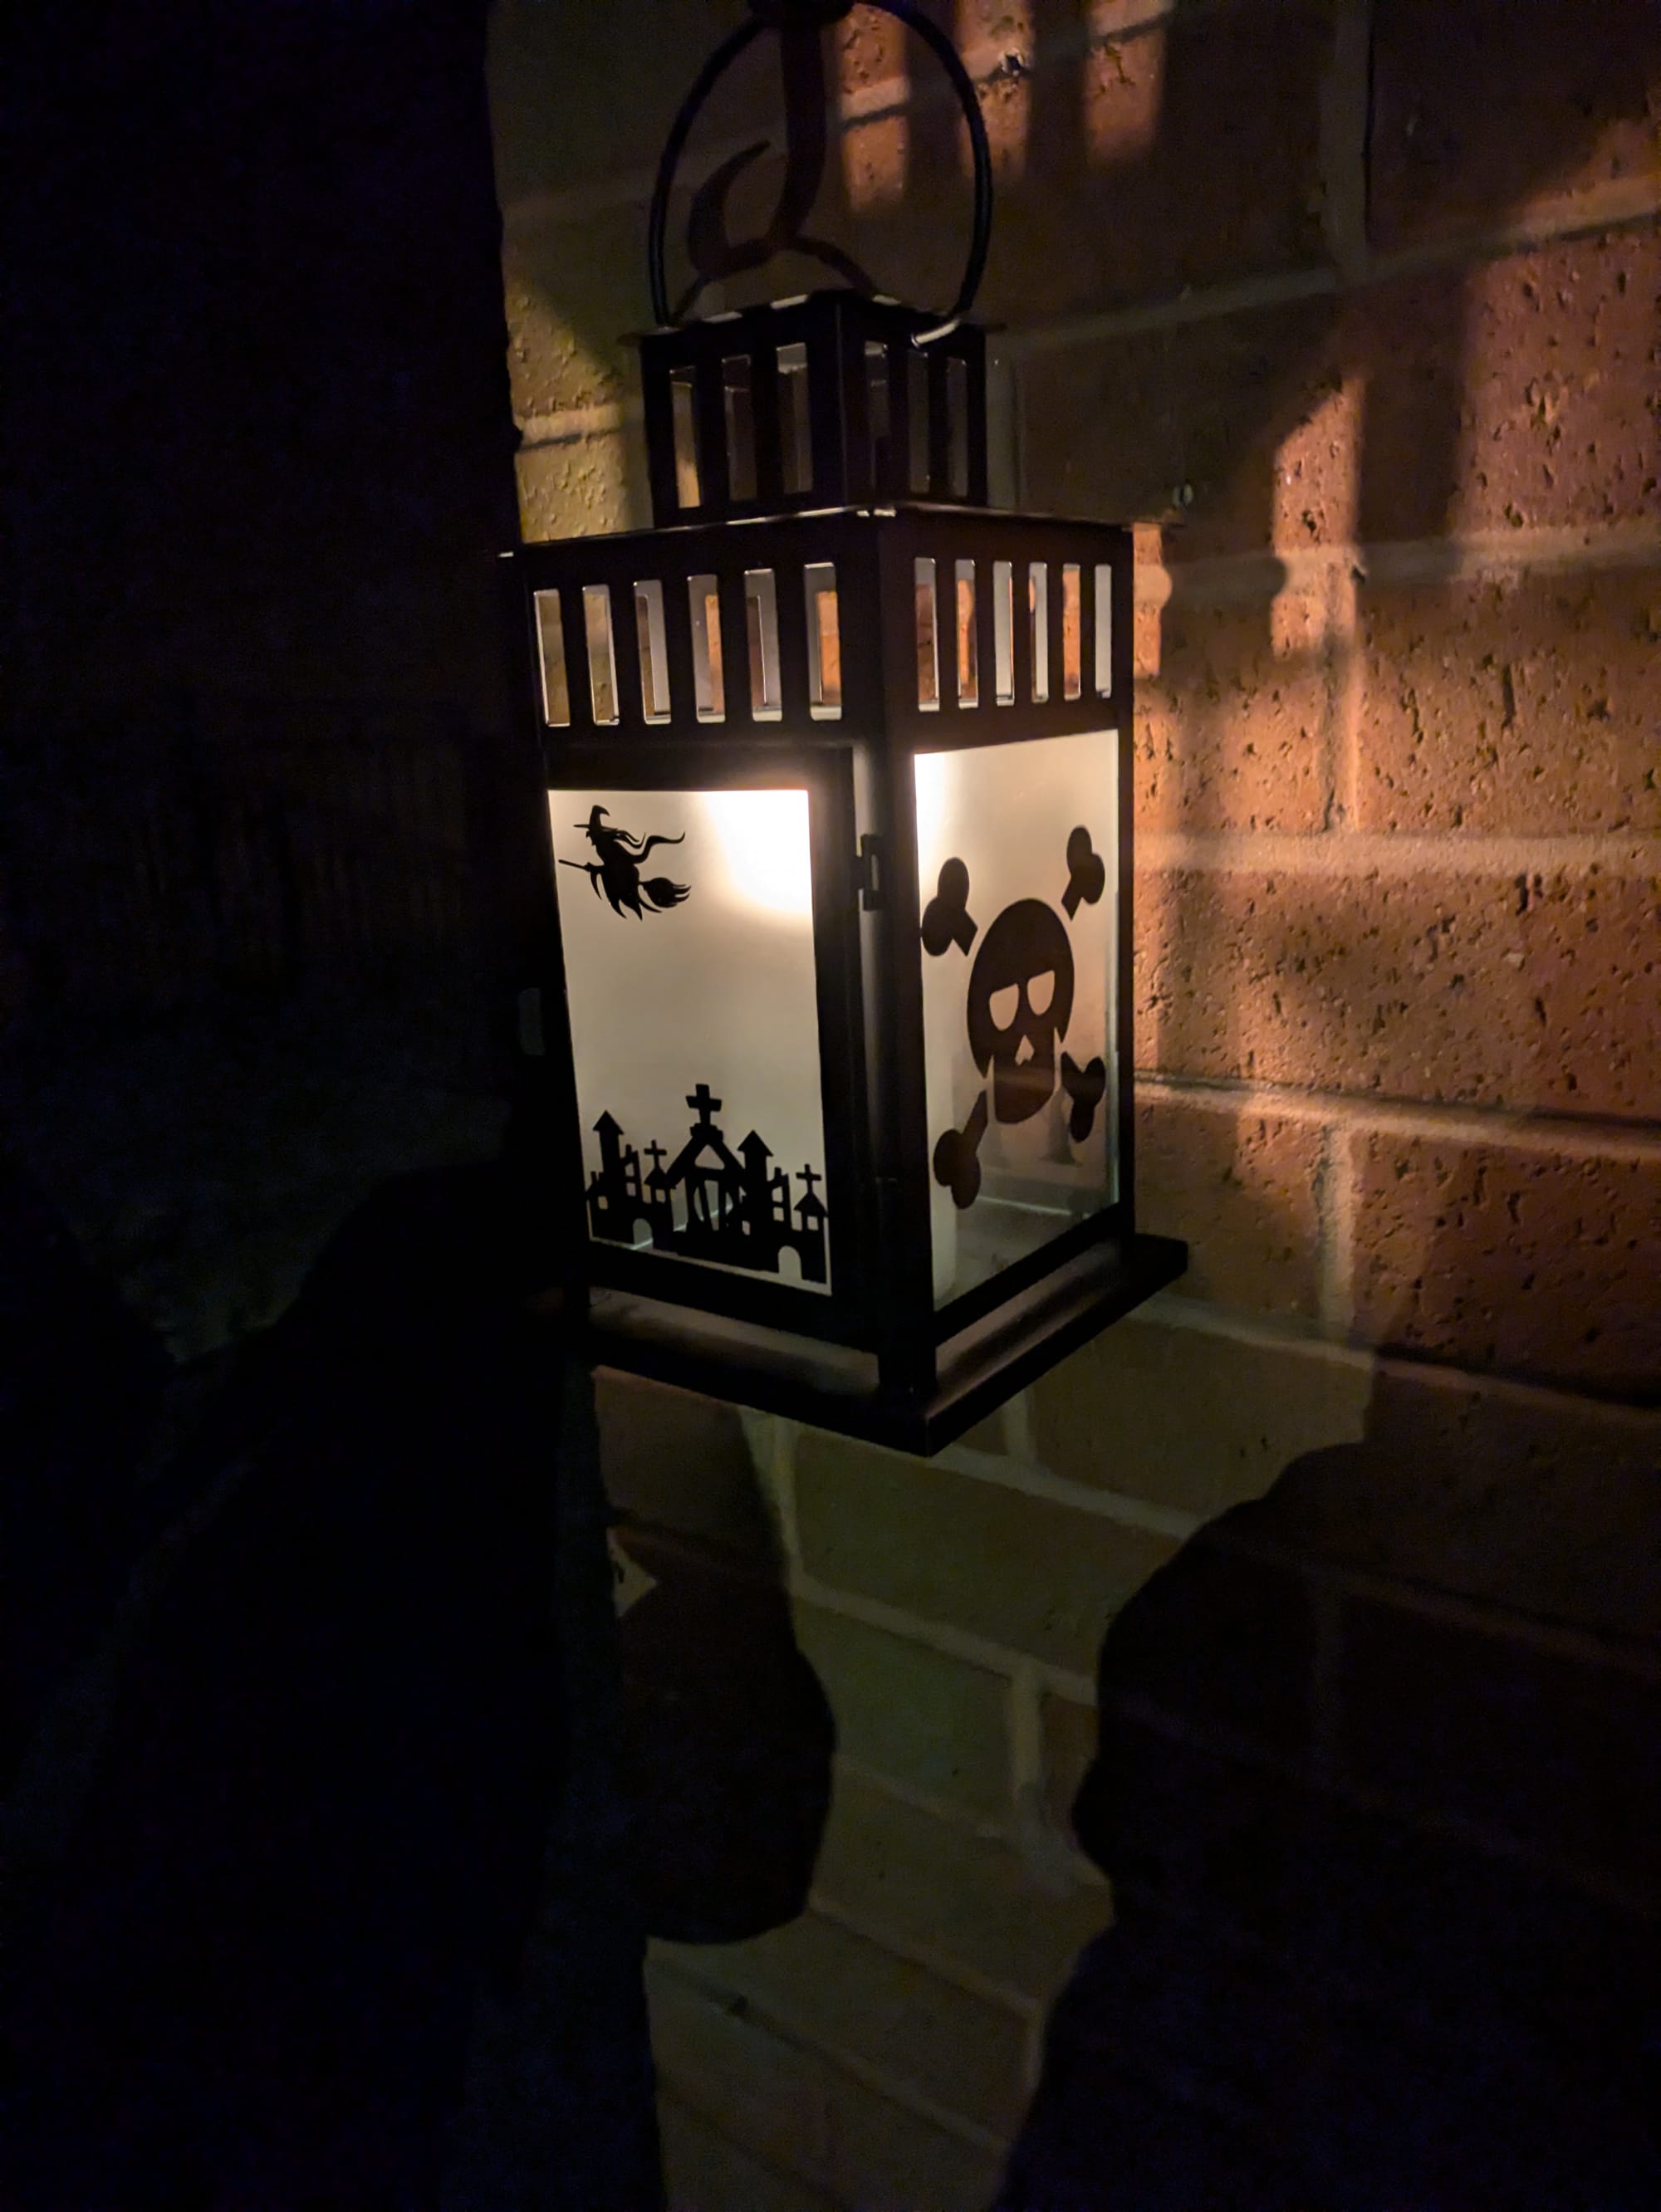
Once Halloween is over, I may well update this article with a pciture of the laterns outside with candles in - weather permitting.
And at night...
About the author
Tim Wilkes is a UK-based security architect with over 15 years of experience in electronics, Linux, and Unix systems administration. Since 2021, he's been designing secure systems for a telecom company while indulging his passions for programming, automation, and 3D printing. Tim shares his projects, tinkering adventures, and tech insights here - partly as a personal log, and partly in the hopes that others will find them useful.
Want to connect or follow along?
LinkedIn: [phpsytems]
Twitter / X: [@timmehwimmy]
Mastodon: [@timmehwimmy@infosec.exchange]
If you've found a post helpful, consider supporting the blog - it's a part-time passion that your support helps keep alive.
⚠️ Disclaimer
This post may contain affiliate links. If you choose to purchase through them, I may earn a small commission at no extra cost to you. I only recommend items and services I’ve personally read or used and found valuable.
As an Amazon Associate I earn from qualifying purchases.