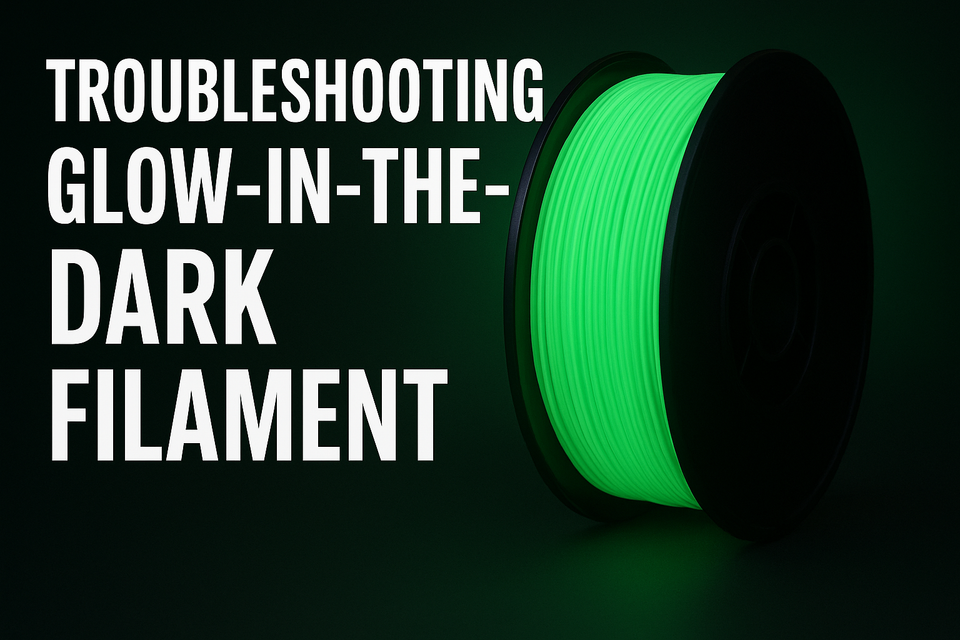
Troubleshooting Glow-in-the-Dark (GITD) Filament: My Real-World Experience

I recently dusted off an old spool of Amolen glow-in-the-dark filament, eager to bring some flair to my 3D prints. Though I only had a single roll, I treated it as a test case - careful with preparation and troubleshooting - to save myself from rookie mistakes.
1. Preparation & Equipment Setup
- Tungsten-carbide nozzle installed first to protect from the abrasive GITD particles—standard .4 mm nozzle remained in reserve.
- Pre-dried using the Sunlu S4 filament dryer - maybe overkill, but better safe than dealing with unexpected failures.
2. Feeding Frustration & Hidden Bulge
Initial loading was strangely stiff. A quick visual check revealed a bulge in the filament that was blocking smooth feeding. After trimming it out, loading improved dramatically.
3. Choosing the Right Nozzle & Settings
While waiting for a .6 mm nozzle to arrive, I discussed slicer settings with a friend. Advice: slow down print speed when using GITD filament. That should help maintain print quality despite its unique mix.
Pro Tip: Slower print speeds and slight temperature increases can reduce stringing and improve layer adhesion with glow in the dark filaments.
4. Diameter Check & Calibration
Curious about consistency, I measured filament diameter with calipers: the roll was ~2 mm, but the trimmed section was ~3 mm. Clearly not precise - so adjusting extrusion multiplier and validating with a test cube will help avoid under/over-extrusion.
Summary Table: Glow Filament Challenges & Fixes
| Challenge | Recommendation |
|---|---|
| Feed blockage | Trim bulging sections |
| Abrasive nature | Use tungsten-carbide or hardened-steel nozzles |
| Over-extrusion | Re-calibrate extrusion based on actual measured diameter |
| Print consistency | Slow down print speed and adjust temperature |
Final Thoughts
Glow-in-the-dark filament brings eye-catching prints - but requires extra care in prep and calibration. From nozzle choice to speed tuning, the key is anticipation and slow iteration. Up next: I’ll tackle test prints once the .6 mm nozzle arrives.
Recommended Gear
(Affiliate links to support the blog)
- Sunlu S4 Filament Dryer – For dependable drying and spool readiness
- Tungsten-Carbide Nozzle (.4 mm & .6 mm options) – Combat abrasive filament wear
- Digital Caliper – Accurate diameter checks save you filament headaches
About the author
Tim Wilkes is a UK-based security architect with over 15 years of experience in electronics, Linux, and Unix systems administration. Since 2021, he's been designing secure systems for a telecom company while indulging his passions for programming, automation, and 3D printing. Tim shares his projects, tinkering adventures, and tech insights here - partly as a personal log, and partly in the hopes that others will find them useful.
Want to connect or follow along?
LinkedIn: [phpsytems]
Twitter / X: [@timmehwimmy]
Mastodon: [@timmehwimmy@infosec.exchange]
If you've found a post helpful, consider supporting the blog - it's a part-time passion that your support helps keep alive.
⚠️ Disclaimer
This post may contain affiliate links. If you choose to purchase through them, I may earn a small commission at no extra cost to you. I only recommend items and services I’ve personally read or used and found valuable.
As an Amazon Associate I earn from qualifying purchases.